admin

Saal Digital fotoboek review [Dutch]

Even terug kwam ik via Instagram het account van Saal Digital tegen. En wéér werd het idee om een keer een fotoboek te maken onder mijn neus geduwd.

Al jaren loop ik met de gedachte een keer een fotoboek te maken. Het liefste met één thema, maar wat? De afgelopen jaren heb ik hele diverse onderwerpen gefotografeerd, met name het laatste jaar. Vandaar dat ik die diversiteit een keer wou vast leggen in een boek. Allemaal geweldige dingen die ik meegemaakt heb, alsof het voor mij dagelijkse kost is. Nou ja, eigenlijk is dat het gelukkig ook. Vandaar mijn éérste fotoboek “Just another weekend”.

Hier een review van het boek, bij Saal Digital.

4s5a5853

Aanleveren

First things first. Even contact met ze gehad, wat vragen gesteld en binnen een dag antwoord gehad. Wanneer je een boek gaat maken kun je dit op twee manieren doen. Óf je eigen designs maken in software als InDesign, Photoshop, QuarkXPress of met hun eigen simpele editor. In plaats van zelf aan de slag te gaan ging ik eens als reguliere klant te werk. Ik downloadde de software van Saal Digital om toch eens te kijken hoe simpel dat nou was. Maar al vaak heb je met dit soort programma’s dat de simpelheid ook limitaties met zich mee brengt. Dat viel echter ontzettend mee.

De Saal Digital fotoboeksoftware

De software is vrij simpel maar behoorlijk doeltreffend. Er zitten wat standaard sjablonen in maar je kunt zelf ook aan de slag. Al snel had ik een strak design bedacht, de juiste lettertypes gekozen en vier combinaties gemaakt. Liggende foto’s, staande foto’s en een combinatie van de twee. Deze vier varianten heb ik opgeslagen als een template waardoor ik per pagina kon bekijken wat voor foto’s ik ging plaatsen. Twee liggende? Mooi, dan selecteerde ik dát template en voegde ik de foto’s toe.

Vervolgens had ik drie tekstvelden. Eentje voor een titel, een beschrijvende tekst en onderaan de pagina tot welke reeks de foto behoorde. Bijvoorbeeld “Nürburgring VLN event 2016” of “Classified Roadtrip”.

4s5a5864

Het maken van het boek

Dit is serieus leuk werk. De foto’s worden automatisch bijgesneden zodat ze netjes passen, maar je kunt ze uiteraard ook zo passend mogelijk maken. Zelf heb ik voor een 30X30 formaat gekozen zodat ze naast de foto altijd een strook over houden voor de tekst. Daarnaast is dat het makkelijkste als je zowel horizontale evenals verticale foto’s hebt.

Wat wel goed is om te weten, is dat ik met enorme foto’s werkte van wel 51 megapixel. Deze waren rond de 20mb per stuk als JPG. Dit moest ook wel JPG zijn, want TIFF pakt de editor niet. Dat is verder niet erg, want als je ze op hoge kwaliteit opslaat zal je hier nooit wat van zien.

Het importeren van de foto’s gaat onwijs snel. En ook het werken met de foto’s en het browsen door het project ging zonder ook maar enige slag of stoot. Het enige waar ik lang over heb gedaan is de teksten controleren. Want stel je voor dat er in je mooie boek een spelfout zit… maar na een aantal avondjes álles her her herlezen te hebben kon hij eindelijk de deur uit… Hoe zou hij met foto’s van 51 megapixel om gaan?


Bestellen

Helemaal klaar, en bestellen maar. 72 pagina’s aan foto’s op extreme kwaliteit. Ik heb een vrij snelle verbinding maar duurde toch even. Is dat slecht? Nee zeker niet! Het had me zorgen gebaard wanneer dit snel ging. Dit betekend dat de foto’s namelijk op hoge kwaliteit verstuurd worden naar onze vrienden van Saal Digital. En dan wordt het wachten. Lang wachten? Nee dat valt reuze mee. Je krijgt netjes updates wanneer ze er mee begonnen zijn, aan het boek gewerkt hebben, hem klaar hebben en hij bij de verzender ligt. En vanaf dat moment kan het niet snel genoeg gaan.

4s5a5877

Eindelijk, daar is het boek

Daar is hij dan, de kartonnen doos met daar in het boek. Deze komt netjes in verschillende lagen. Hij zit in eerste instantie in een luchtdichte plastic hoes om vocht tegen te gaan. Daarin zit een foam-hoes om stoten op te vangen. Deze hoes gebruik ik nu nog steeds wanneer ik het boek in mijn tas naar potentiële klanten mee neem. Ontzettend handig! En dan eindelijk, het boek.

Eerste indruk

Wauw. Echt amazed. Ik had een hoge verwachting maar dit is echt onwijs gaaf. Ik ben voor een matte cover gegaan want gewoon zo ontzettend professioneel over komt. Iedereen aan wie ik mijn boek heb laten zien begint daar al over. “Wat een mooie kaft, heel strak die matte afwerking!” krijg ik vaak te horen. En dan sla je het boek open. In mijn geval 72 pagina’s aan extreem haarscherpe foto’s op prachtig dik glanspapier.

4s5a5883

Kwaliteit van de foto’s

Om de kwaliteit van de foto’s goed te kunnen beoordelen heb ik een breed scala aan stijlen gekozen. Ik heb een groot aantal foto’s gekozen met een sterk contrast, sterk gebruik van diep zwart, gesatureerde kleuren, semi-gesatureerde kleuren (pastelkleuren) en een aantal zwart-wit foto’s met een mooi balans tussen zwart, wit en zacht overlopende grijswaarden hier tussen.

Scherpte en details

De foto’s zijn echt extreem scherp. Met het blote oog is het mij niet gelukt om pixels of jpeg compressie te vinden. De scherpte zit er perfect in.

Kleuren en witbalans

Maar niet alleen de scherpte zit dik in orde. Ook de kleuren spatten er uit. Ik heb het boek een aantal keer naast mijn nieuwe, en gekalibreerde 4K scherm gehouden maar kon eigenlijk geen verschil zien. De kleuren komen prachtig overeen met hoe ik ze in Photoshop echt tot in de detail ingesteld heb. De witbalans is identiek, en dat is echt uniek te noemen.

Zwart wit

Naast de sterk gesatureerde foto’s heb ik ook een aantal zwart wit foto’s gekozen. De foto van de watertoren heeft een paar grote contrasten, maar ook zeker een aantal grijze verlopen. Hier was niets raars te zien en dit is prachtig geprint. Ook de foto van de meeuw met een diep-zwarte achtergrond is indrukwekkend. Zeker gezien er op de andere pagina een foto van Utah beach staat welke juist weer hele heldere kleuren heeft. De foto’s komen er écht uit zoals ik ze bedoeld had.

4s5a5868

Kwaliteit van het materiaal

Het boek is zeer stevig gemaakt. De kaft is mooi hard en degelijk. Met een zwarte kleur zie je wel aan de buitenkant een héle kleine vouw komen. Maar als er tientallen keren in gekeken wordt is dat niet meer dan normaal met een zwarte kaft. Ook de pagina’s zelf zijn stevig en dik. Het papier is van prachtig glansfotopapier. De glans zit er lekker in wat een fijne foto-feel geeft.

4s5a5858

Kortom

Eerlijk is eerlijk, ik ben onder de indruk van het werk van Saal Digital. De service, het proces maar vooral ook het eindproduct zijn echt geweldig te noemen. Ik heb het boek al een aantal keer naar werk meegenomen, familie en potentiële klanten. De reacties waren unaniem zéér lovend met allemaal de vraag waar ik het boek heb laten maken. De mooiste reactie was waarschijnlijk van een collega. “Waar heb je dit boek gekocht?”. Iets daarna kwam ze er achter dat het míjn boek was. Dat bracht me toch wel een enorme smile op m’n gezicht de rest van de dag.

Op naar de volgende.

Met dank aan Saal Digital! Maar dat was wel al duidelijk.
Web:  Saal-digital.nl
Facebook: saal.digital.nl
Instagram: saal_digital

Photo of the day challenge

Why not take 365 photos, one photo at a time, spread over a whole year? Well, sounds easy right?

Reality is slightly different, and a daily photochallenge isn’t called a challenge for no reason. Heck, give me the icebucketchallenge, planking challenge or even the Kylie Jenner Lip Challenge… but no this one is actually even for a photographer pretty difficult.

Why it’s a challenge

Time

Everyday you need to find some time to capture something, edit it and post it. Trust me, in the beginning it’s nice, but there are some days where it’s just really difficult. Especially when you get home around 23:30, want to sleep and you feel you múst post a photo.

Daily routine

Everything you do on a daily basis is boring and normal to you. If you go to work five days a week using the same route, you won’t see anything interesting. To you, that is. Doing a daily challenge forces you to look around like a tourist again, but it’s hard.

Internet

What if you go abroad and you don’t have an internet connection? You actually need your (heavy) camera, laptop/computer to edit your stuff and an internetconnection to actually post your pixels.

Either way, you can check out my Photo of the Day album on my personal Facebook account. I guess you have to add me to see ‘m all. That’s fine tho.

13909074_10154279746121221_9203109798716555535_o
13987475_10154314812311221_3816580683239111169_o
13995592_10154297200396221_8244149956315528861_o
14241618_10154364160456221_3280061935518421065_o
14305377_10154393837281221_3419547138342621710_o
14379918_10154408390166221_555158647690406330_o
14425347_10154406076286221_4345902712881805138_o
14444717_10154422627751221_7892865201306318142_o
14468342_10154417690751221_893027953114359086_o
14543915_10154448038881221_525822743606289747_o
14715051_10154480376416221_2236219080755959924_o
14753866_10154473341011221_1731553398359669031_o

Old dynamite factory im tal

Took the car for a spin. Picked up a friend Veghel and drove off to Germany. We went to this awesome abandoned valley where we saw the ruïns of an old dynamite factory.

After that, we went up a hill to enjoy the view. We ended the day eating pizza in Wuppertal where we also saw the “Wuppertaler Schwebebahn”. It’s like a tram, but hanging under the rails. Cool stuff!

4s5a5374

4s5a5377-copy

4s5a5380-copy

4s5a5382-copy

4s5a5384-copy

4s5a5386-copy

4s5a5389-copy

4s5a5397-copy

4s5a5413-copy

4s5a5424-copy

4s5a5426-copy

4s5a5431-copy

4s5a5453-copy

4s5a5460-copy

4s5a5480-copy

4s5a5486-copy

4s5a5489-copy

4s5a5494

300km photography roadtrip

Went for a 2km ride, got back, ignored the street I lived in, carried on and ended up completely unplanned 150km away from home. This is the result.

This is actually something I want to do on a more regular basis. Probably invite friends along and just check out Europe. Anyway, in this case I drove around 300km and found some really cool places. Nothing was planned and I didn’t know the area beforehand.

4s5a3881

4s5a3889-copy

4s5a3893

4s5a3913-copy

4s5a3927-copy

4s5a3945-copy

4s5a3951-copy

4s5a3963-copy

4s5a3969-copy

4s5a3972-copy

4s5a3976-copy

4s5a3980-copy

4s5a3997-copy

4s5a4003-copy

4s5a4007-copy

4s5a4012-copy

4s5a4013-copy

4s5a4018-copy

4s5a4021-copy

4s5a4023-copy

4s5a4028-copy

4s5a4031-copy

4s5a4037-copy

VLN 6 hours race at the Nürburgring

So, after going to Belgium for the Formula 1 Belgian GP at Spa Francorchamps, my photos were noticed on Instagram.

I got in touch with Domenico Solombrino who is a Porsche driver at Mathol Racing and he told be the VLN 6 hours race at the German Nürburgring was next Saturday. I got in my car at 3AM and raced my way to the Green Hell to be just in time for quali.

The day was just awesome. I was able to walk everywhere on and around the track, also during the sessions. The smell, the sounds and the atmosphere, everything was just perfect. Here is just a small selection of the 120GB of shots I’ve taken. Enjoy!

4s5a2594-copy

4s5a1106-copy
4s5a1125-copy
4s5a1195-copy

4s5a1394-copy
4s5a1354-copy
4s5a3066

And here’s the rest in a gallery.

Formula one – Spa Francorchamps Grand Prix 2016

On Sunday the 28th, the 2016 Belgian Grand Prix was held. I was lucky enough to get tickets through work, so I went with some awesome colleagues, my brother and his daughter. What a day!


4s5a091822222


CLASSIFIED – A Germany Poland Czech roadtrip short series

classified-the-series-banner3
So, Herman Bluemink, Victor Eekhof and me (Steven van de Staak) went on a roadtrip. How did it all go? Well… 

To sum it all up, we rented a car and went East. Blasted through Germany, hit Poland, touched Czech and raced back. Some things were planned as in, we had some “waypoints” but the actual route and time schedule was quite a tombola. Besides taking a ton of photo’s I ended up capturing hours on my GoPro. Here are 7 episodes or roughly 10 minutes each for you to enjoy. Enjoy.

Classified – TheSeries [S01E01] – The First day

Classified – TheSeries [S01E02] – SAUERKRAUT

Classified – TheSeries [S01E03] – A steamy museum

Classified – TheSeries [S01E04] – Hotel Lidl

Classified – TheSeries [S01E05] – Looking for abandoned stuff.

Classified – TheSeries [S01E06] – Old stuff and mountains

Classified – TheSeries [S01E07] – Goin’ home

Quick roadtrip to Germany, again

Just a quick ride in my car to Germany. Was bored so.. whadda ya do, right?

I actually found this old city-center by accident, took a wrong turn and all of a sudden I saw this old building with a gate (first photo). Parked the car and went in. There, I found this awesome castle. What random traveling can give you, right?
13958074_10154309529296221_6780064192340698103_o

13987471_10154314849066221_8953584033389156076_o

13987640_10154314836796221_4401135818553193164_o

13988280_10154309529286221_7122105819036937211_o

13996048_10154314849071221_606432134603251111_o

14067798_10154309529291221_6301008244480620644_o

14068377_10154309529916221_8347486682101211878_o

14068468_10154309529876221_183449914454085015_o

Tutorial: Facebook 360 degree panorama photos

New camera’s and even smartphones often have an option or app to make beautiful panorama photo’s. Remove the frame around a photo and let others relive the view you had!
Stitched Panorama

So Facebook added a feature to show panorama’s with their new panoramaviewer. It works on PC’s by draging your mouse over the photo, while mobile users can actually look around with their smartphone.

Facebook panorama example

Click the image to see it at Facebook.

Easy steps: how to do it yourself

  1. Create a panorama photo. This depends on the equipment you have. Suggestions: DSLR with fisheye lens, Smartphone with panorama app or use a 360 camera (not many out there yet, but it’s coming!)
  2. Drag your photo to Photoshop or any other edit tool. Your photo needs to have an aspect ratio of 1:2. So for example 5 high, 10 wide. The maximum for Facebook is 6000 pixels wide and 3000 pixels high. That’s what I use.
  3. The horizon should be in the middle of the photo. Also, the absolute center of the photo is where your Facebook viewer wil start.
  4. Export the image to JPG, try to get it around 4-6mb max.
  5. Edit the META data of your image. You can do that within Windows (Right click on the image, go to details) or use the online tool thexifer.net.
  6. Change Make to “RICOH” and Model to “RICOH THETA S”.
  7. Save/download the image
  8. Go to your Facebook timeline, and upload it like you’d do any other photo. Don’t post it in a comment, but use a new post.

Here’s the above panorama, but flat. The red square indicates the absolute center ánd also the startingpoint where Facebook will position the viewer.
The lower part was a bit messy, so the black part will become a small disc. The grey line just becomes a dot. It’s good to have a center-point for oriëntation.

Stitched Panorama


CHEATSHEET – Download the template

Here’s a PSD-template for Facebook panorama photo’s! Just download it, drag your panorama in and make it fit. The metadata is included, so no further editing needed! You can leave the black area on the bottom and edit the text or remove it if your panorama has the ground included as well.

stfoto-facebook-panorama-template.psd (3mb)

Enjoy!

My work in a museum

Get the champagne out of the fridge, because it’s party time! 

The Swiss Museum.bl asked me if they could use a photo of mine. I didn’t hesitate, found the original, edited it again, exported it for print and sent it as a gift. They were happy, and they delivered me with a photo which made me truly happy. Look mum and dad, I’m in a museum!

Ostia_1

Abandoned factory in Czech

This gallery contains 23 photos.

So, a couple of weeks ago I was at Borderer in the Czech Republic. When I couldn’t do much on the field, I decided to walk the road back 2 km…

13072792_10154023274531221_9212537423482050660_o

When we arrived at the field, I noticed a large factory hidden in the hills. So I walked there, jumped the fence and this was what I found…

Random forrest photo’s

Did a 20km bicycle ride, as more often is the case, and I brought my camera. Here’s some results. Enjoy.

4S5A2246
4S5A2250
4S5A2253
4S5A2256
4S5A2269
4S5A2272
4S5A2282

Borderwar 8: The warchief (airsoft event)

So last weekend I went to one of the biggest airsoft events in the world. Borderwar, the 8th edition. It has almost 4000 players all in military outfits, so why not hop on and play as a warphotographer?

The trip to the Czech location was long. We left on Wednesday and arrived on Thursday morning. But then again, it’s 900 long km’s. The weather was great the first 3 days, and that’s also when I took most in-game shots. Here are a couple of them, you can find the whole gallery on Facebook.

4S5A0979

4S5A0896

4S5A1102

4S5A1156

4S5A1215

4S5A1245

4S5A1246

4S5A1324

4S5A1377

4S5A1466

4S5A1499

4S5A1534

4S5A1566

4S5A1671

4S5A1685

4S5A1740

4S5A1744

See the full gallery at Facebook

The Veluwe National Park

One of the most beautiful natural parcs in the Netherlands is the Veluwe. Actually, it is thé most beautiful in my opinion. Last Saturday I was there for a photoshoot with Tim, and I managed to take some area-photo’s as well. Here they are.

4S5A0668

4S5A0625

4S5A0676

4S5A0684

4S5A0707

4S5A0719

4S5A0723

4S5A0733

4S5A0734

Photoshoot with Tim at the Veluwe

After working with Tim Aaldering already once in the studio, we decided it was time for another shoot.

This time we went into the great outdoors: the Dutch Veluwe. This is a large area in Gelderland with lot’s of trees, animals and open fields with sand and dry grass. A pretty cool location for a shoot, to show a feeling of freedom and fun.

Camera used:

  • Canon EOS 5DSr

Flash used:

  • Speedlite 600EX-RT

Lenses used:

  • Canon 70-200mm f2.8 IS USM L ii
  • Canon 50mm f1.4
  • Sigma 12-24mm f4.5

4S5A0533
4S5A0551
4S5A0558
4S5A0560
4S5A0576
4S5A0577
4S5A0601
4S5A0616
4S5A0641-bw
4S5A0700
4S5A0715

Bubbles. Lot’s of soapy bubbles.

Was doing the dishes, saw bubbles. Liked their colors, so what does a photographer do?

Exactly. Dries his hands, get's camera. Hoovers over water and tests out both new macro tubes ánd a nice LED Ring-flash. The results...? Check it out for yourself.

Canon 5DSr
Canon 50mm 1.4
Meike ringflash
Phootlex Auto Focus Extension Tube set

Macro photography soap bubbles Canon eos 5DSr

Macro photography soap bubbles Canon eos 5DSr

Macro photography soap bubbles Canon eos 5DSr

Review: Tamron 45mm F/1.8 Di VC USD


tamron-45mm-1-8-di-vc-usd
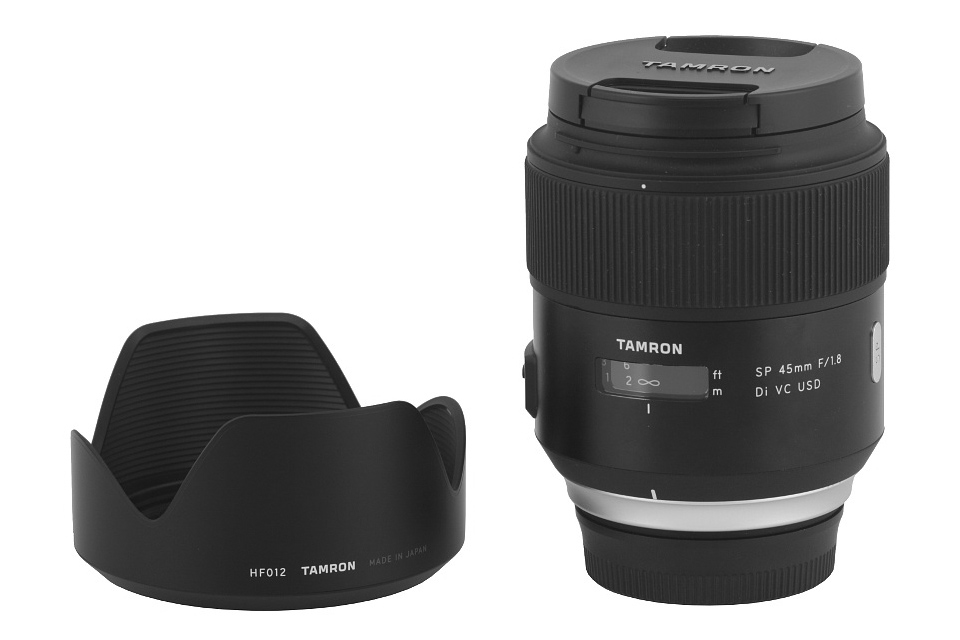
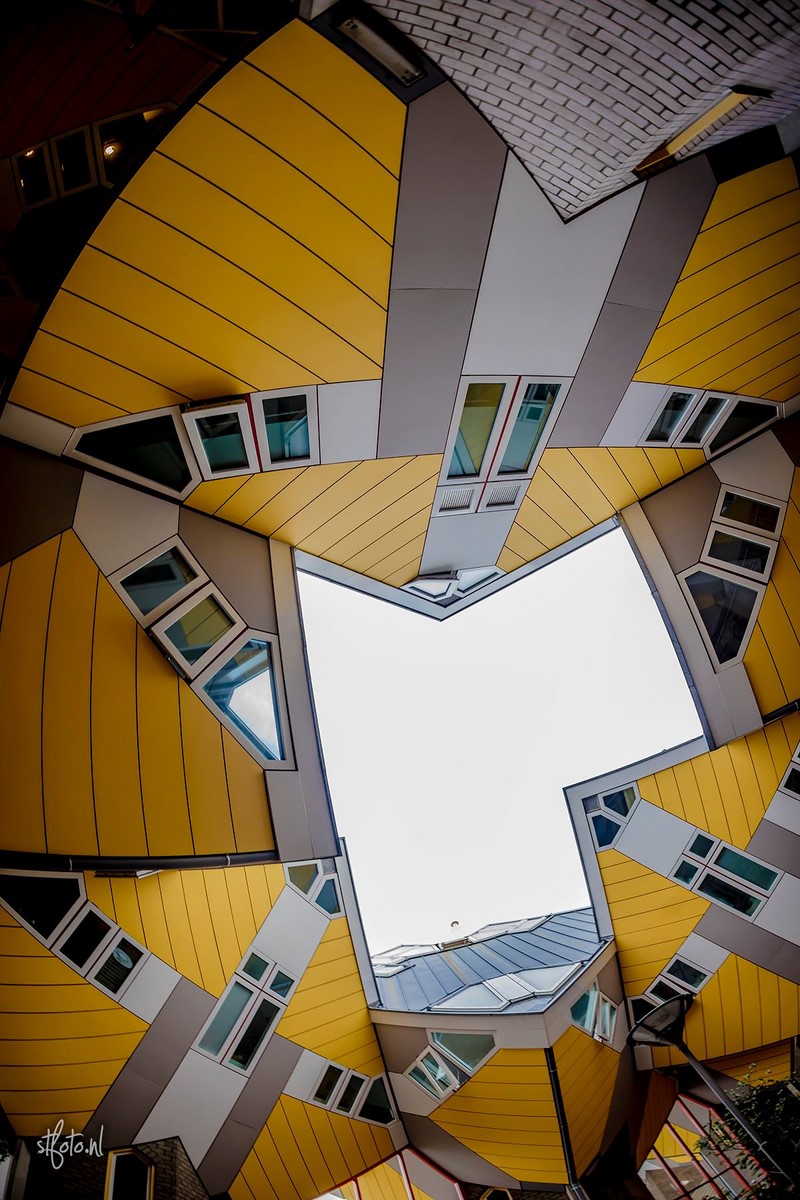
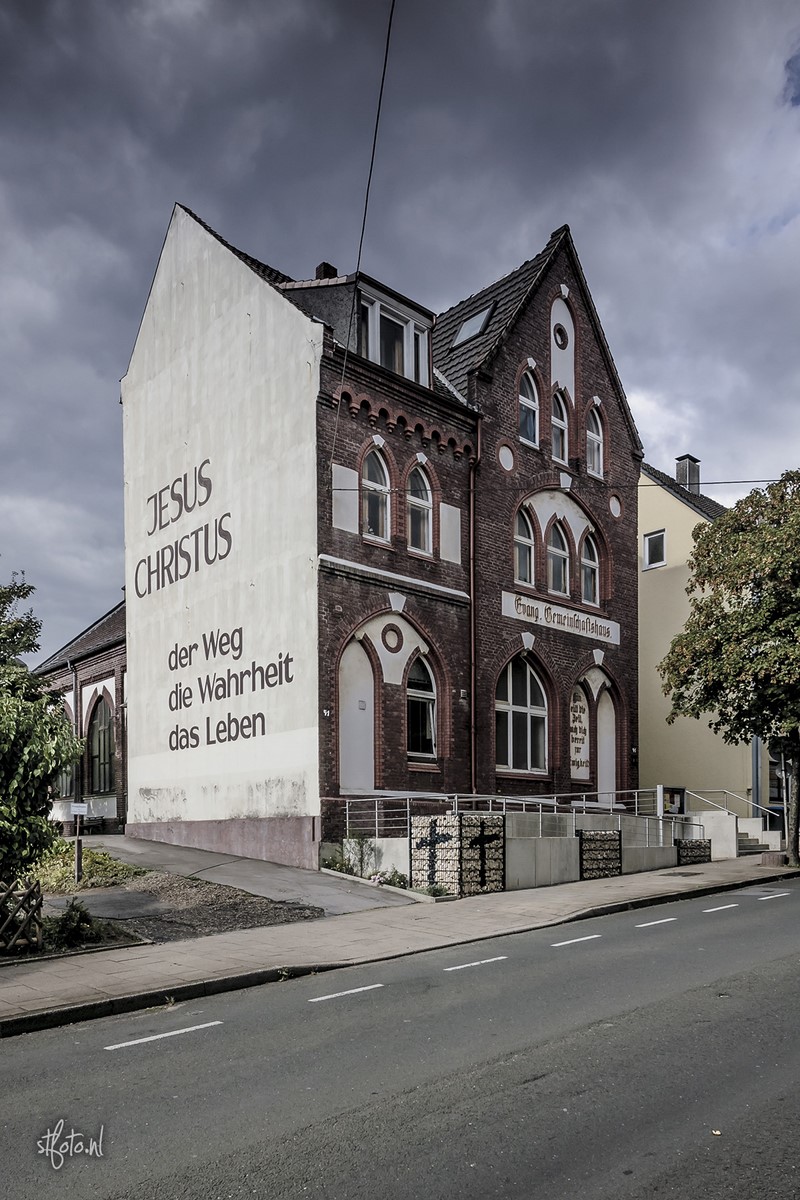
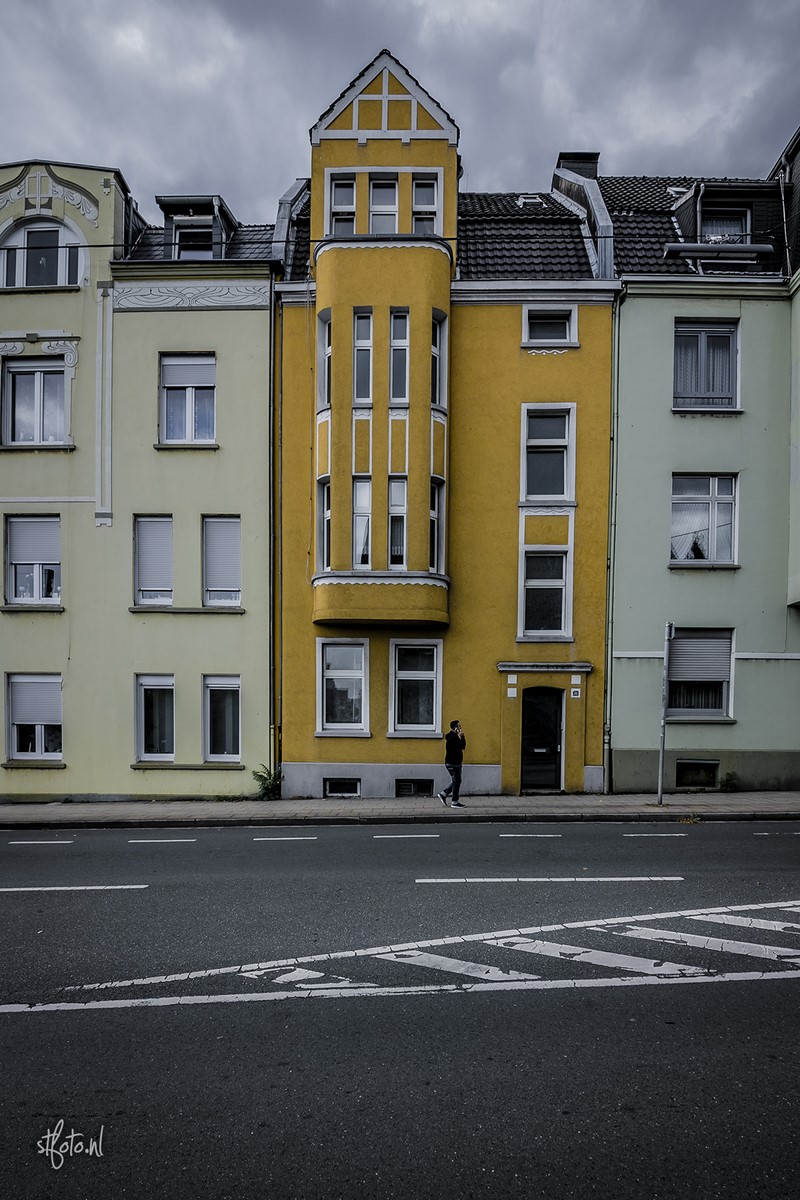
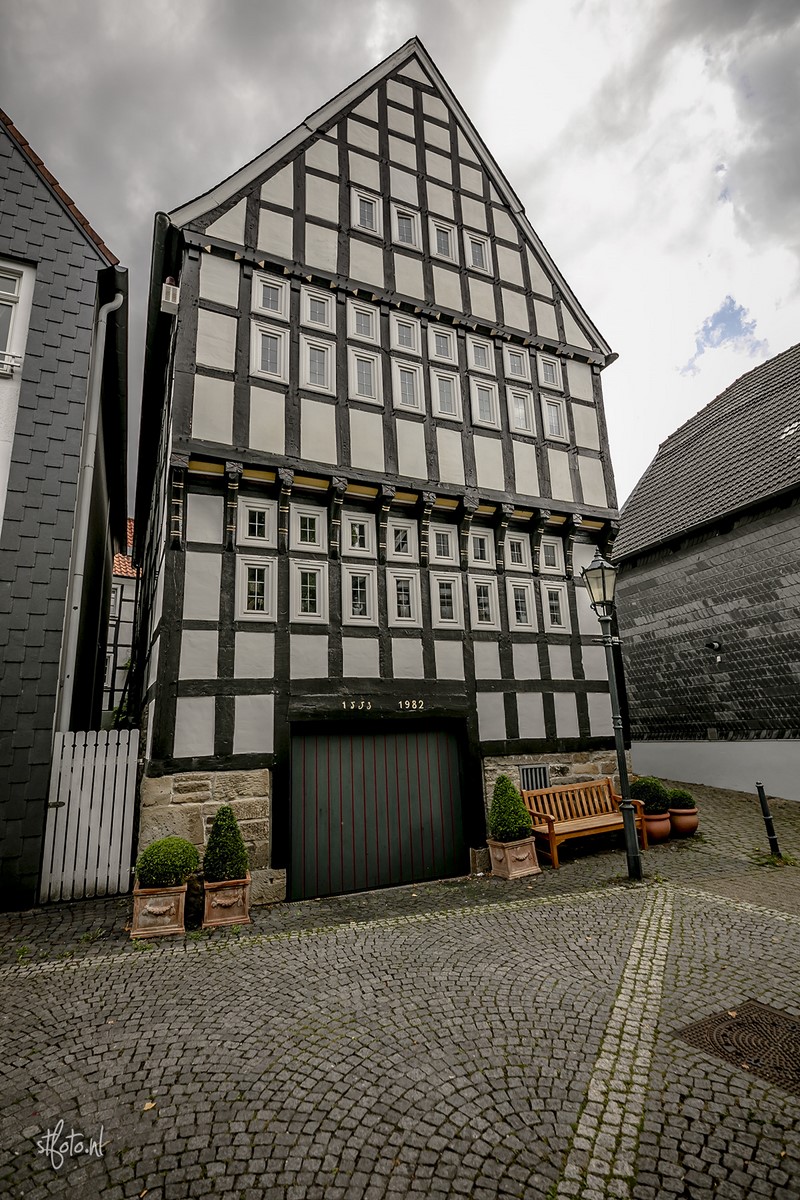
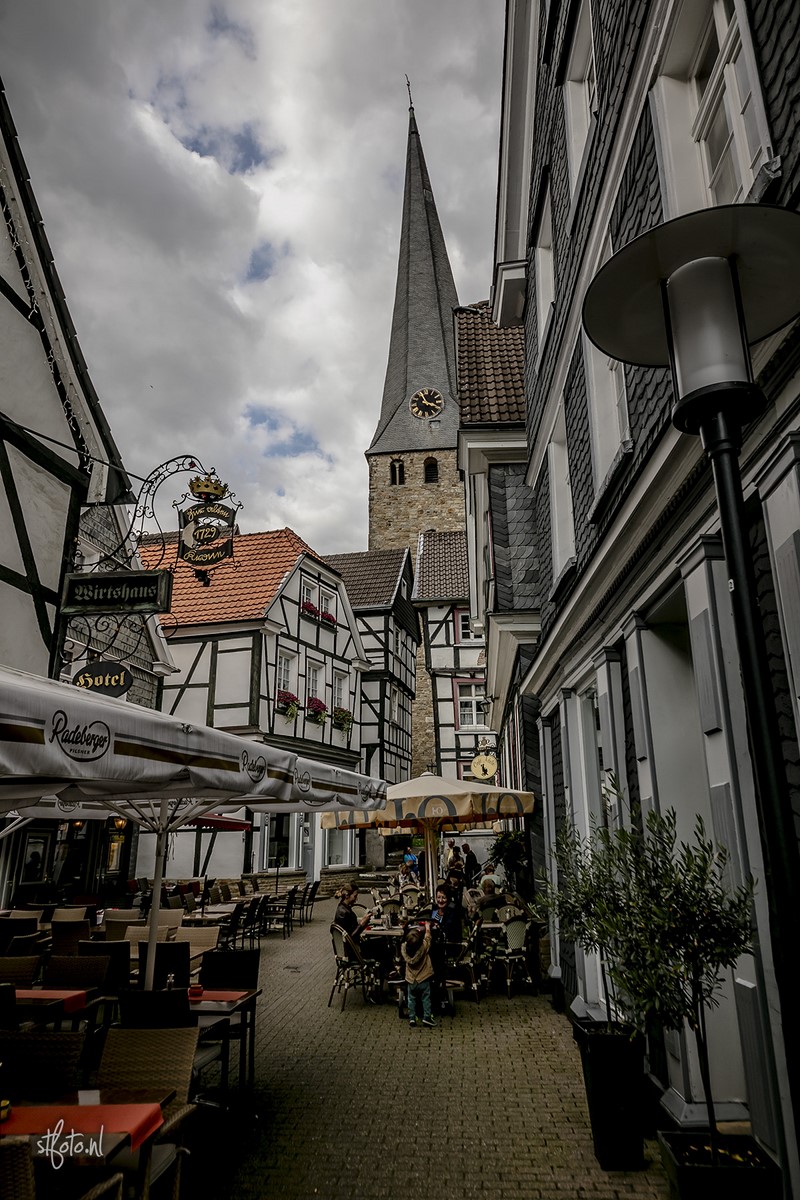
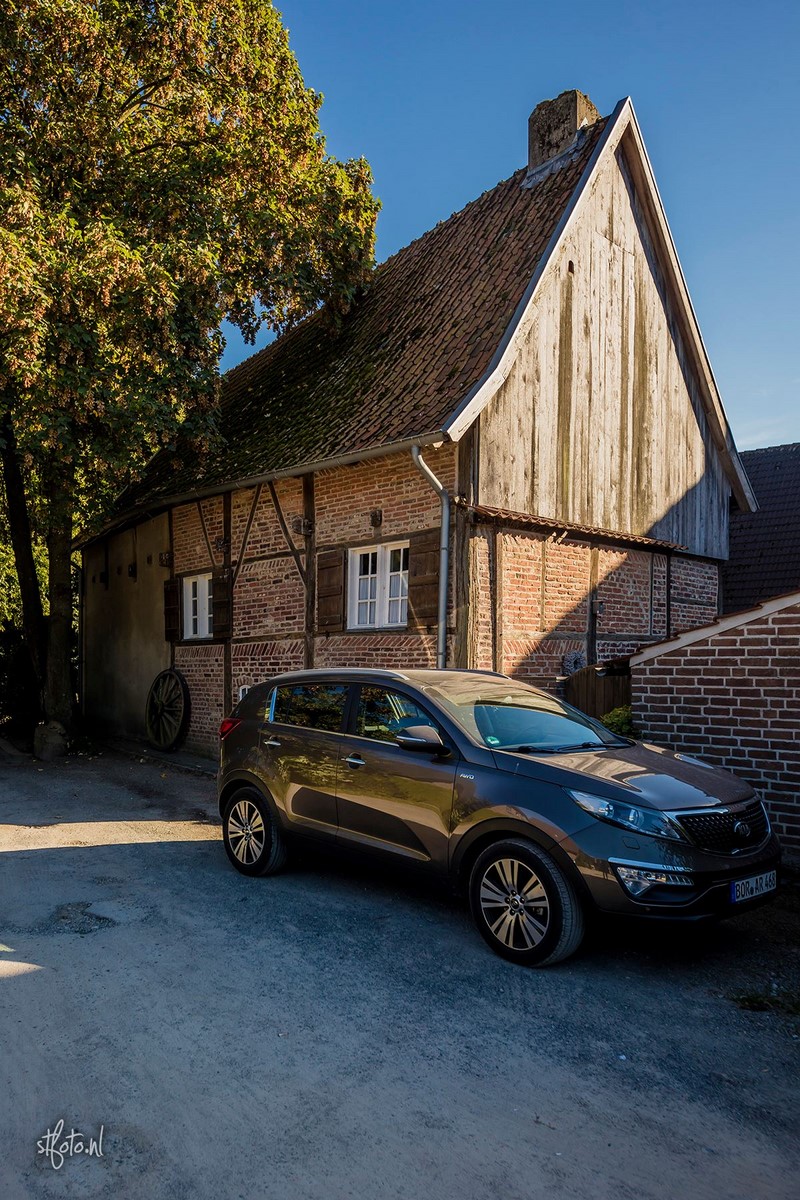
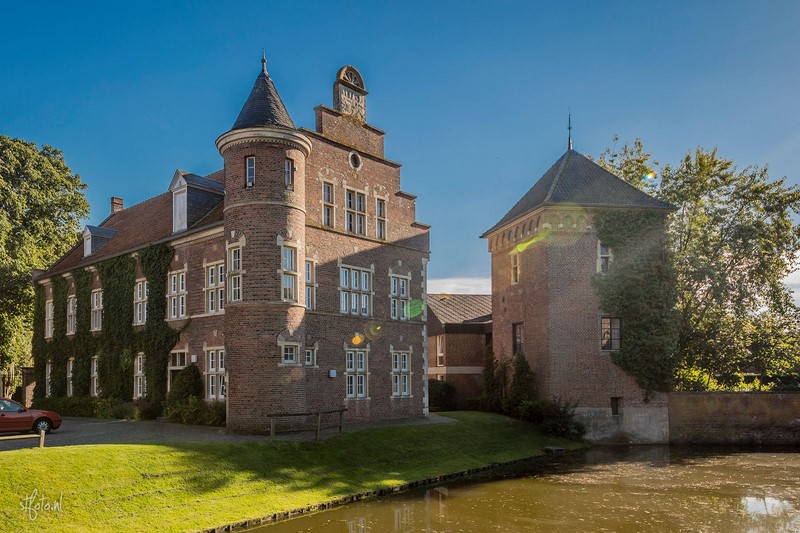
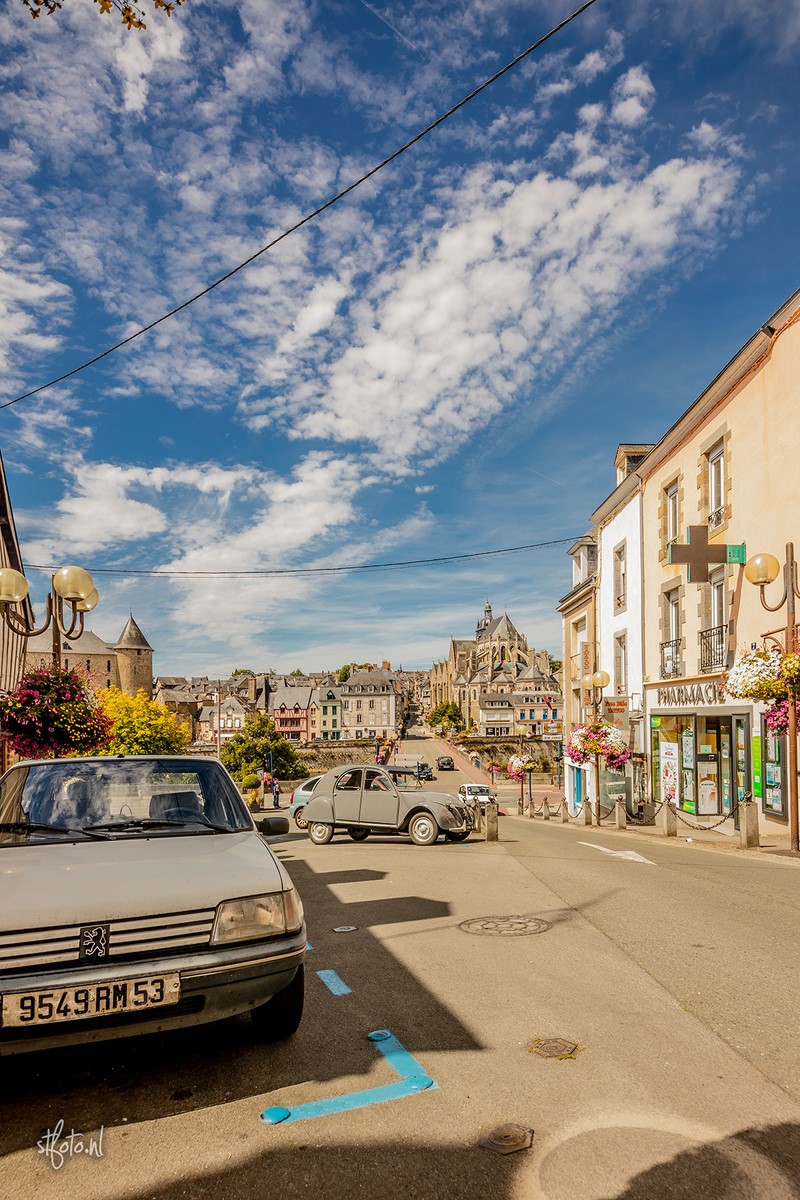
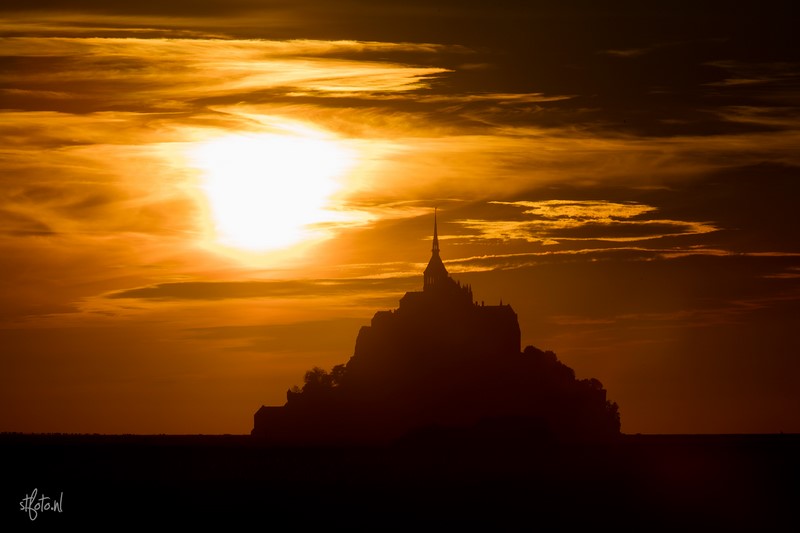
Een week lang mocht ik de Tamron 45mm 1.8 eens flink uitproberen. 45mm prime lenzen zie je niet veel, maar de lens is op meerdere vlakken heel uniek. Zo schiet hij macrofoto’s én heeft hij optische stabilisatie. En dat voor een 1.8 lichtsterke lens!

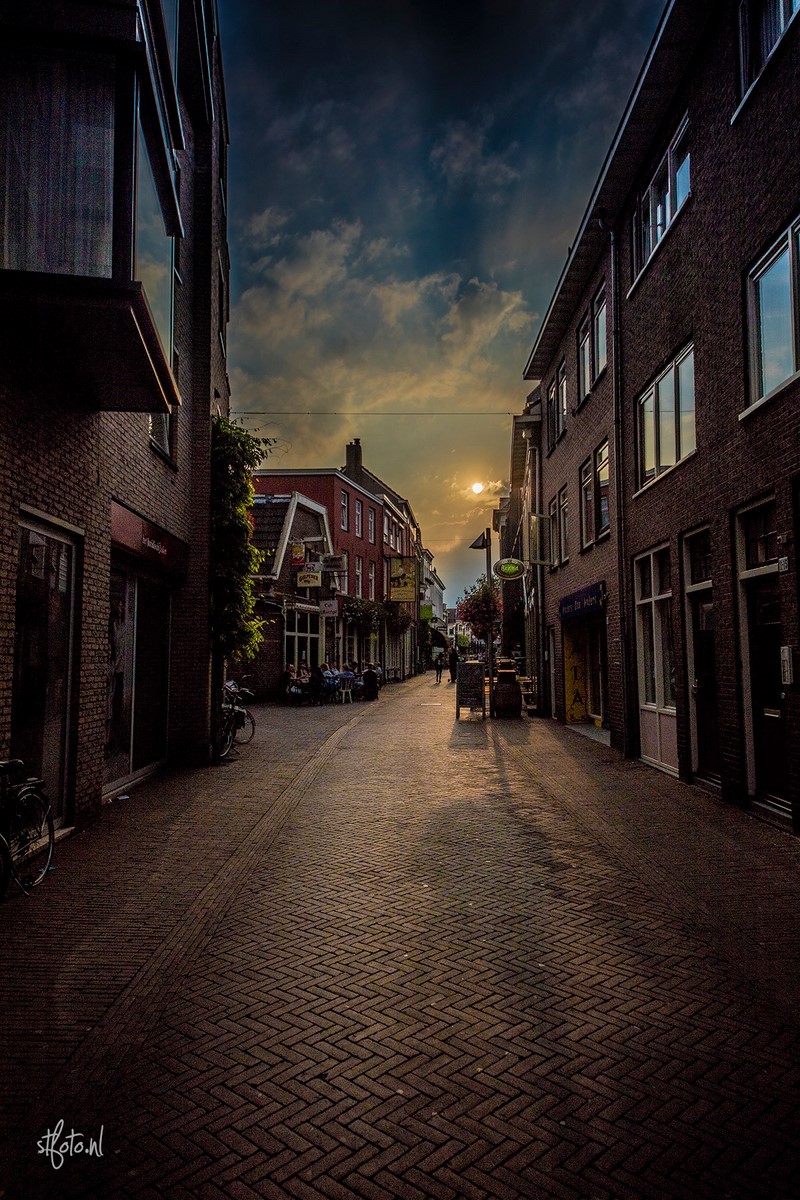
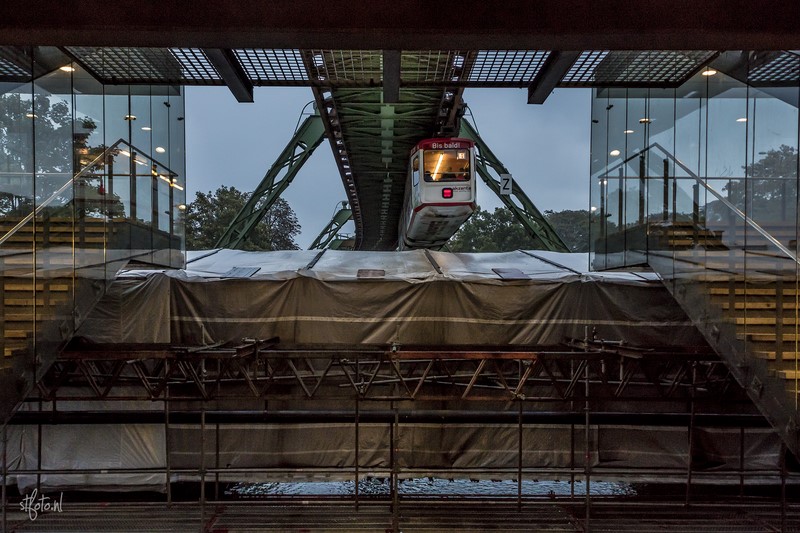
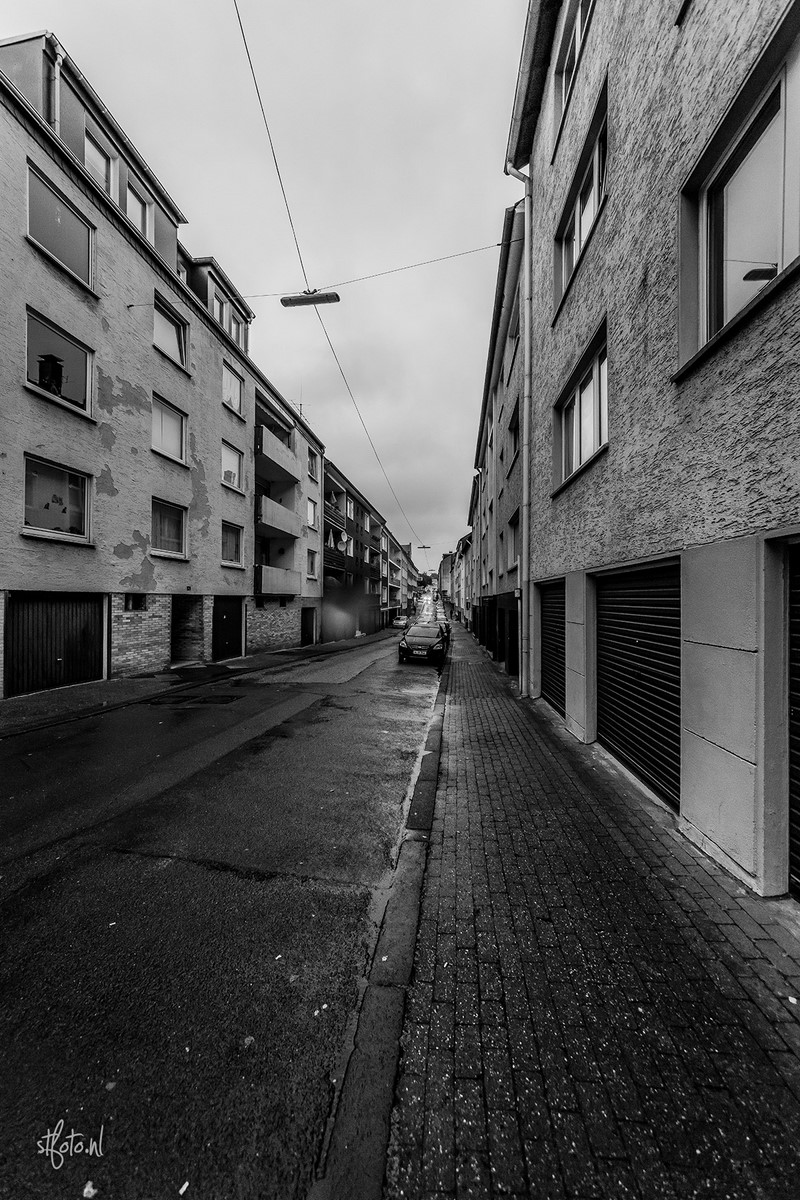
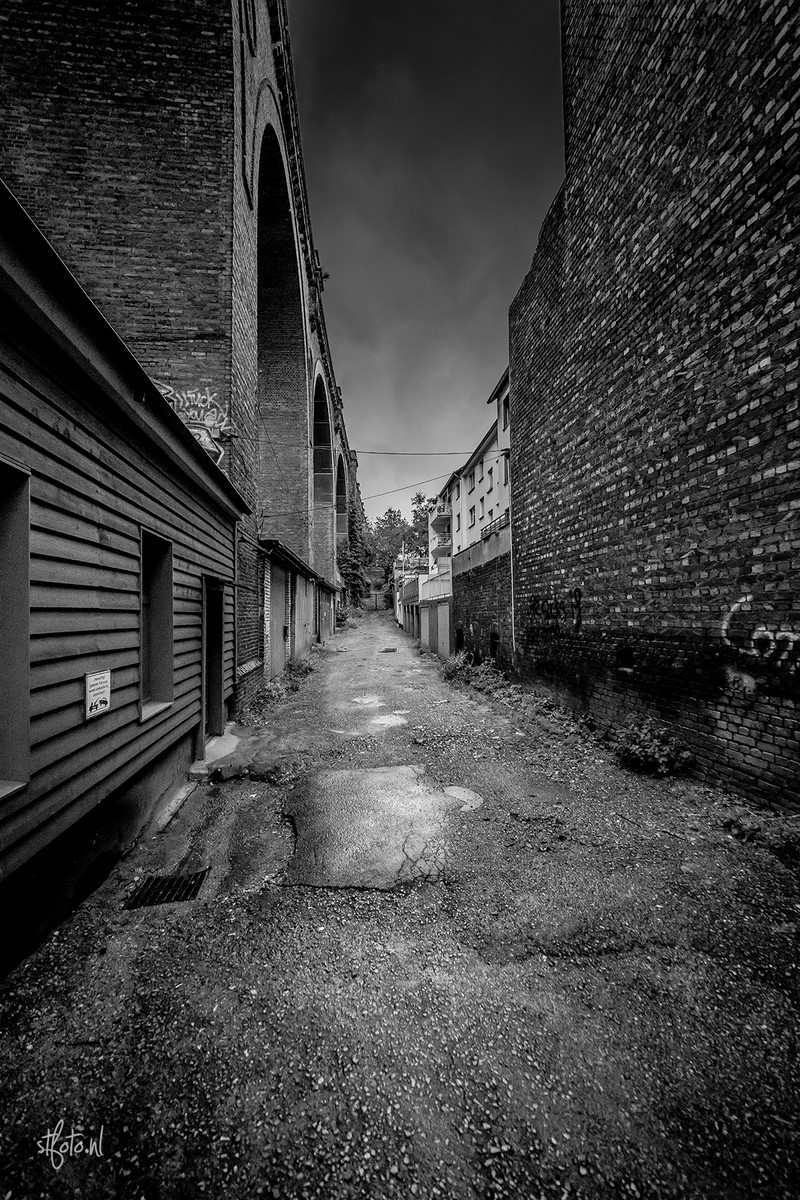
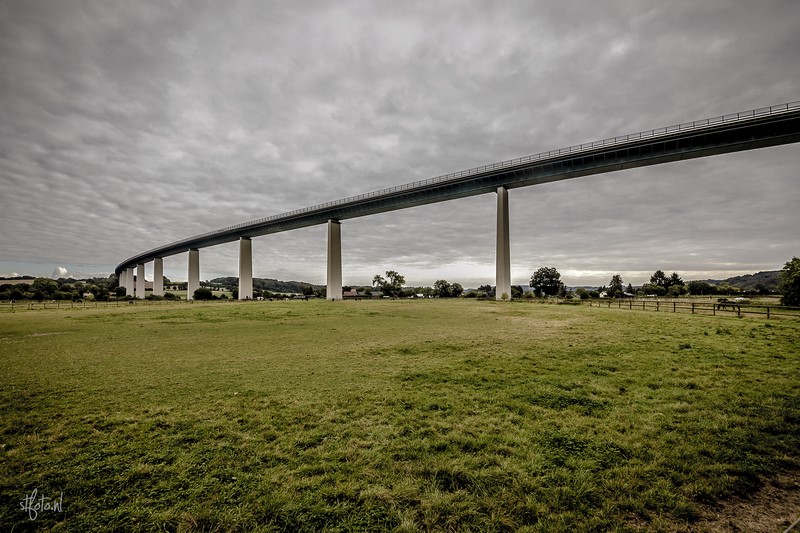
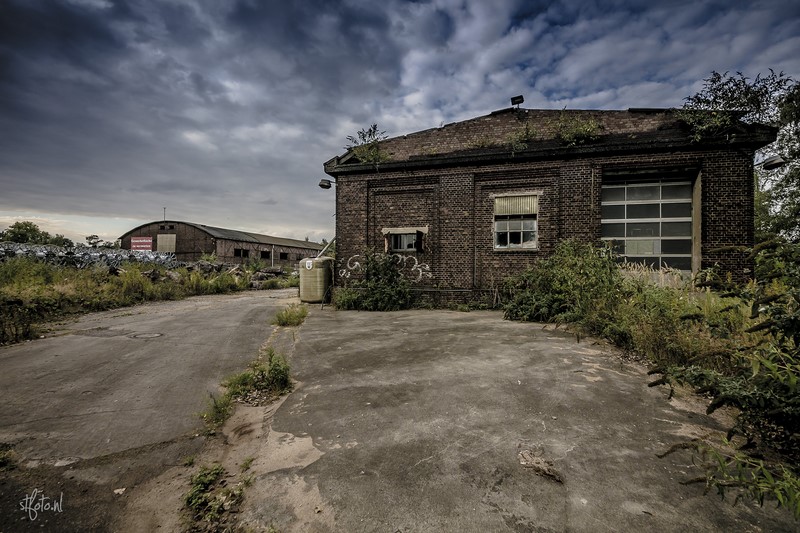
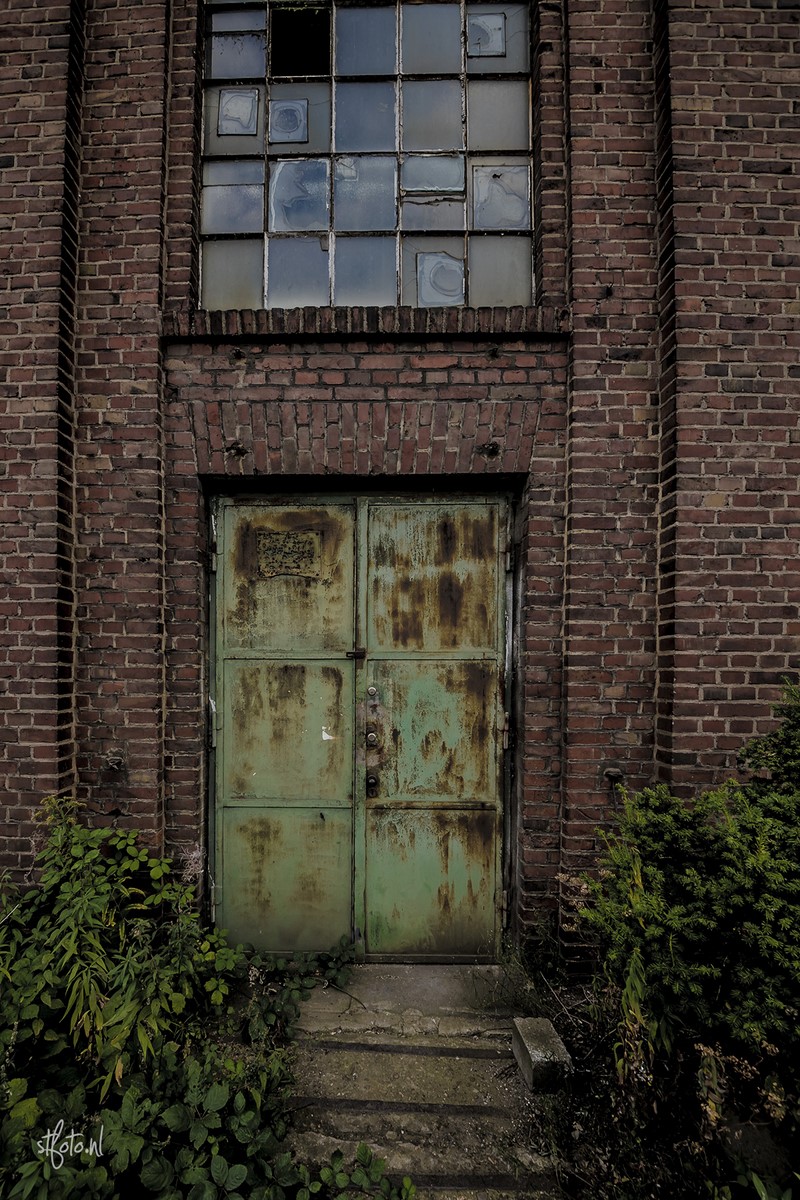
De lens heb ik een week lang getest op de Canon 5DSr. Deze camera schiet op 51mp en dankzij het low-pass cancelation filter wordt élk detail vastgelegd. Mijn review is geen laboratoriumtest, maar écht een gebruikersreview.

Eerste indruk

Nette doos, direct wat boekjes, lens daaronder stevig en secuur verpakt. Ook de zonnekap is veilig ingepakt. Lens eruit, voelt heel degelijk aan. Mooie afwerking ook. Focus gaat super smooth. Afwerking van het materiaal en de belettering zijn super strak. Zonnekap draait secuur op de lens en geeft een bevestigende klik. Ook de knopjes op de lens werken perfect. Wanneer je de autofocus of stabilisatie aan of uit zet geeft dit ook weer een fijne klik. Hoewel het super eenvoudig is om deze knopjes te verschuiven heb ik niet het idee dat dit per ongeluk zal gaan. Met andere lenzen heb ik weleens dat in mijn fototas de AF uitgezet wordt. Heel frustrerend als je na een aantal goede foto’s erachter komt dat de focus op handmatig stond. Dat zal met deze lens niet gebeuren.

45mm v.s. 50mm

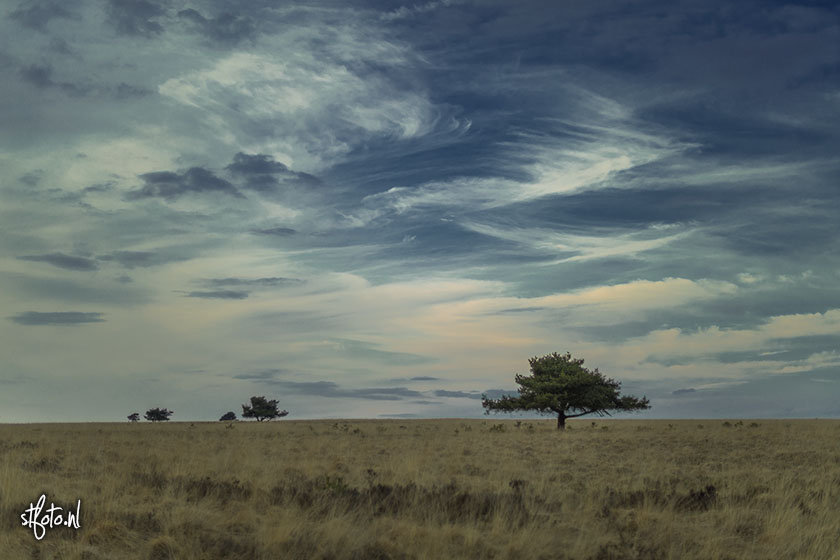
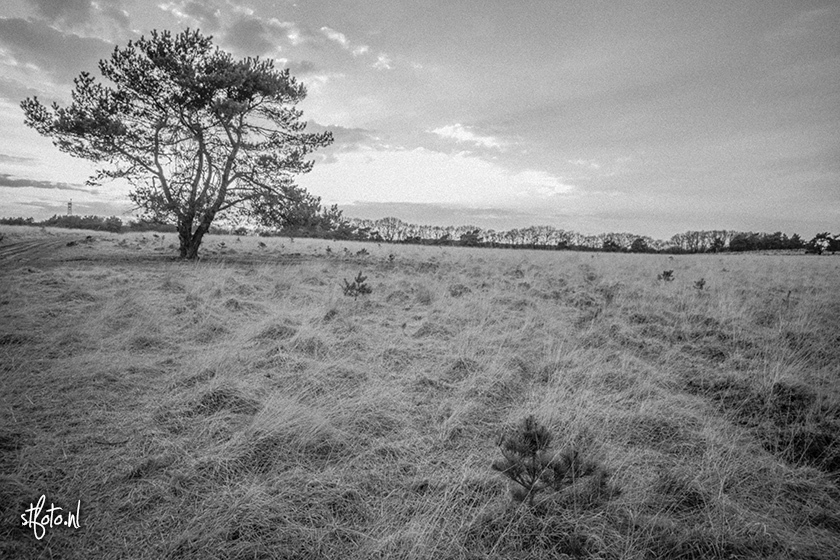
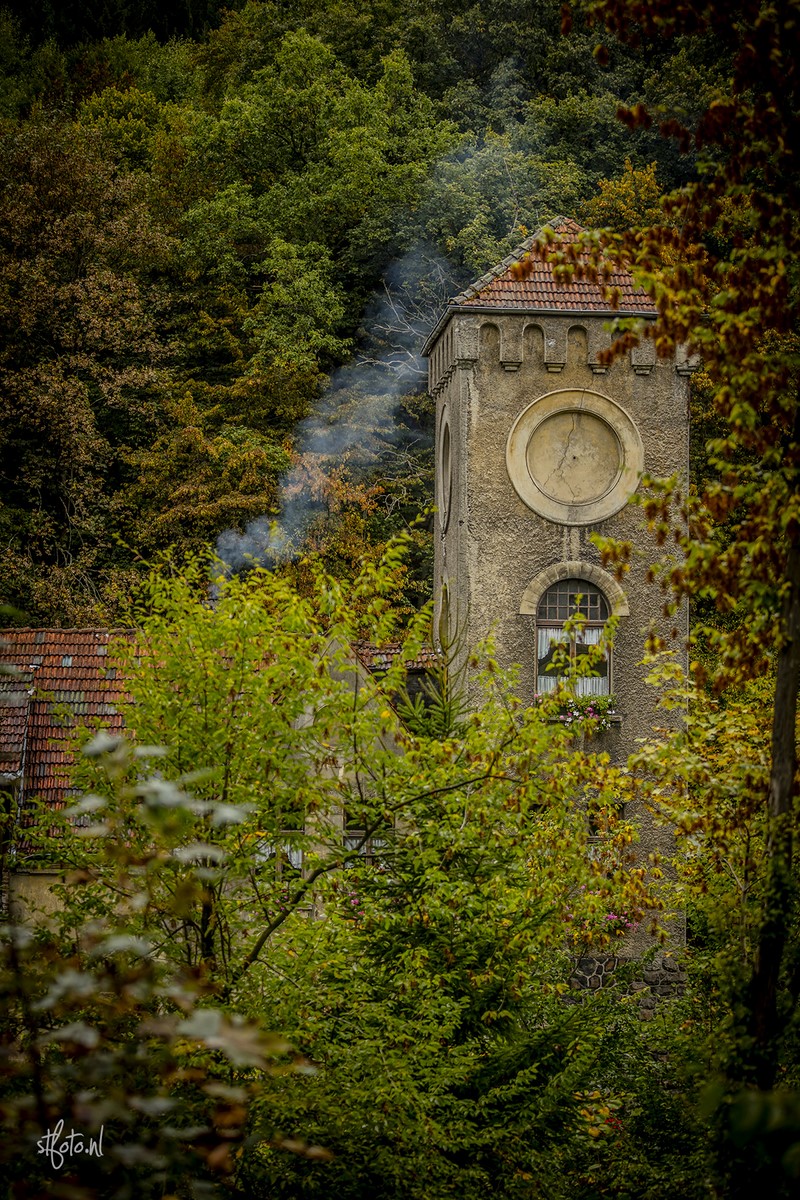
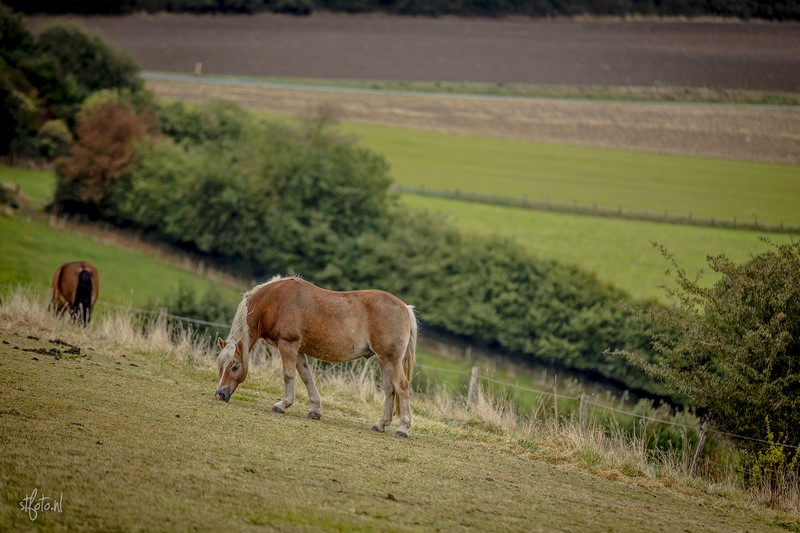
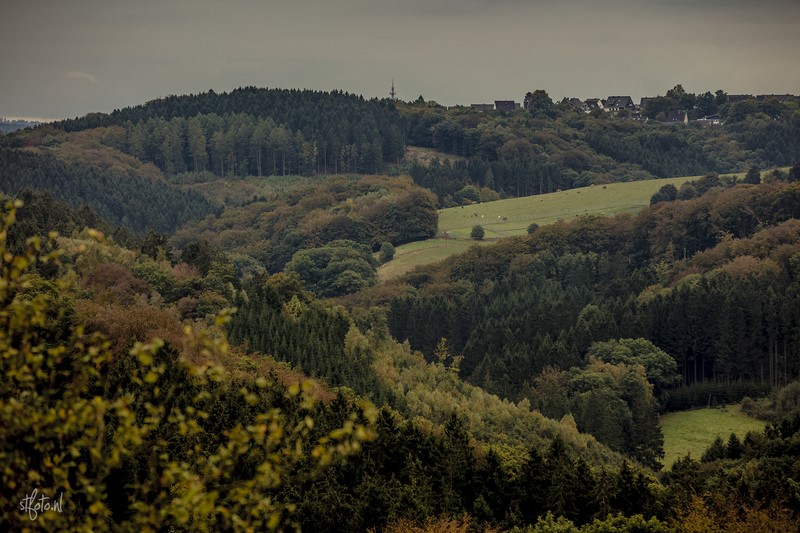
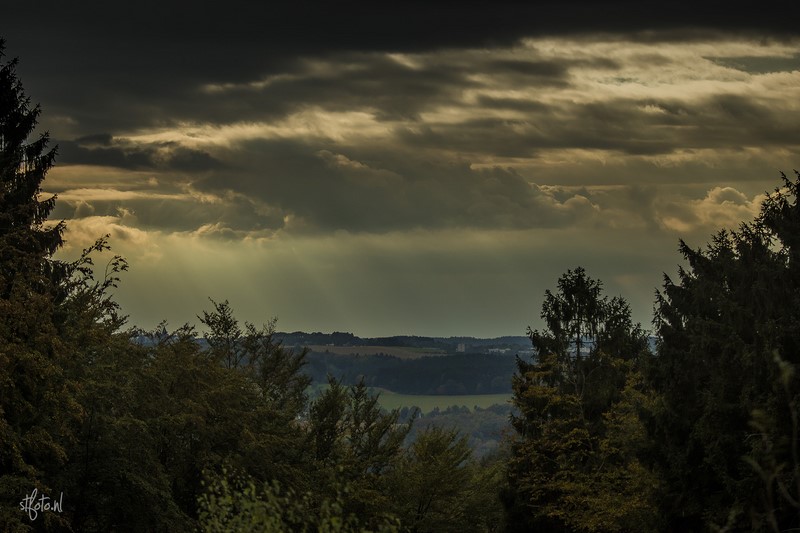
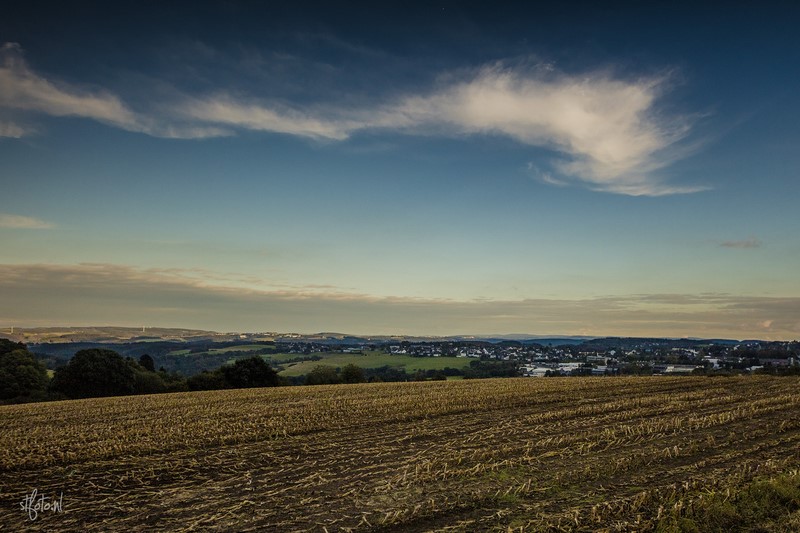
Veel fotografen gebruiken de 50 1.8 voor portretfotografie. Deze lenzen zijn over het algemeen snel, scherp en creëren een mooi bokeh. Tamron’s 45mm wijkt daar dus iets van af en tijdens het fotograferen is dat merkbaar. Al is het slechts 5mm verschil, je hebt nét even wat meer beeld. Nét wat meer om later mee te spelen en net wat meer overzicht. Persoonlijk vond ik dit erg fijn zowel bij portret evenals landschap.

Prestaties – Scherpte

Er staan op het internet al een aantal reviews die heel gedetailleerd ingaan op de prestaties van deze lens, dus ik hou me vooral bij mijn bevindingen als een gebruiker.

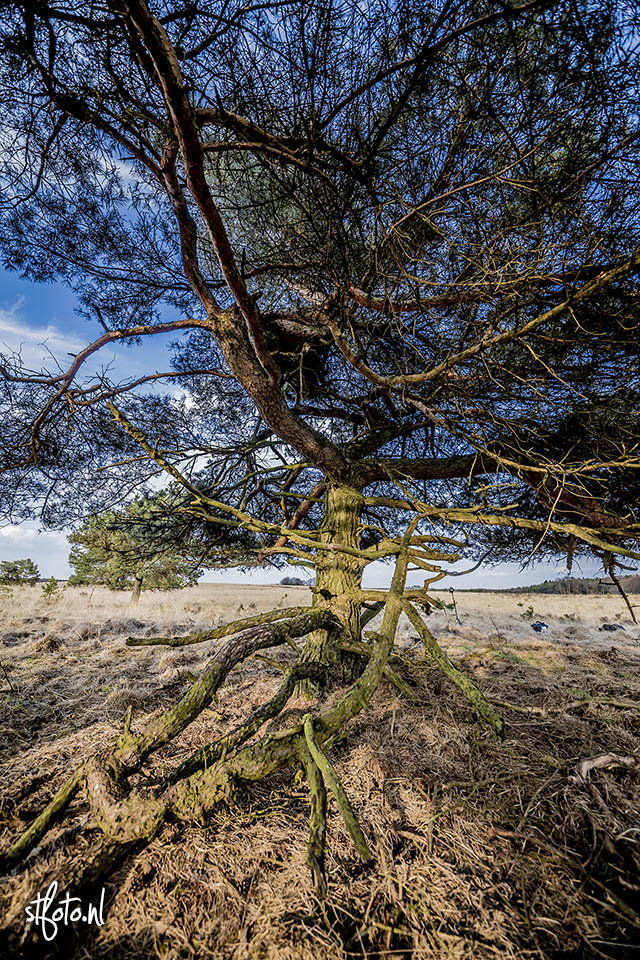
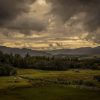
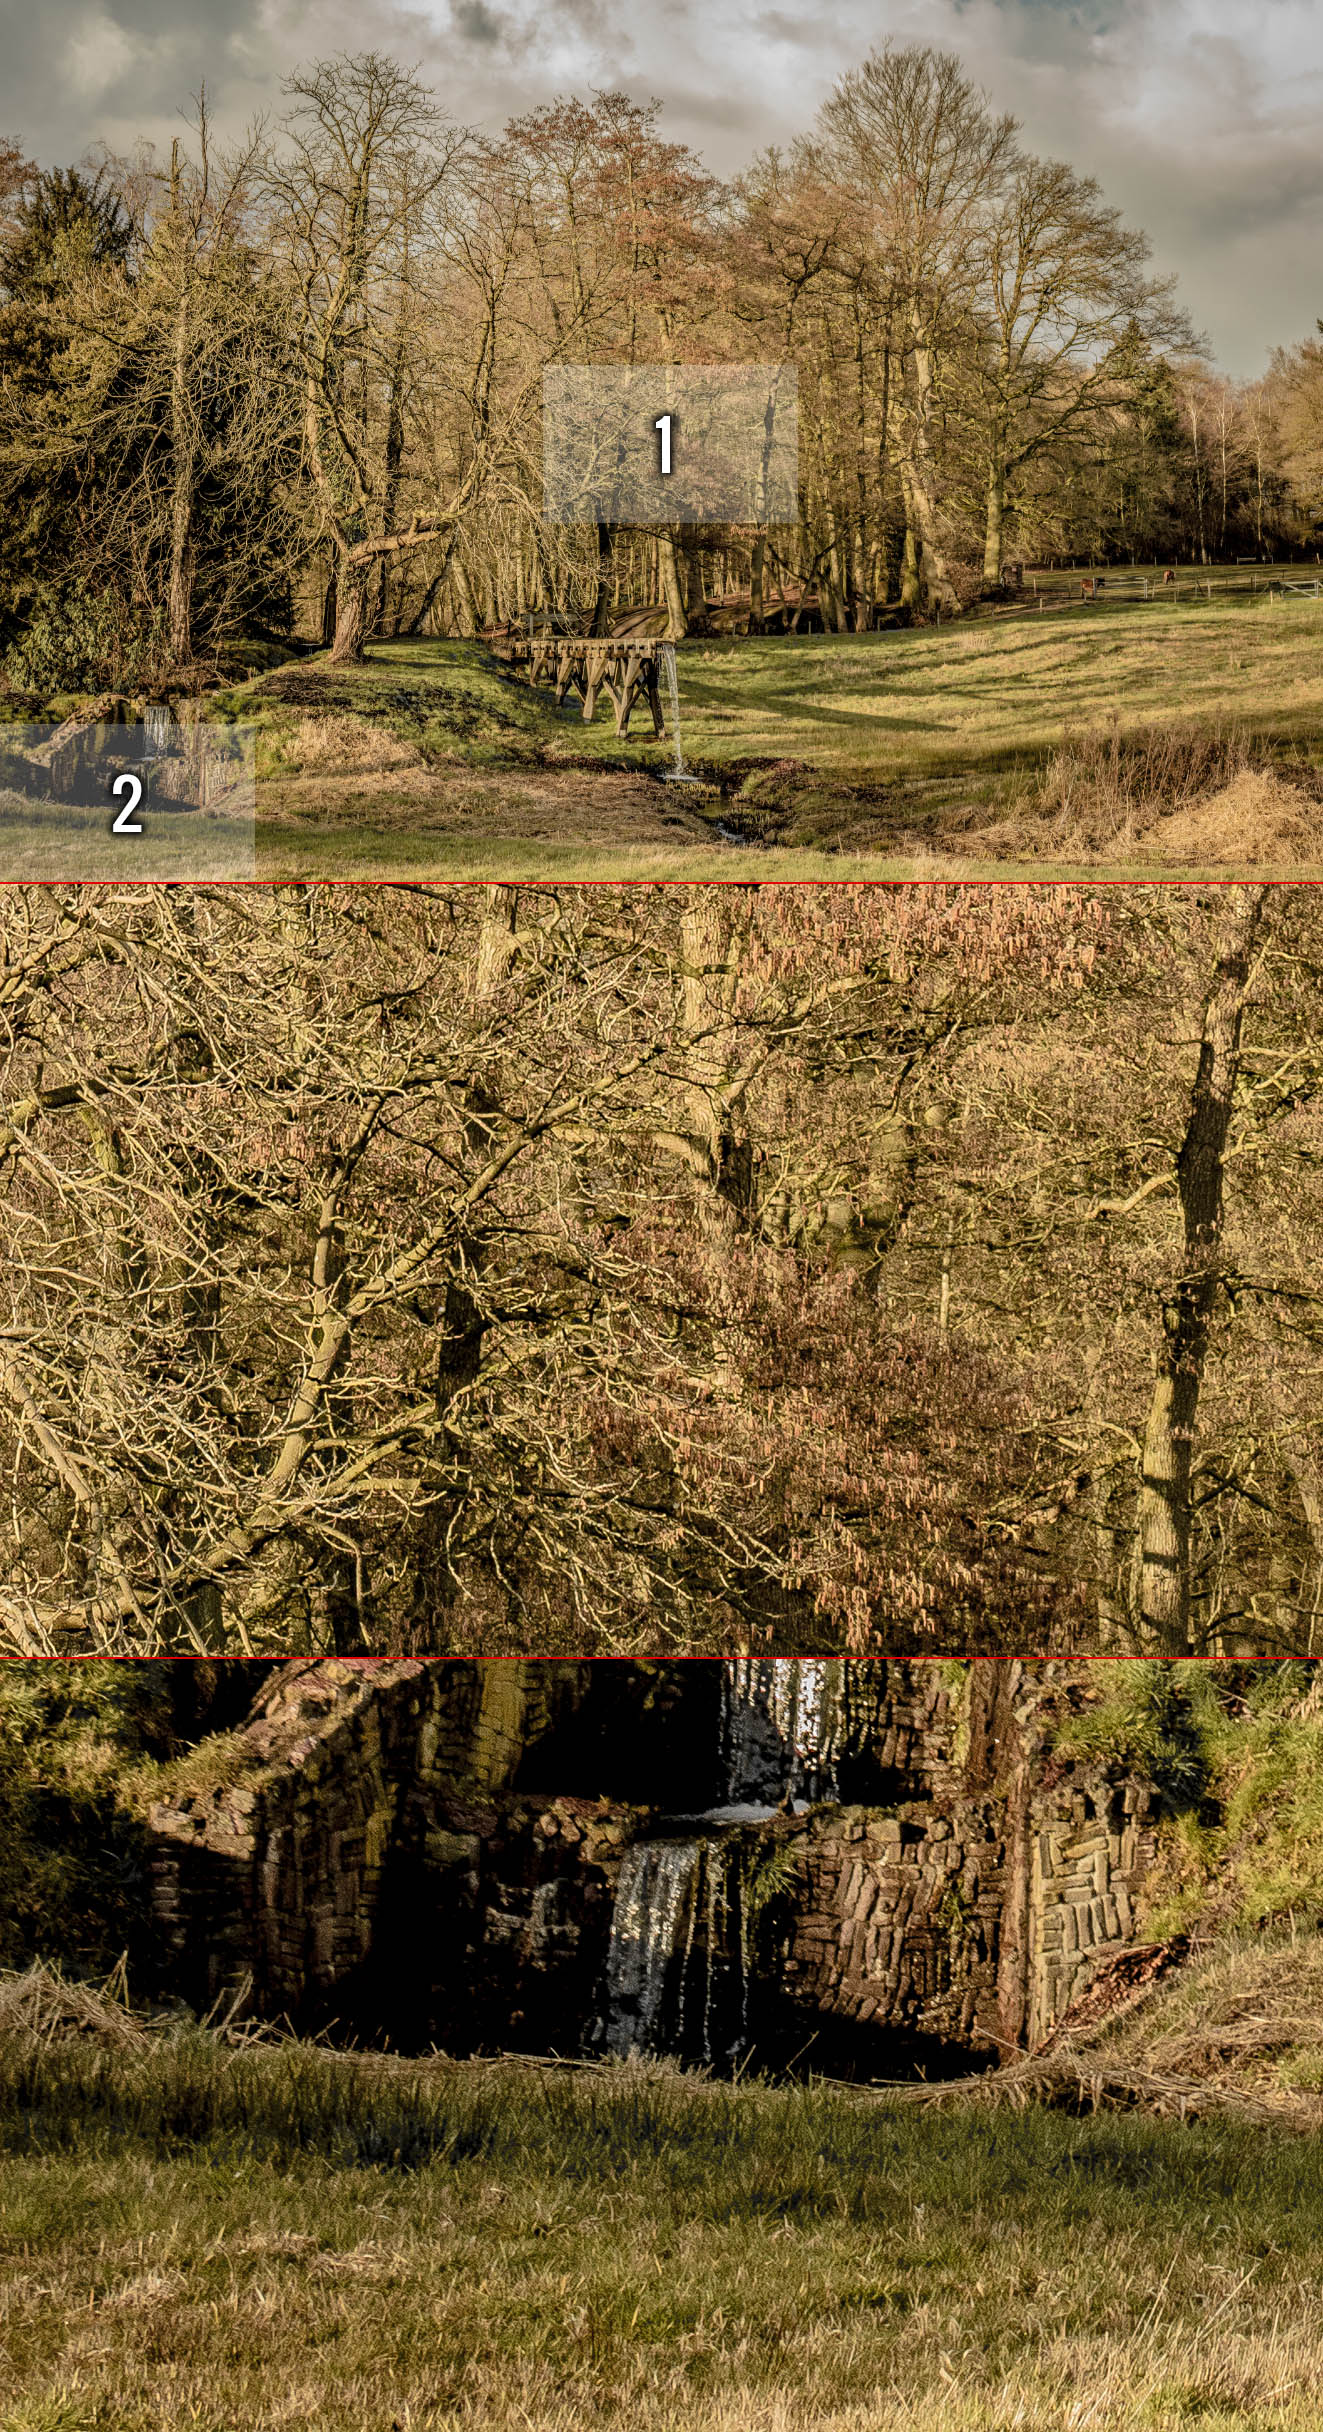
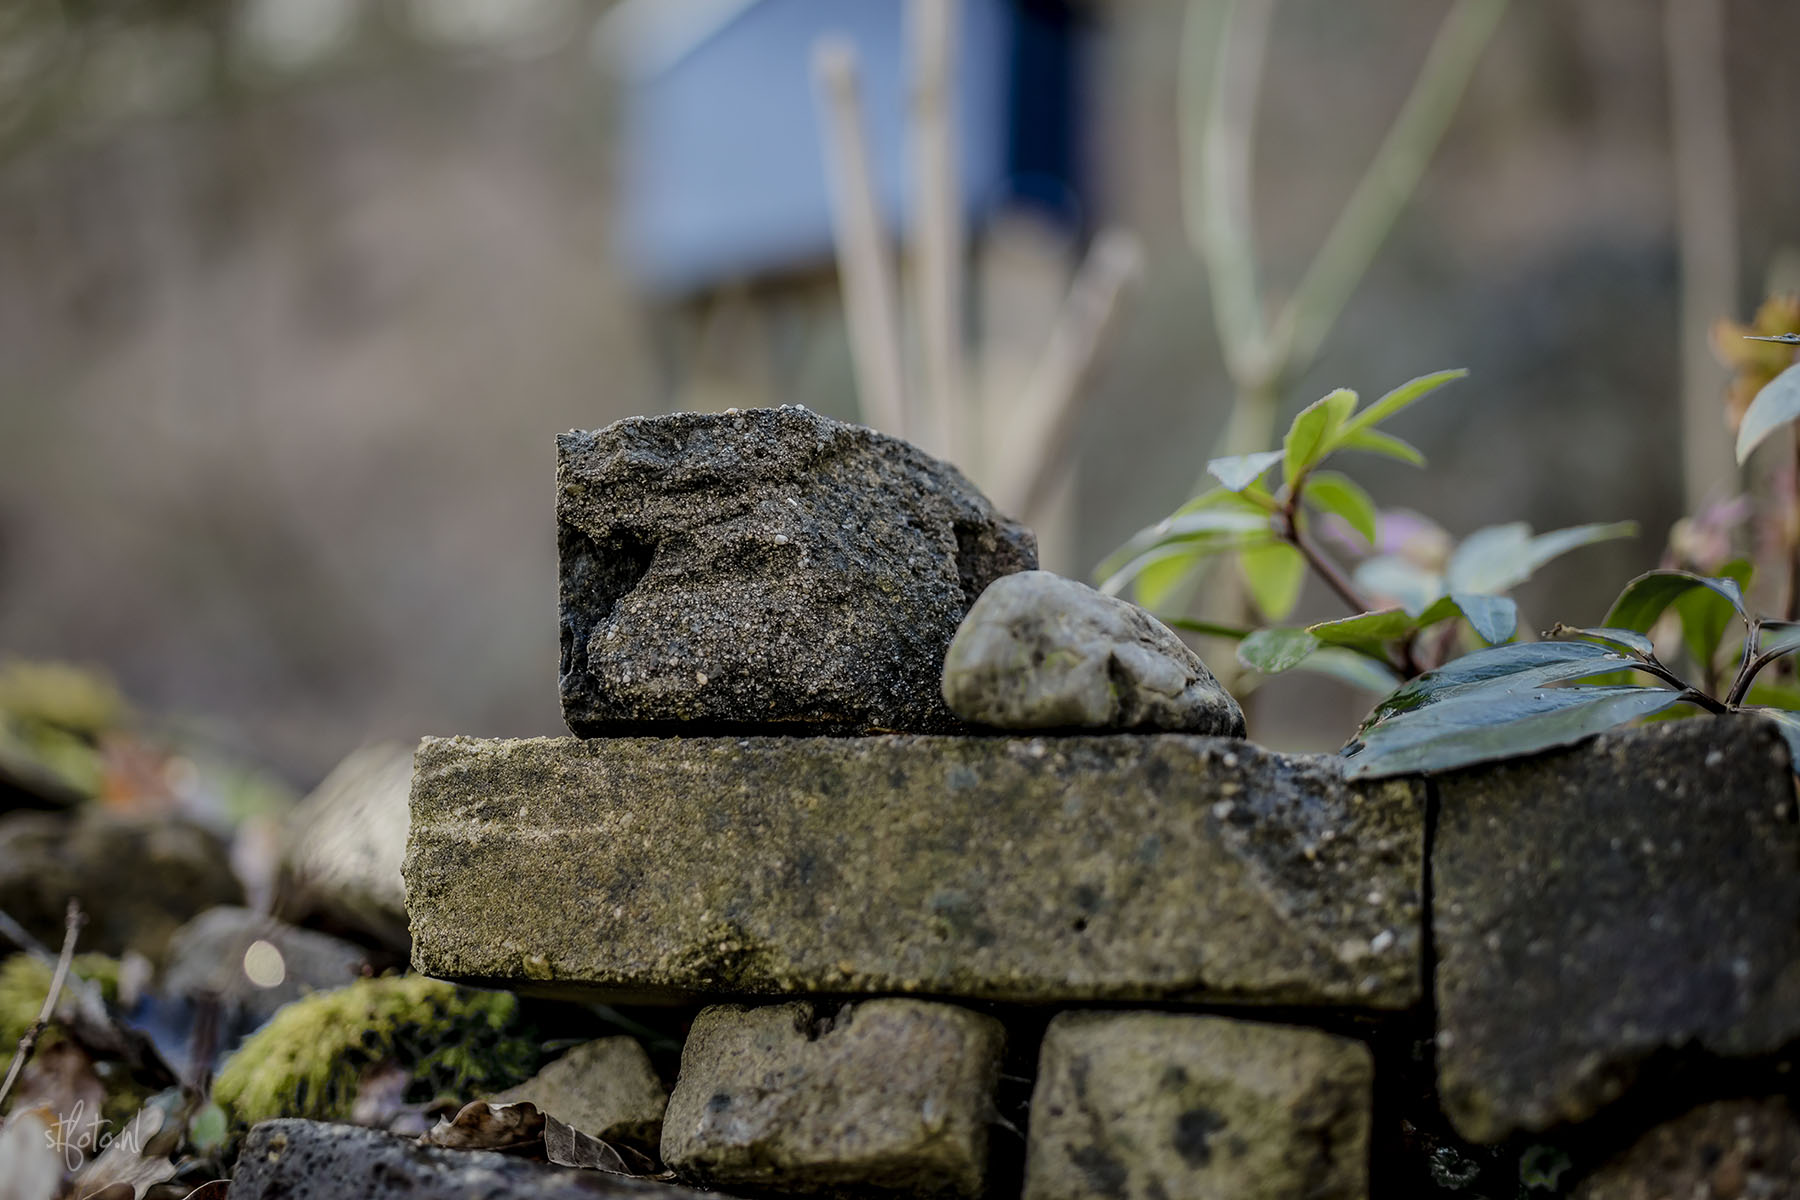
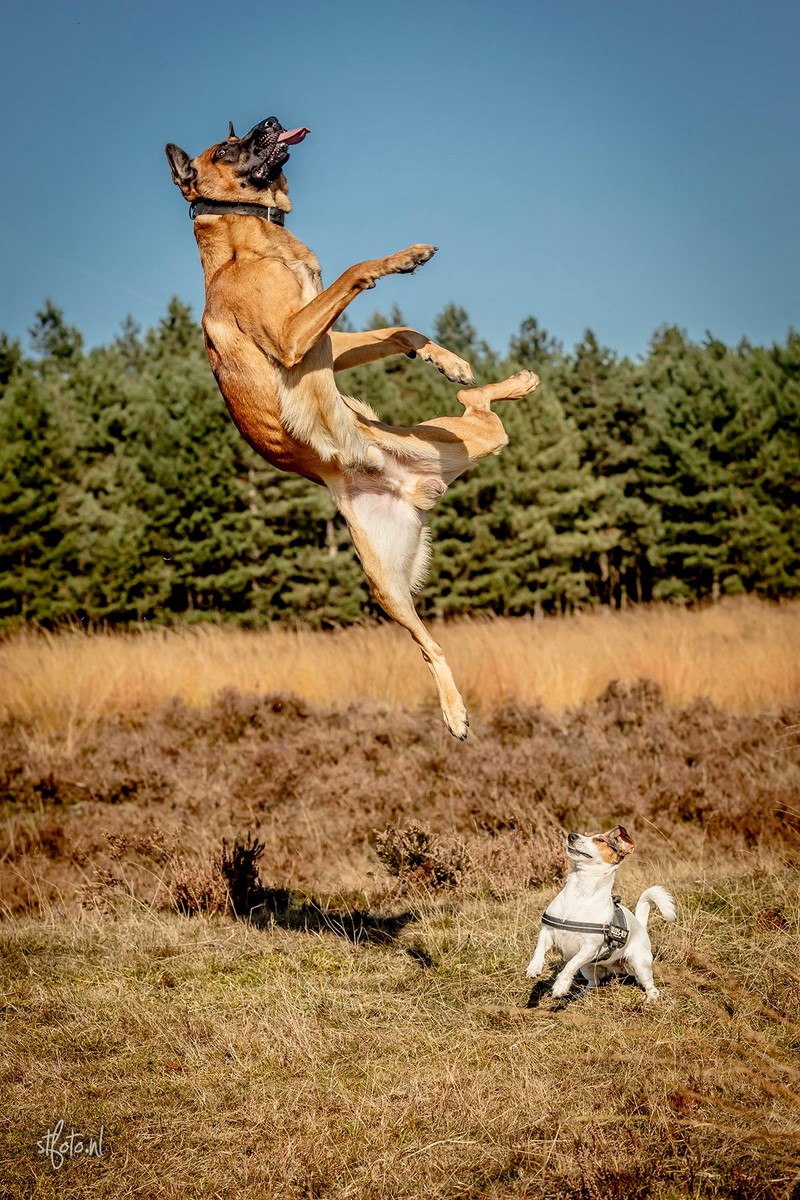
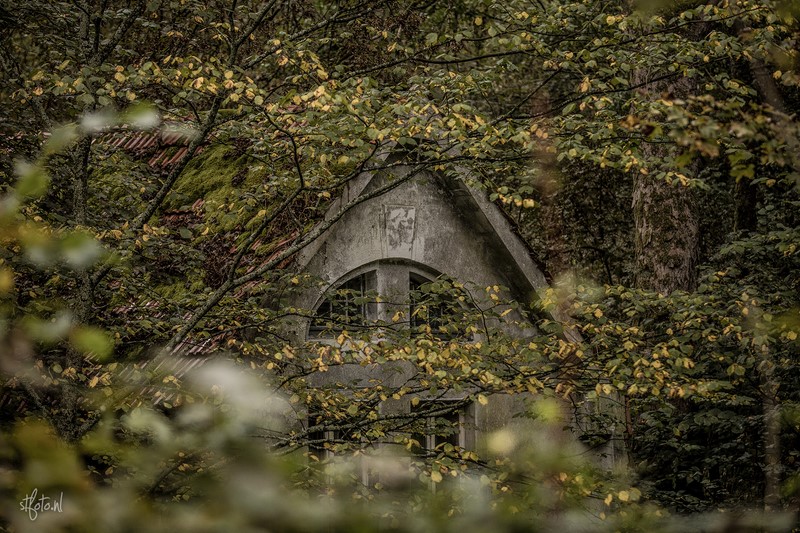
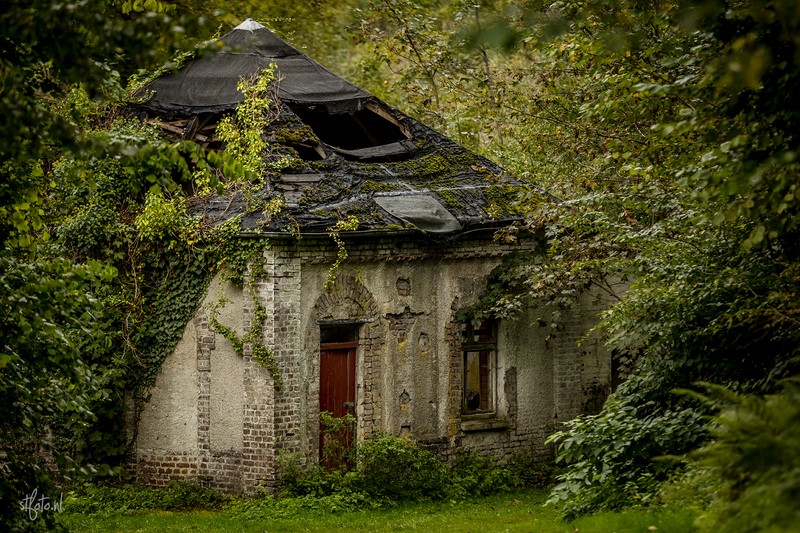
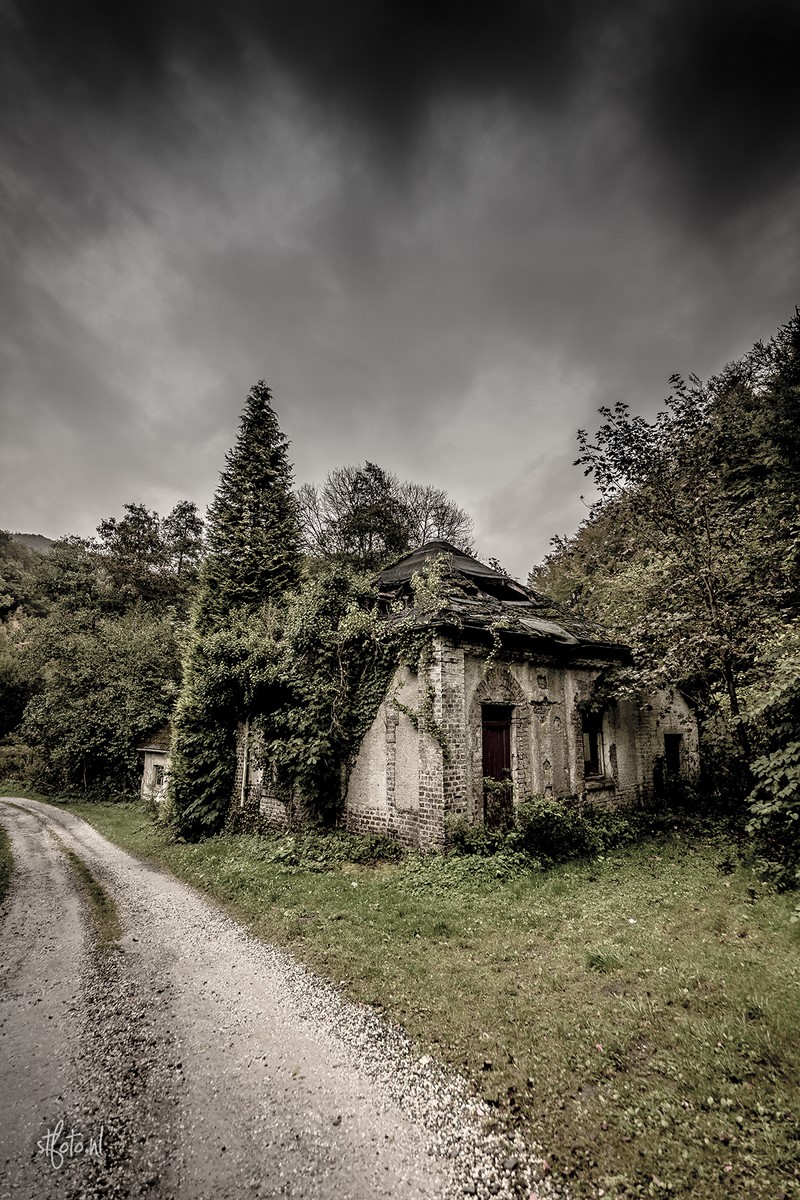
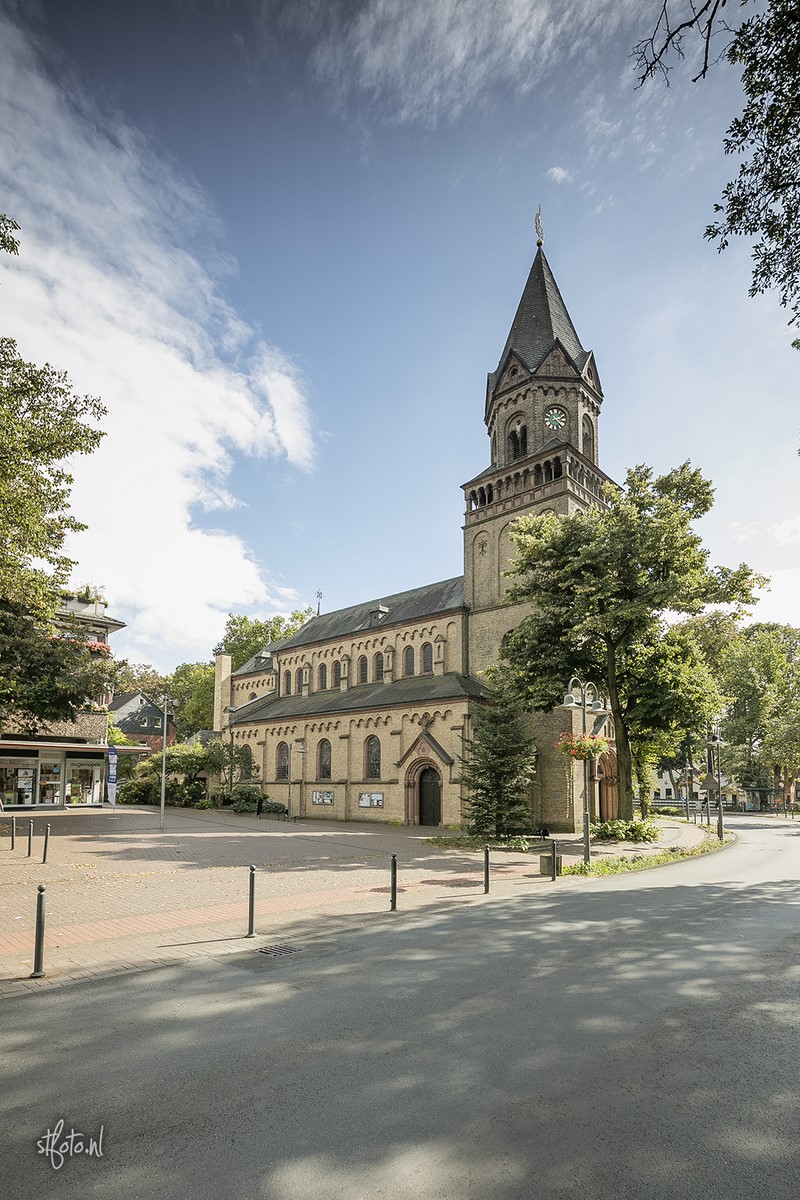
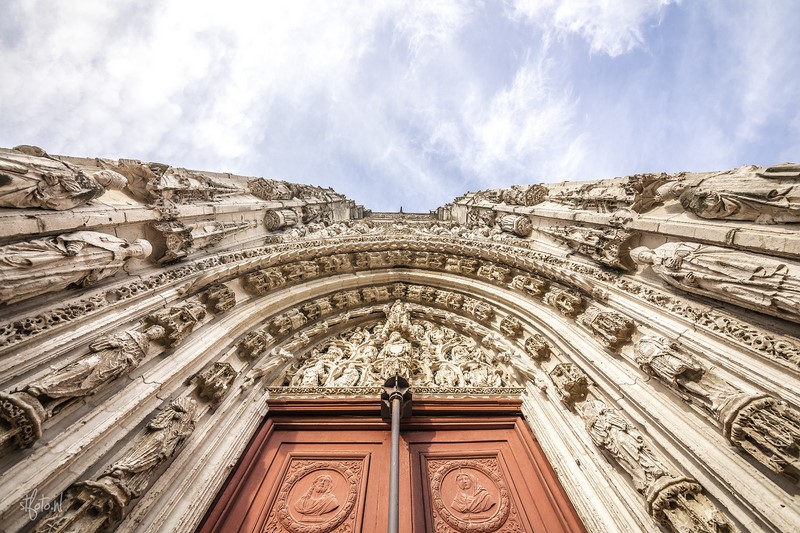
De scherpte is meer dan goed te noemen van deze lens. Dat mag je van een prime uit dit segment ook wel verwachten. Ook in de randjes van de foto is alles in focus goed scherp. En dat getest op 51MP!

Prestaties – Chromatic Abberation

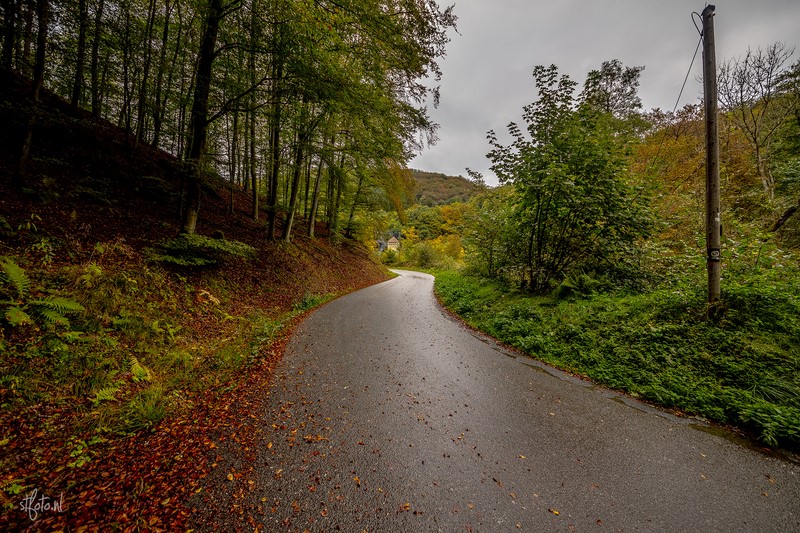
Wanneer je naar lenzen kijkt met een diafragma kleiner dan 3.0 dan kun je wel aardig wat chromatic abberation verwachten. De Tamron 45mm 1.8 is daar geen uitzondering op, maar er is prima mee te werken. Ga je naar wat hogere diafragmawaarden heb je er al snel geen last meer van. En schiet je wel vol open op 1.8 dan is de chromatic abberation goed weg te werken in bijvoorbeeld Lightroom, DxO of Photoshop.

4S5A9367

Hier is de chromatic abberation weggewerkt in Photoshop. Als we 100% vergroten zien we het zó voor en na:

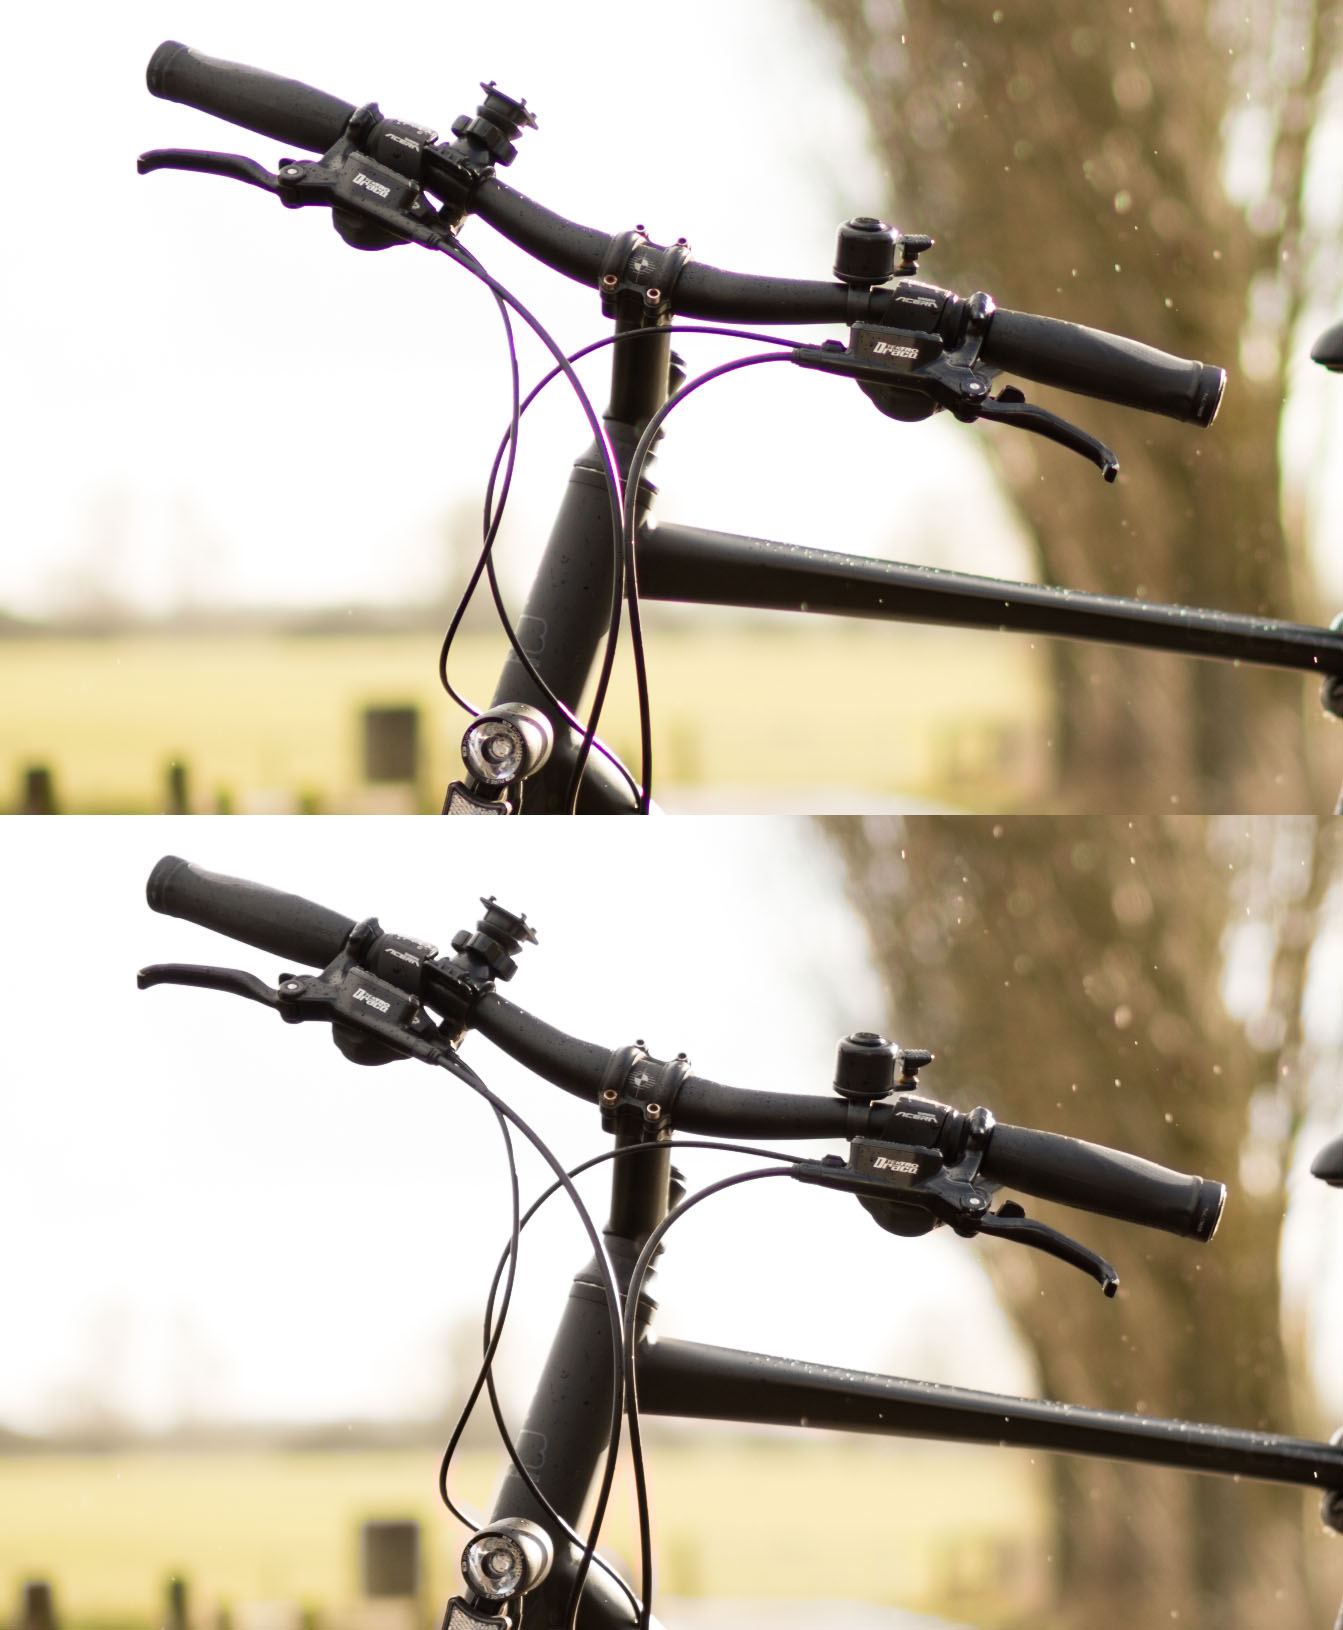
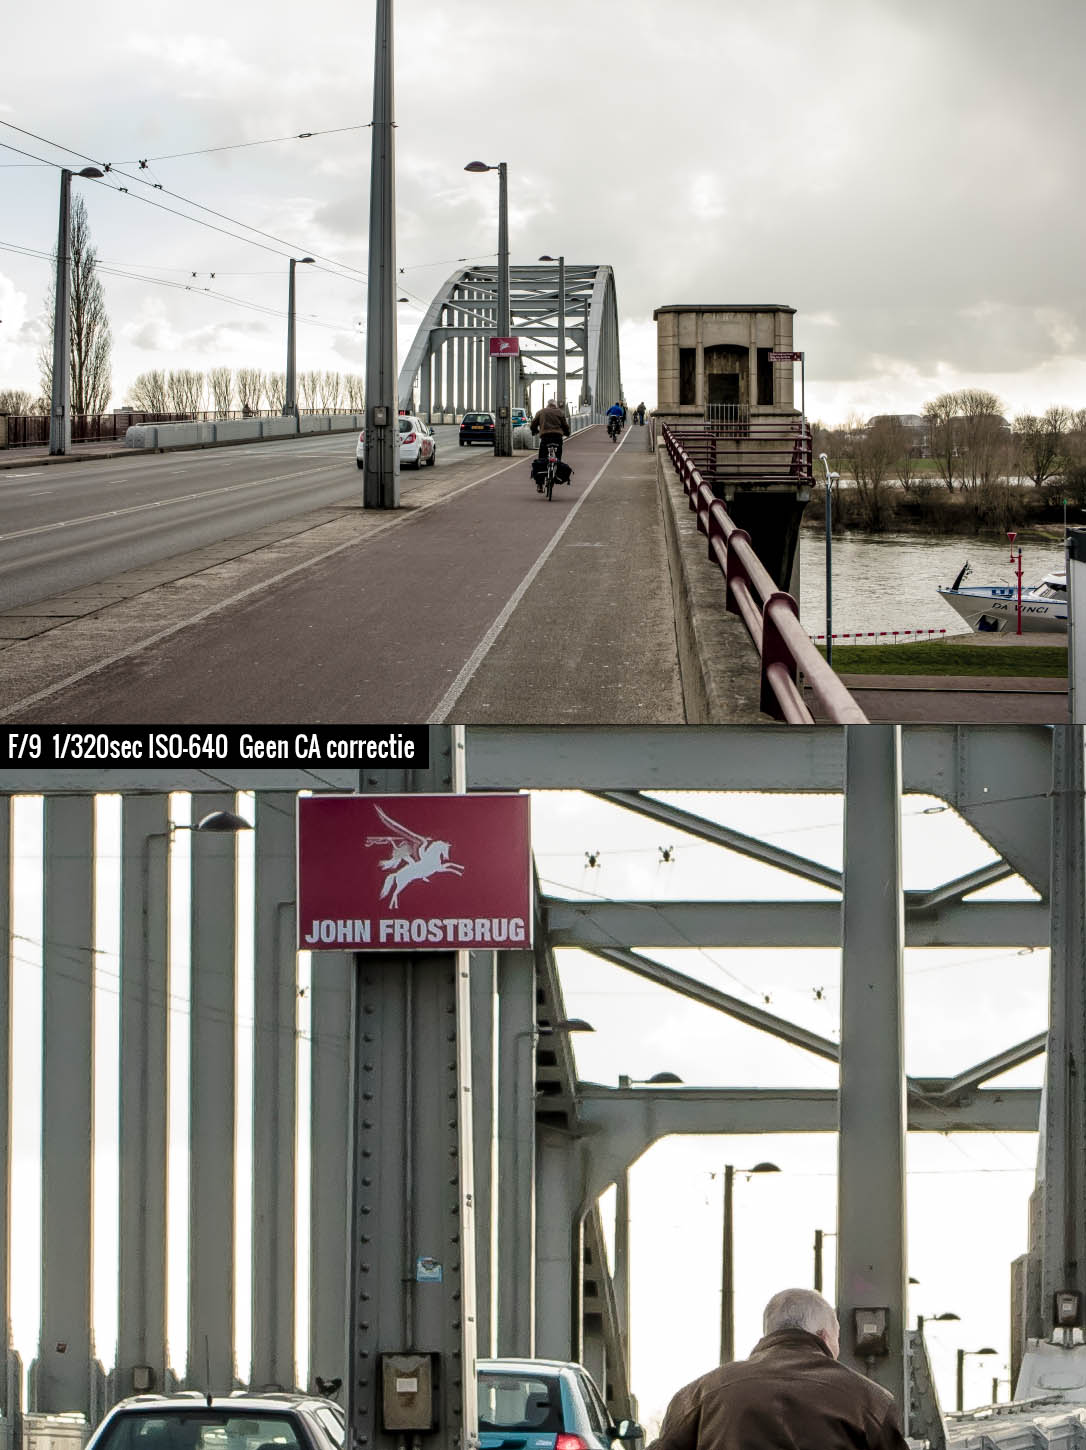
Maar gaan we bijvoorbeeld naar F/9 dan is zonder bewerking er amper chromatic abberation zichtbaar.

Bokeh

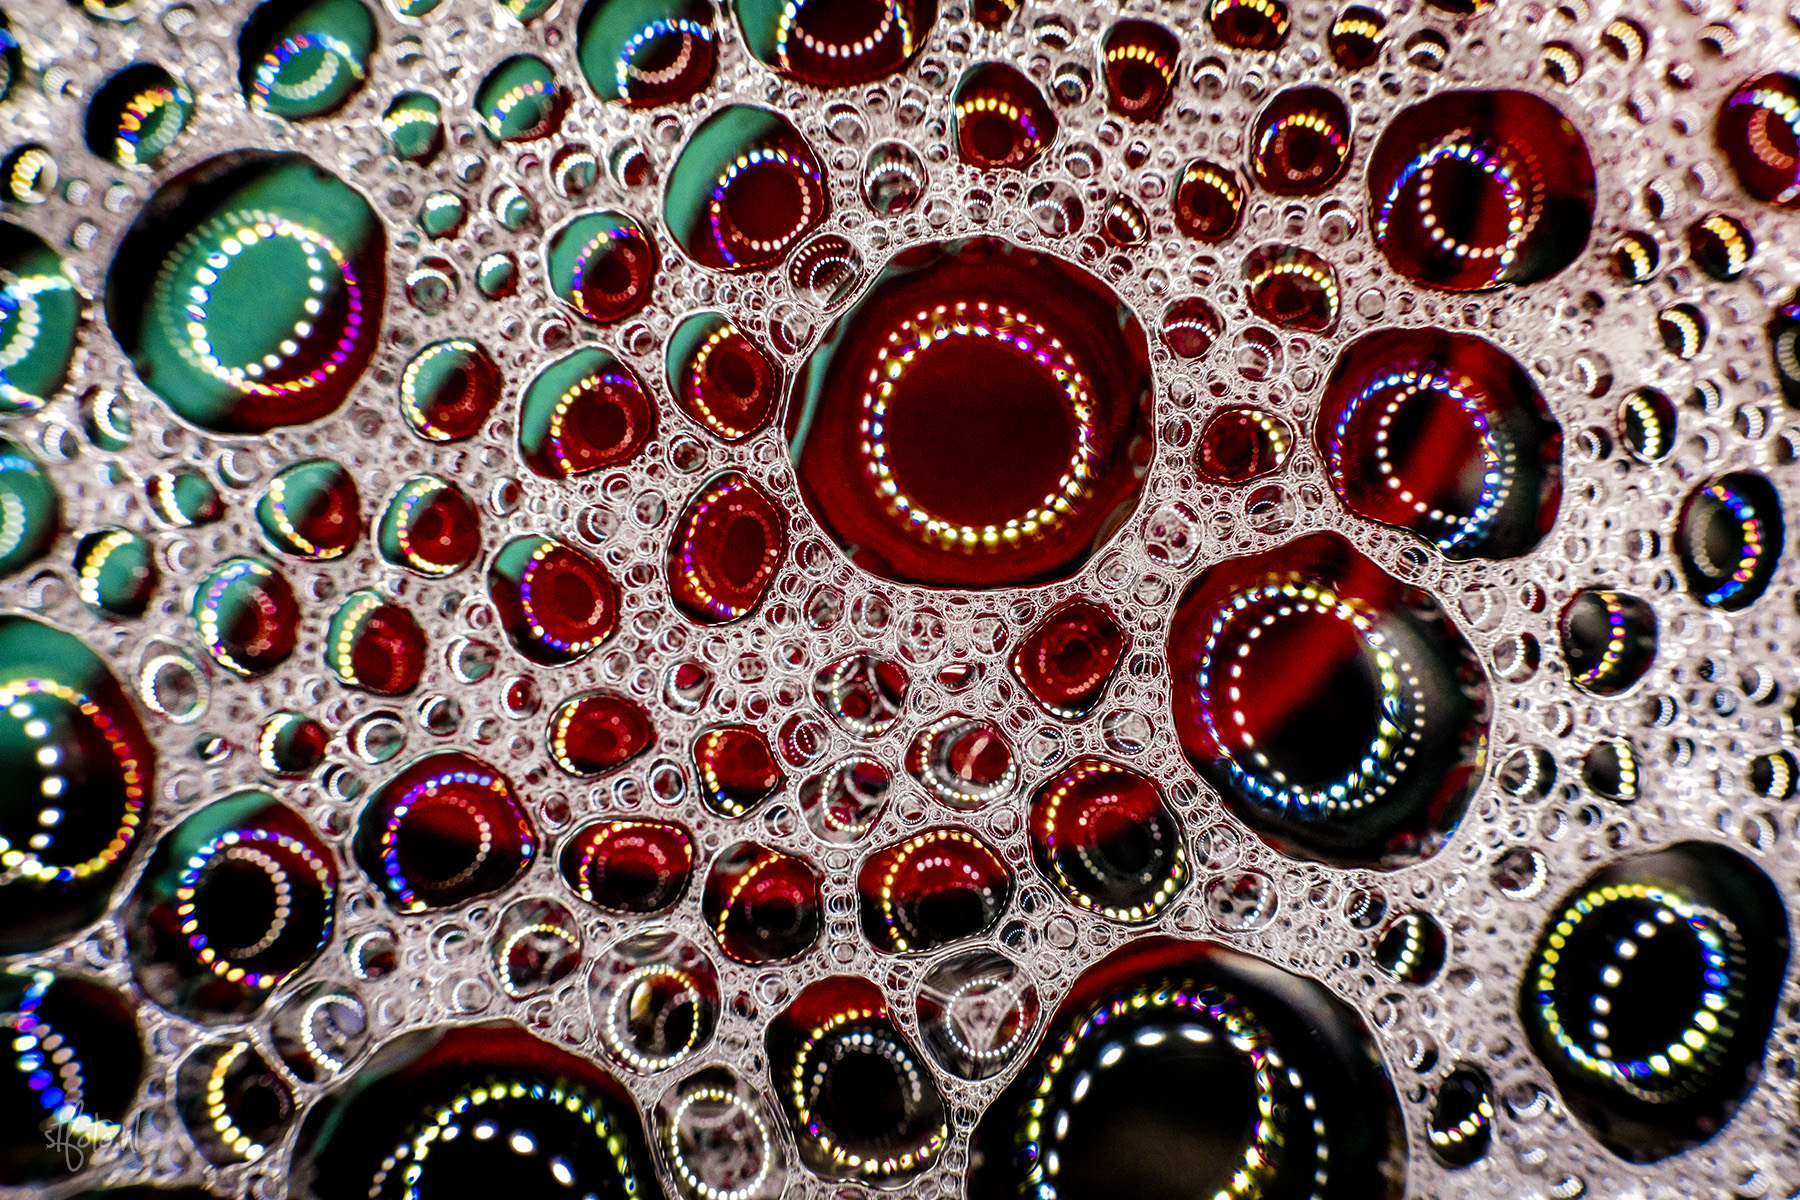
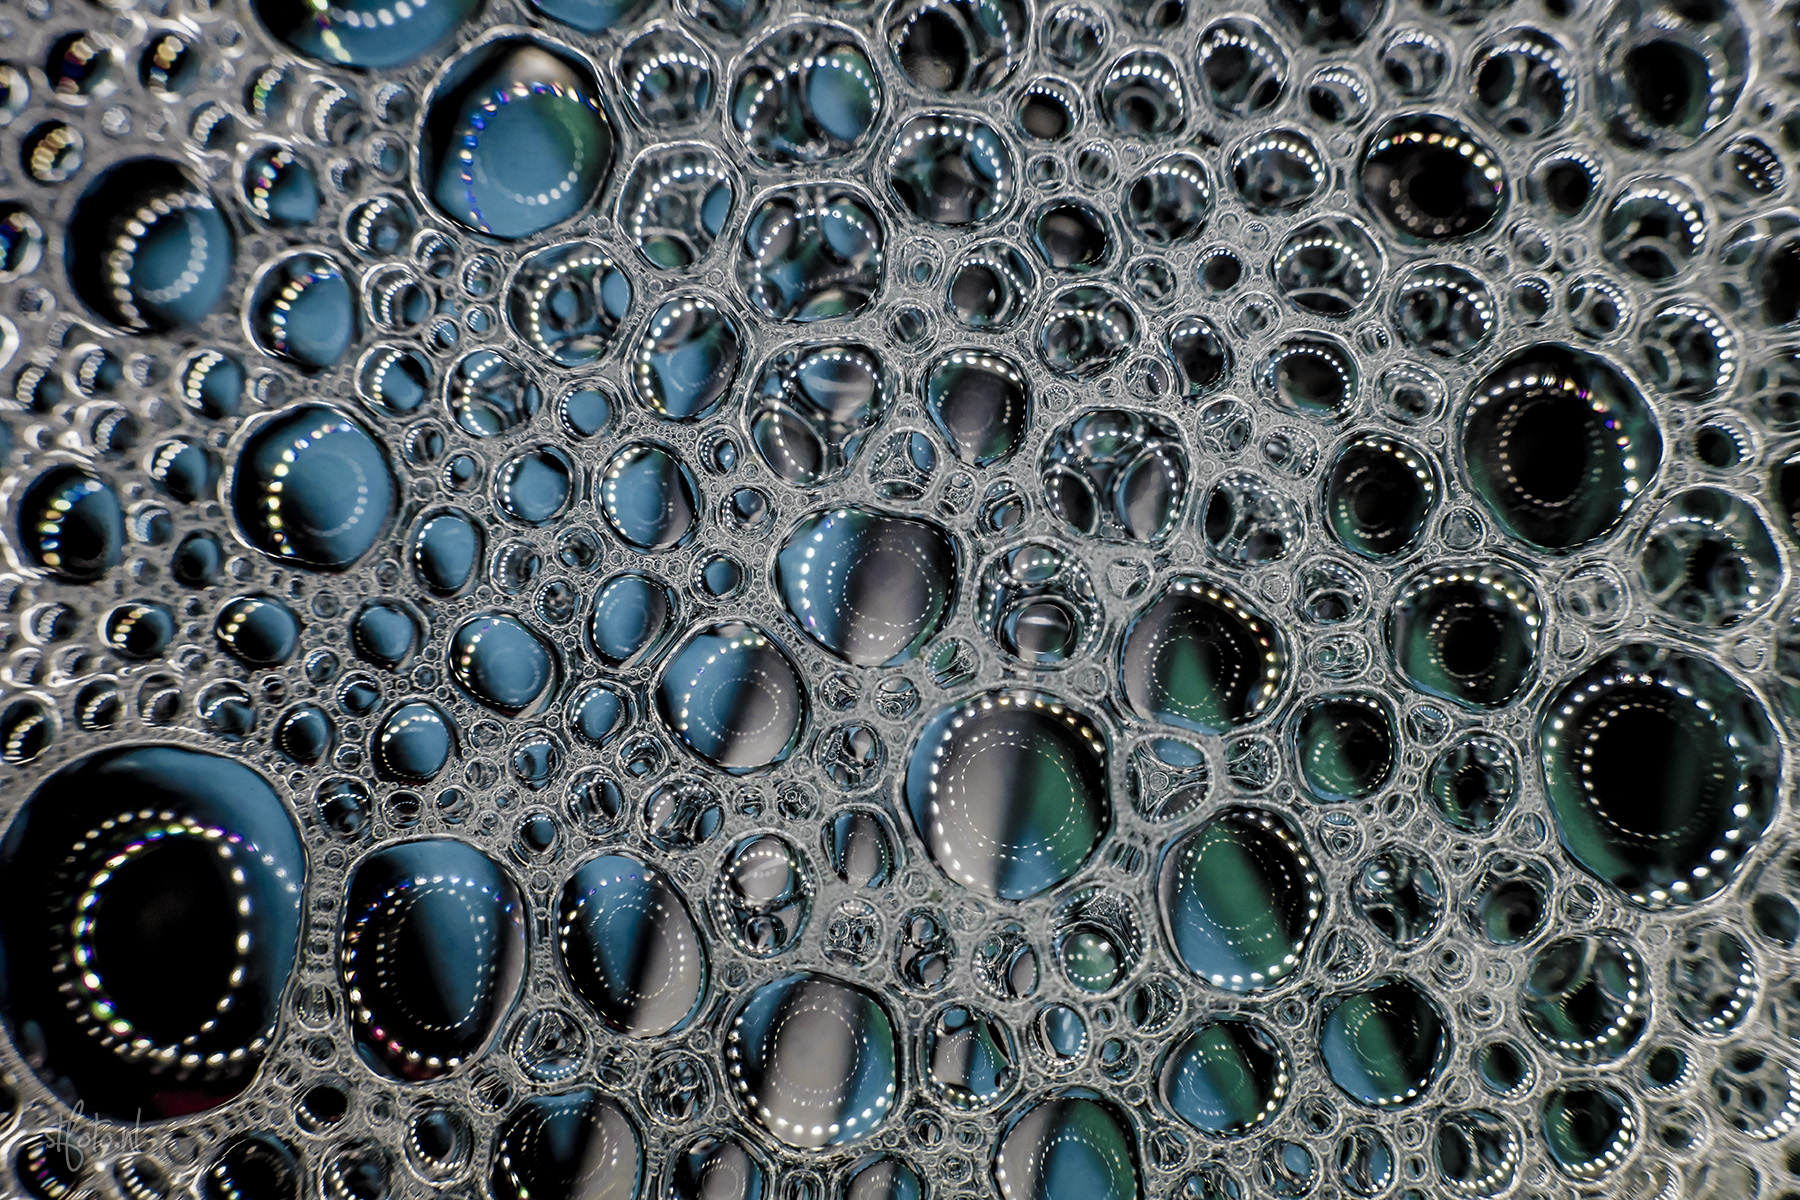
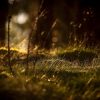
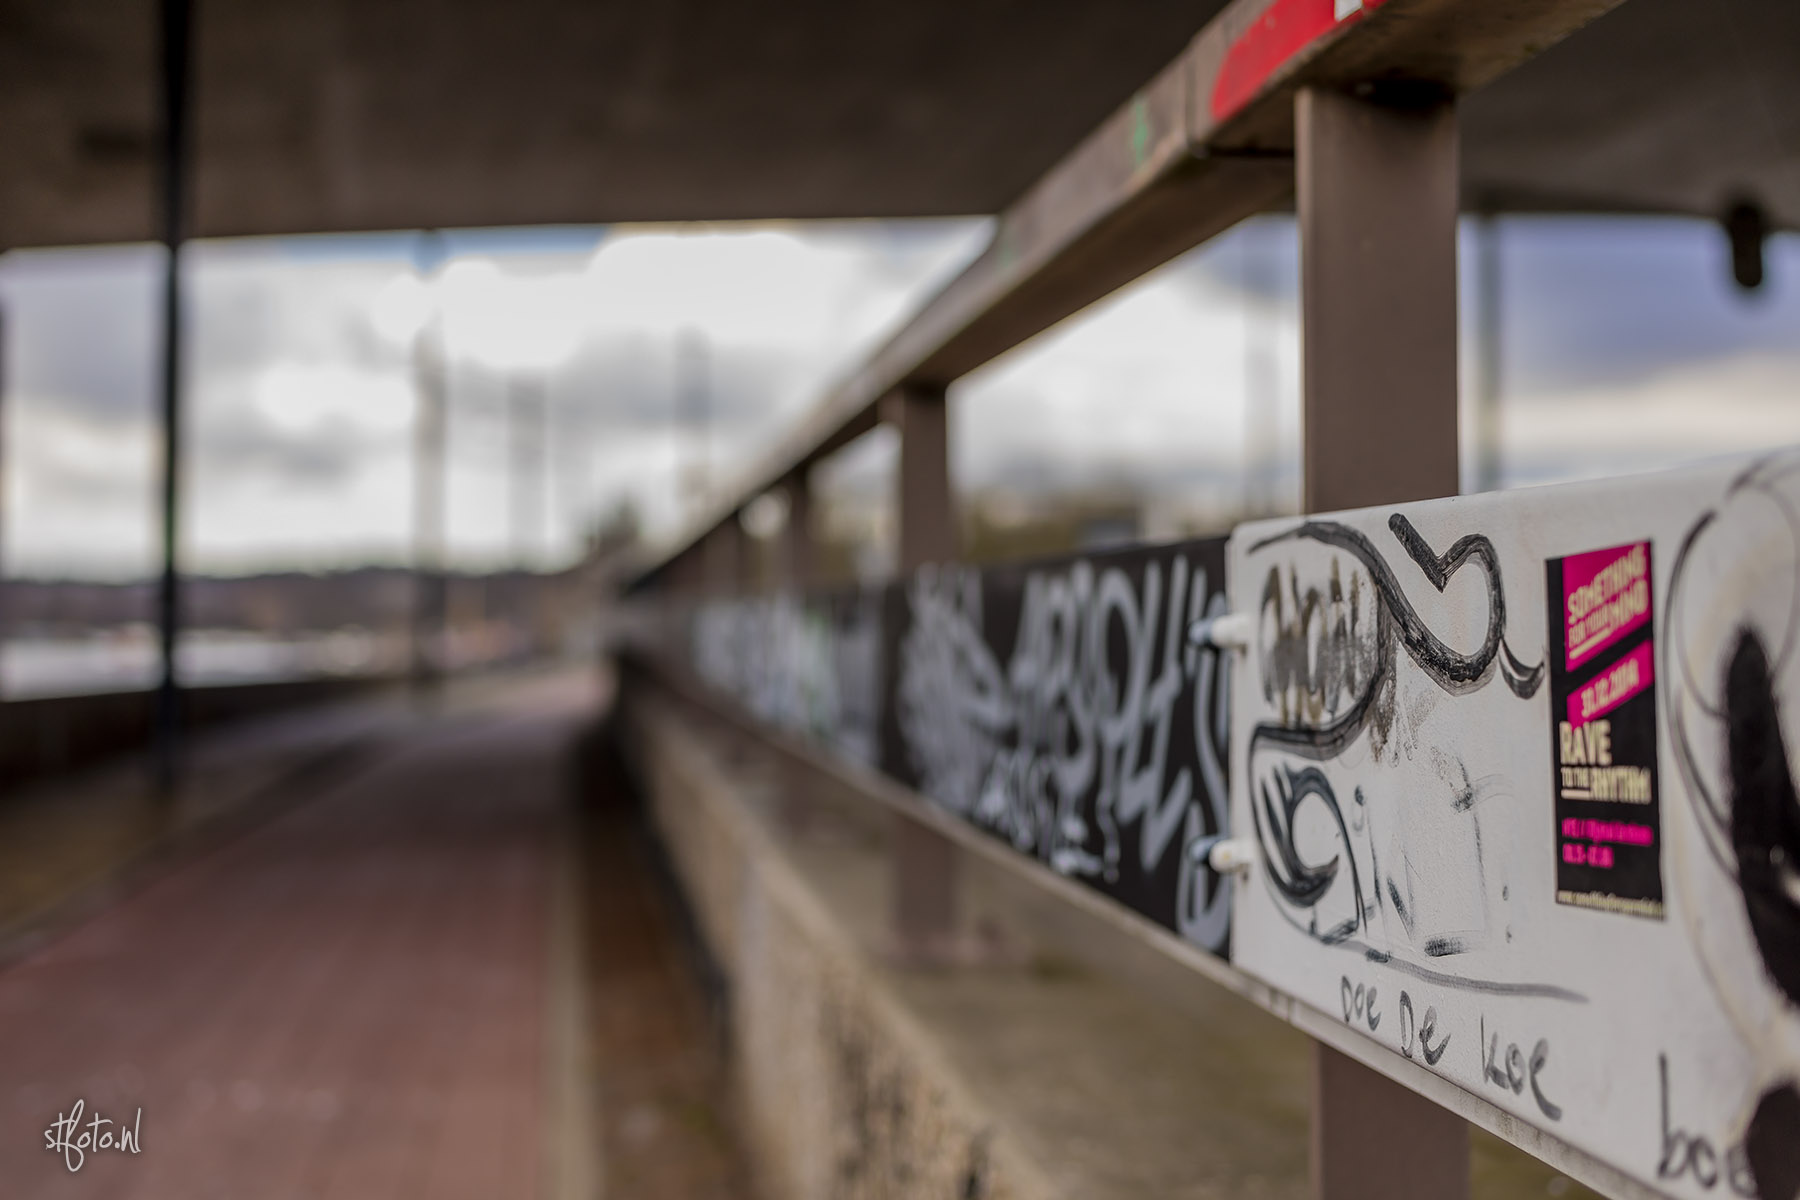
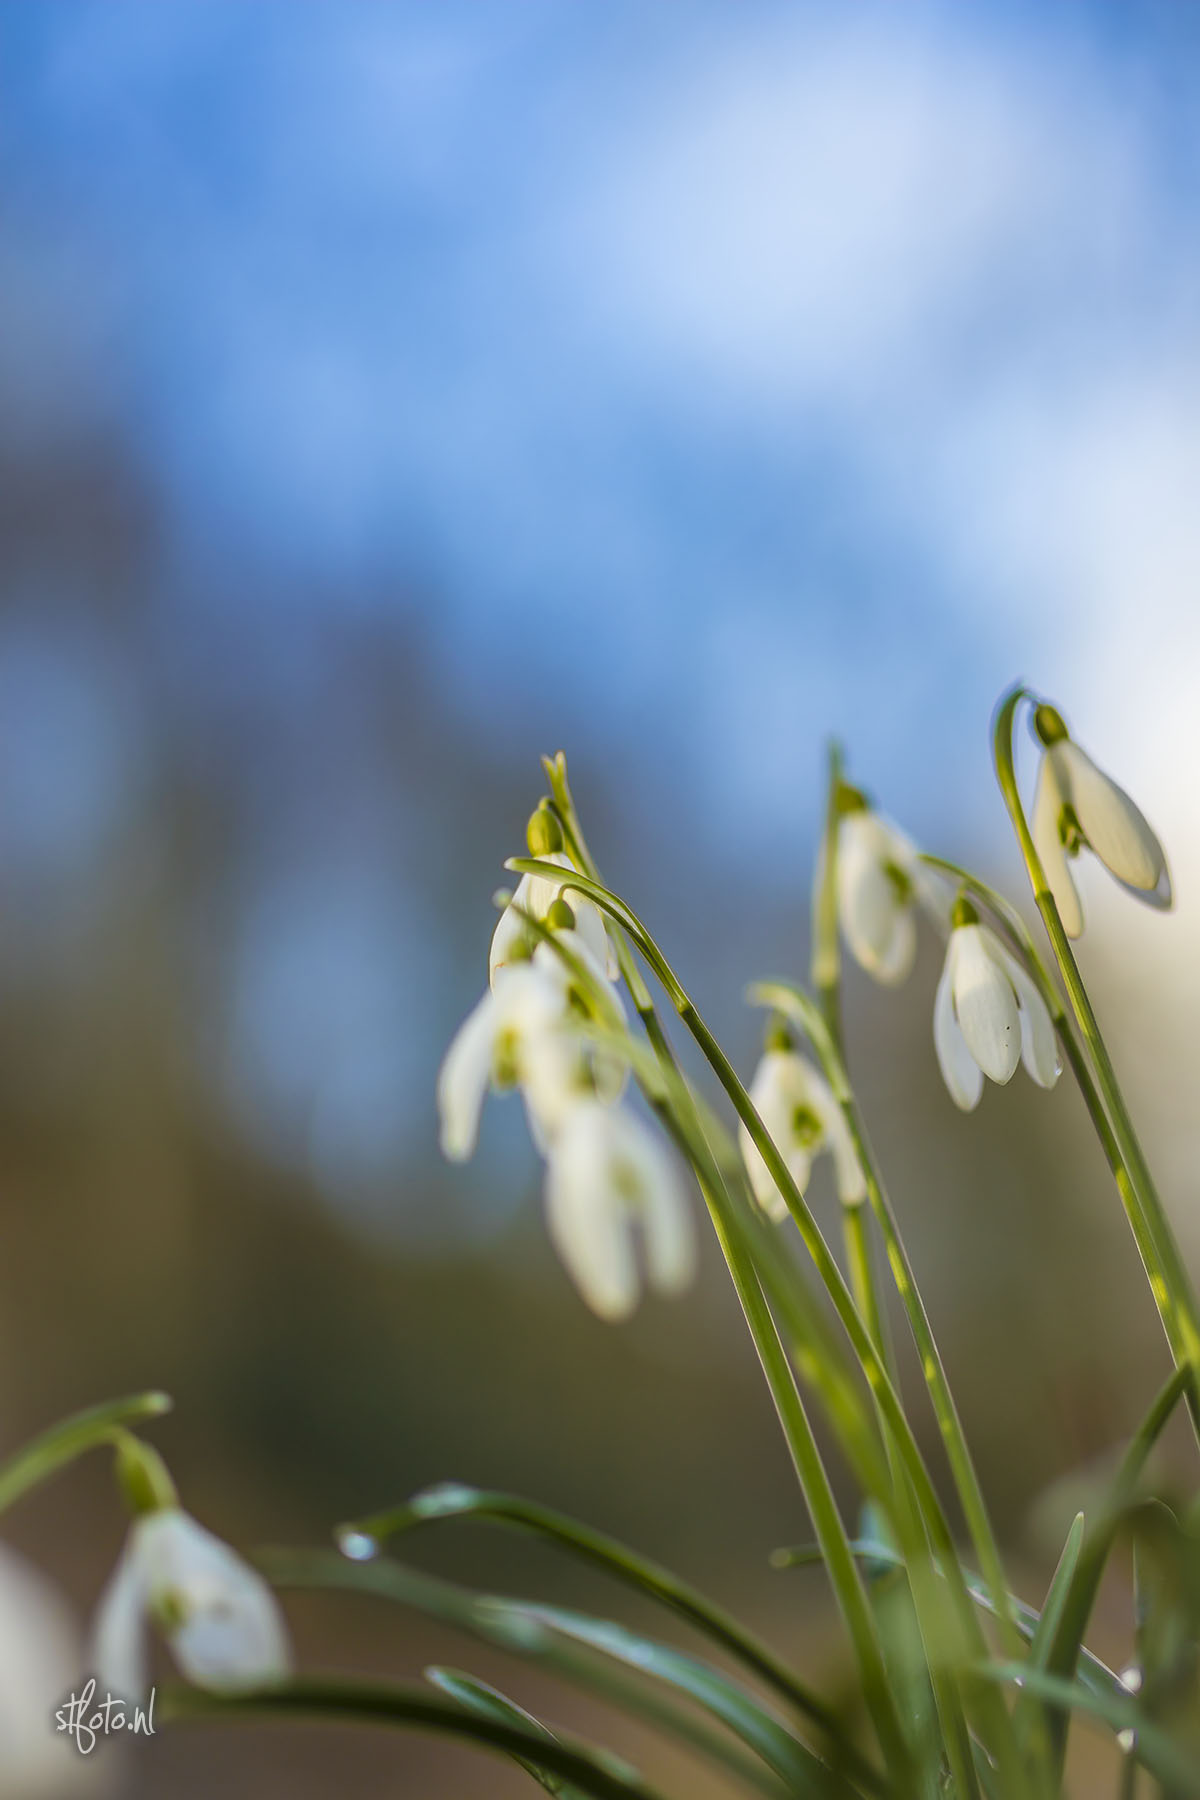
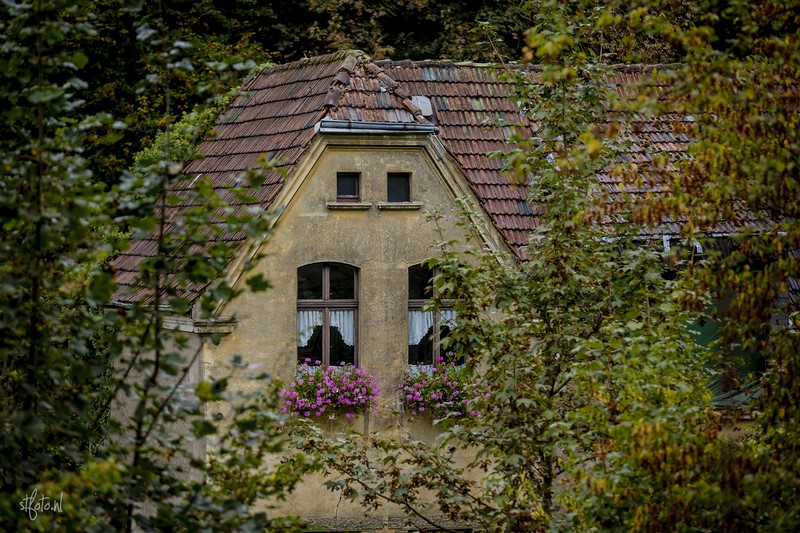
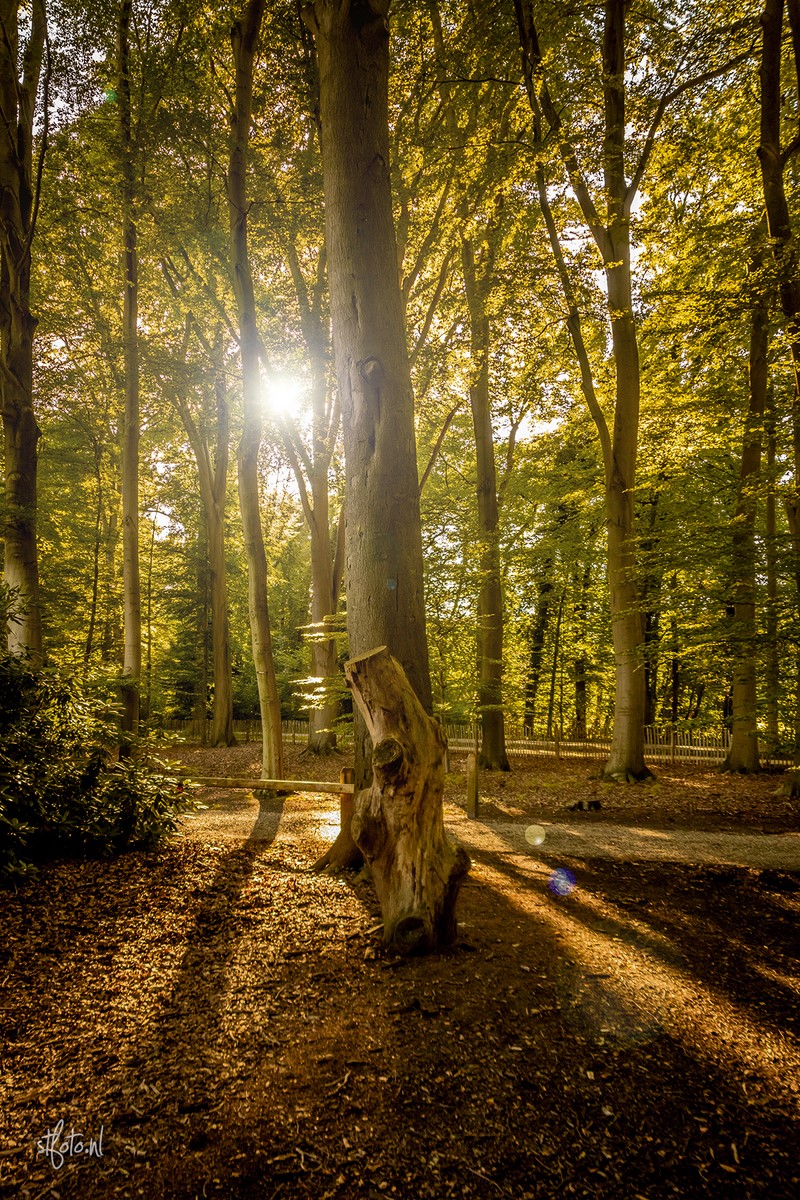
Een van de hoofdredenen om voor een 1.8 lens te gaan is uiteraard de bokeh. Ofwel, de onscherpte van hetgeen out of focus is. Deze is echt super zacht bij deze Tamron lens. Zowel op macro als bij portret wordt de achtergrond heel fijn wazig.
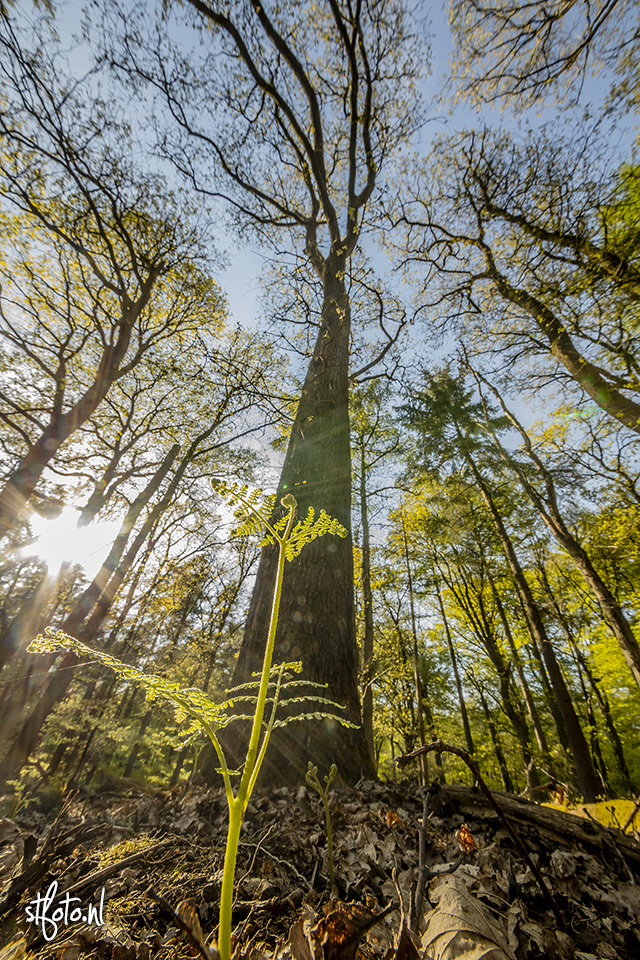
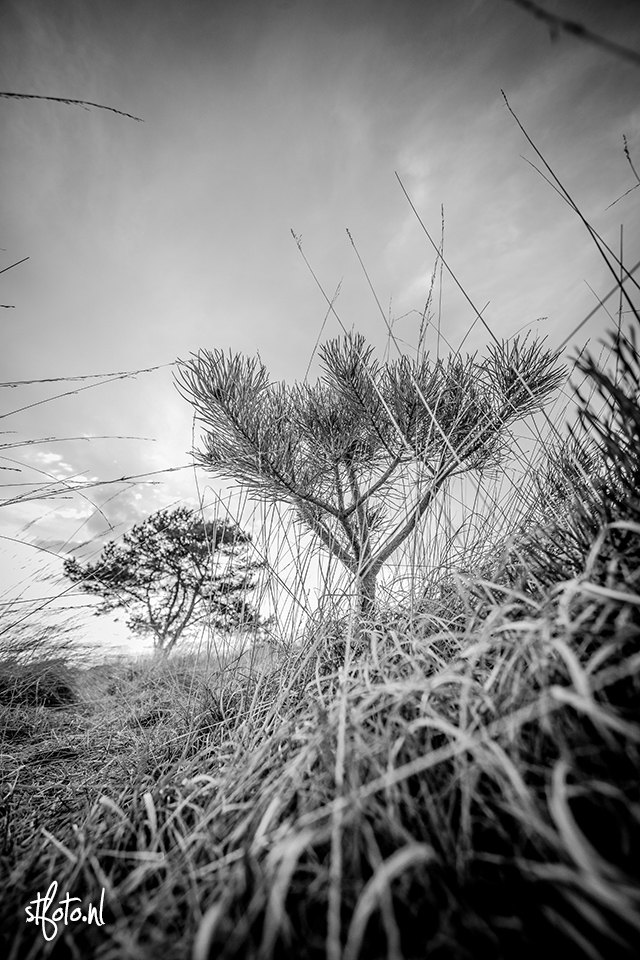
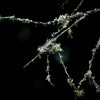
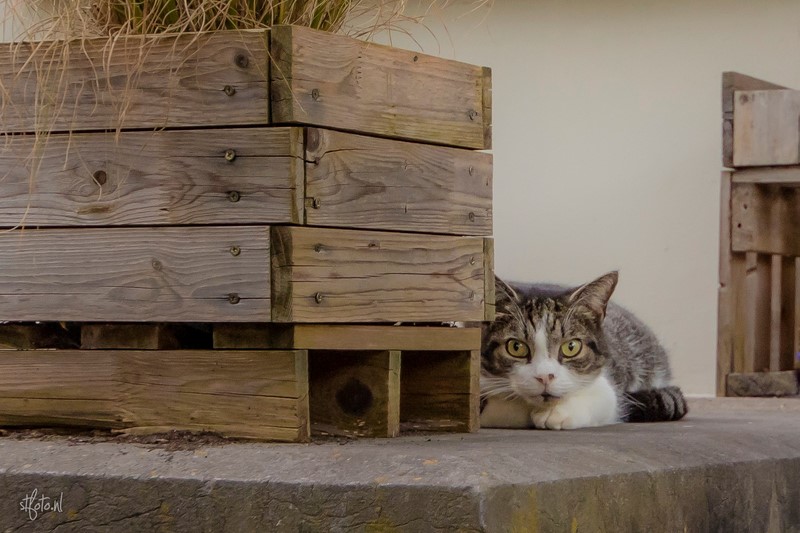

Macro

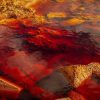
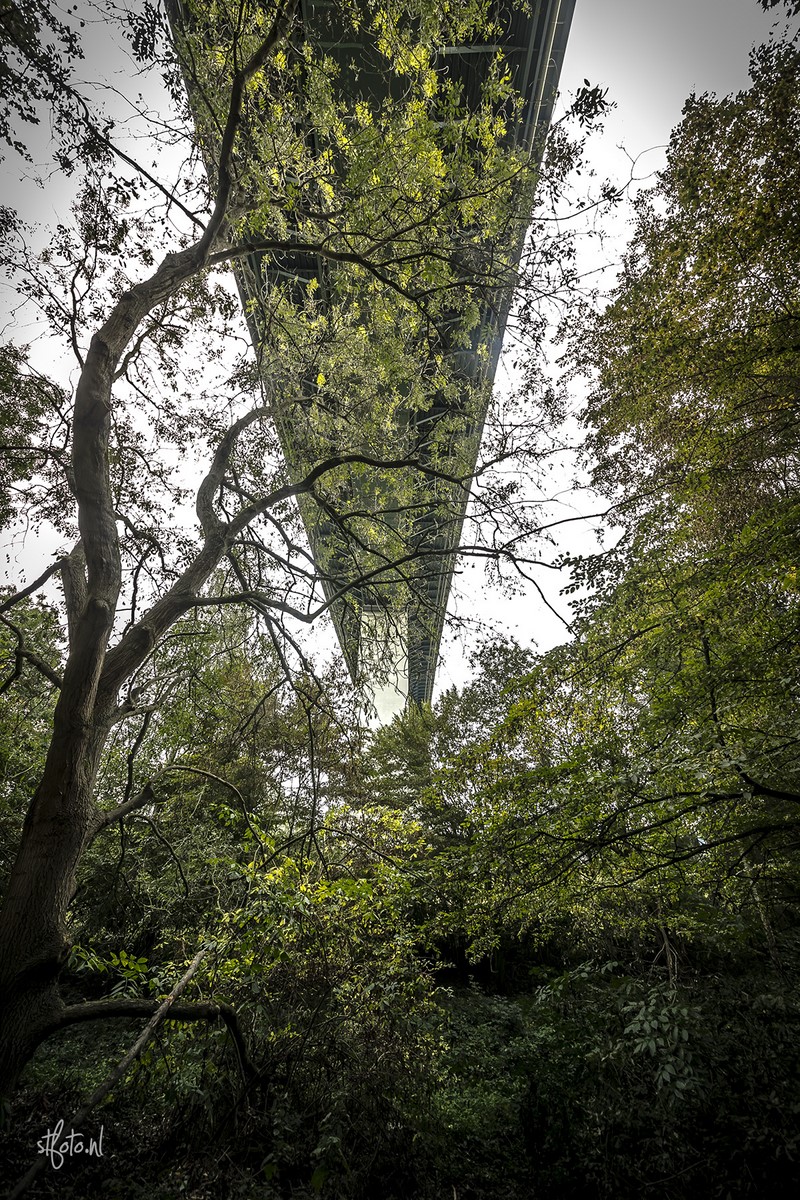
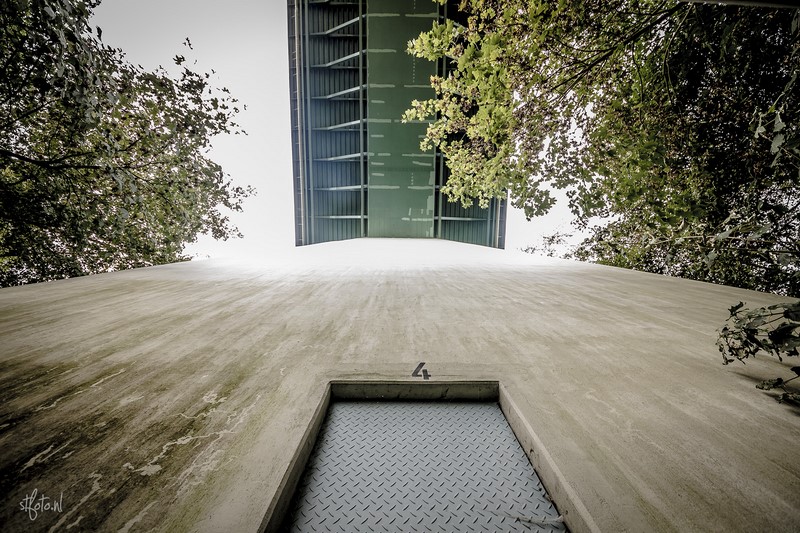
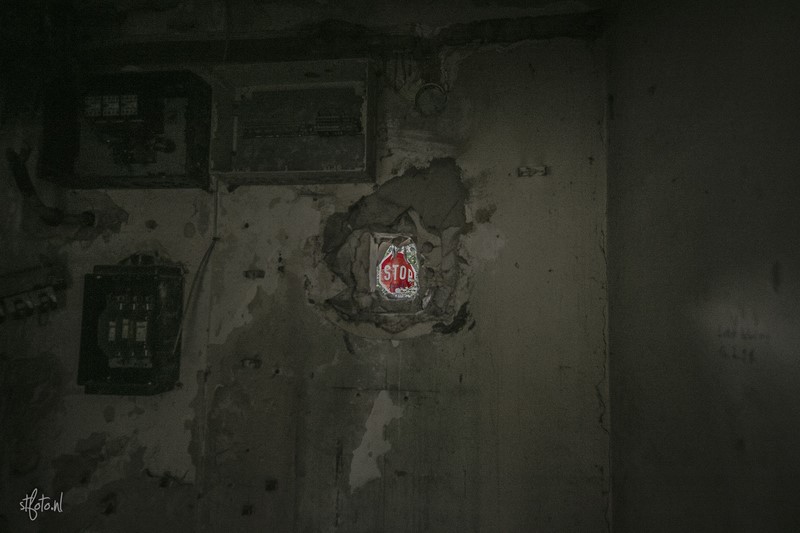
Ook vrij uniek aan deze lens is de mogelijkheid om héél dichtbij te fotograferen. En dat biedt onwijs veel leuke mogelijkheden. Denk bijvoorbeeld aan prachtige details tijdens een bruiloft, of shots van bloemen en de natuur. De macro-modus is snel en accuraat. Zonder enige frustratie kon ik zonder door de zoeker te kijken toch een aantal bloempjes er goed op krijgen. Wanneer je van zó dichtbij fotografeert en je nog digitaal kan uitvergroten kun je heel veel detail verwachten.


Foto’s bij weinig licht

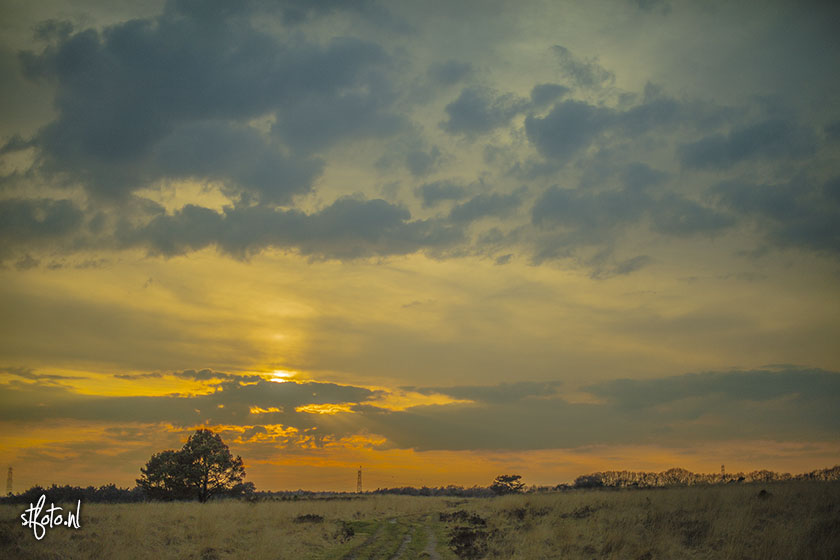
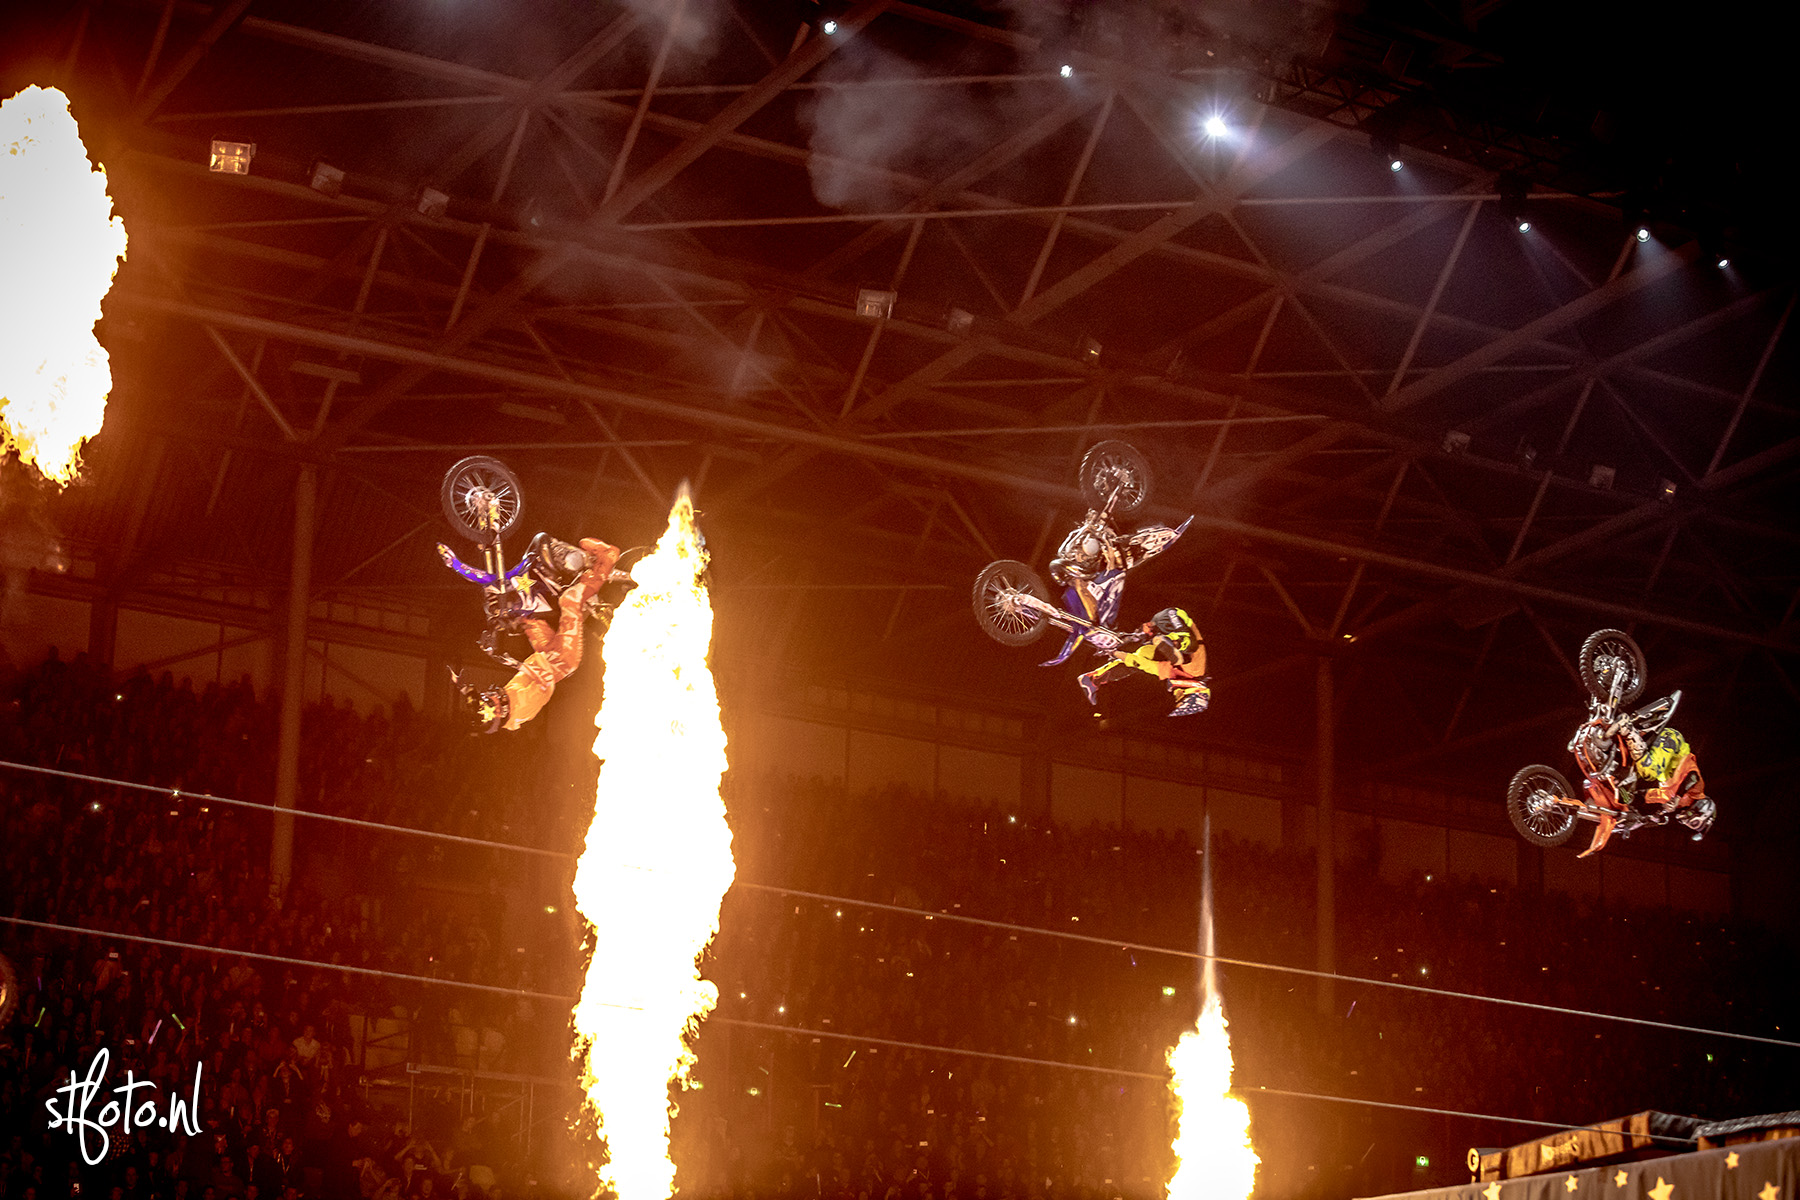
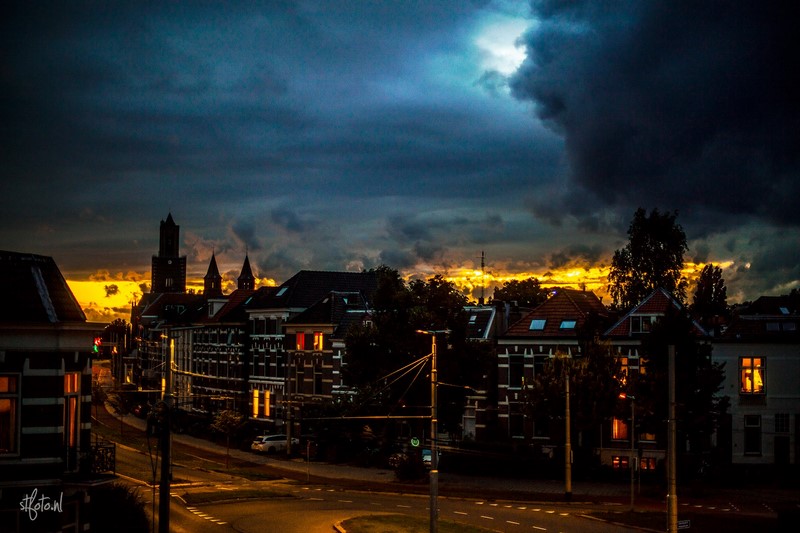
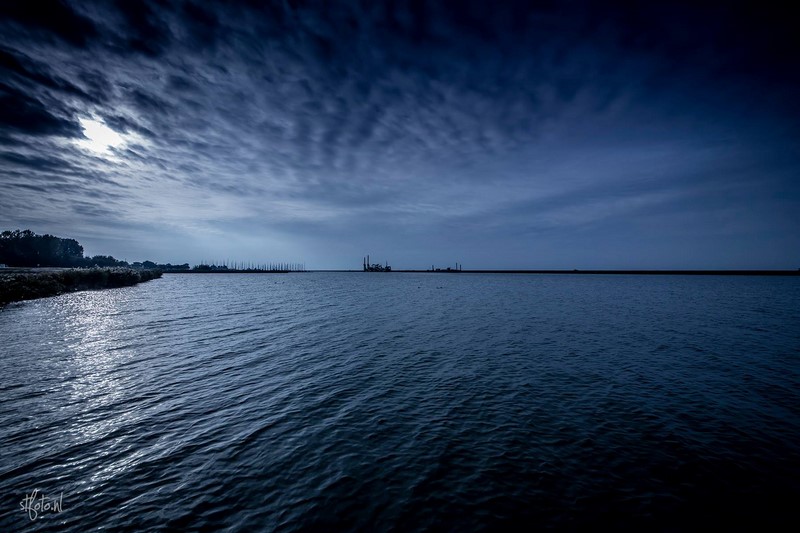
Met het diafragma van 1.8 kun je bij weinig licht nog prima foto’s maken. Zelfs vanuit de hand en zonder flitser was dit eigenlijk geen enkel probleem. Ook is fotograferen met een sluitertijd van 1/30e uit het losse handje prima te doen, zonder bewegings-onscherpte te krijgen. Wil je portretten schieten bij feestjes, ’s avonds? Dan is dit absoluut een ideale lens. Zéker in combinatie met de stabilisatie.

Optische beeldstabilisatie, VC (Vibration Compensation)

De Tamron 45mm 1.8 is de enige 45mm prime lens met beeldstabilisatie. Normaliter heb je dit vooral nodig in zoom-lenzen. Hoe verder je inzoomed, des te meer je ook bewegingsonscherpte vergroot. Daarnaast zijn dit vaak donkerdere lenzen.

Om een ontzettend lichtsterk objectief als deze tóch beeldstabilisatie te geven maakt deze lens naast uniek ook alleen maar nóg geschikter voor het donker.

De stabilisatie zelf hoor je nauwelijks. Dit is bij andere merken wel anders. Soms twijfelde ik zelfs of hij aan stond, maar als je dan goed luisterd dan is hij druk aan het werk.

Door de lens zie je niet veel van de stabilisatie, maar dat is niet gek. Op 45mm zijn ook je bewegingen behoorlijk “uitgezoomed” en dus niet snel merkbaar. Wanneer je stabilisatie op 200mm probeert zie je het effect pas een beetje.

Echter, bekijk je na een dag schieten je foto’s dan zie je wel degelijk veel verschil. Een aantal foto’s die ik normaal nooit uit het losse handje had kunnen schieten waren ineens prima scherp.

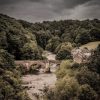
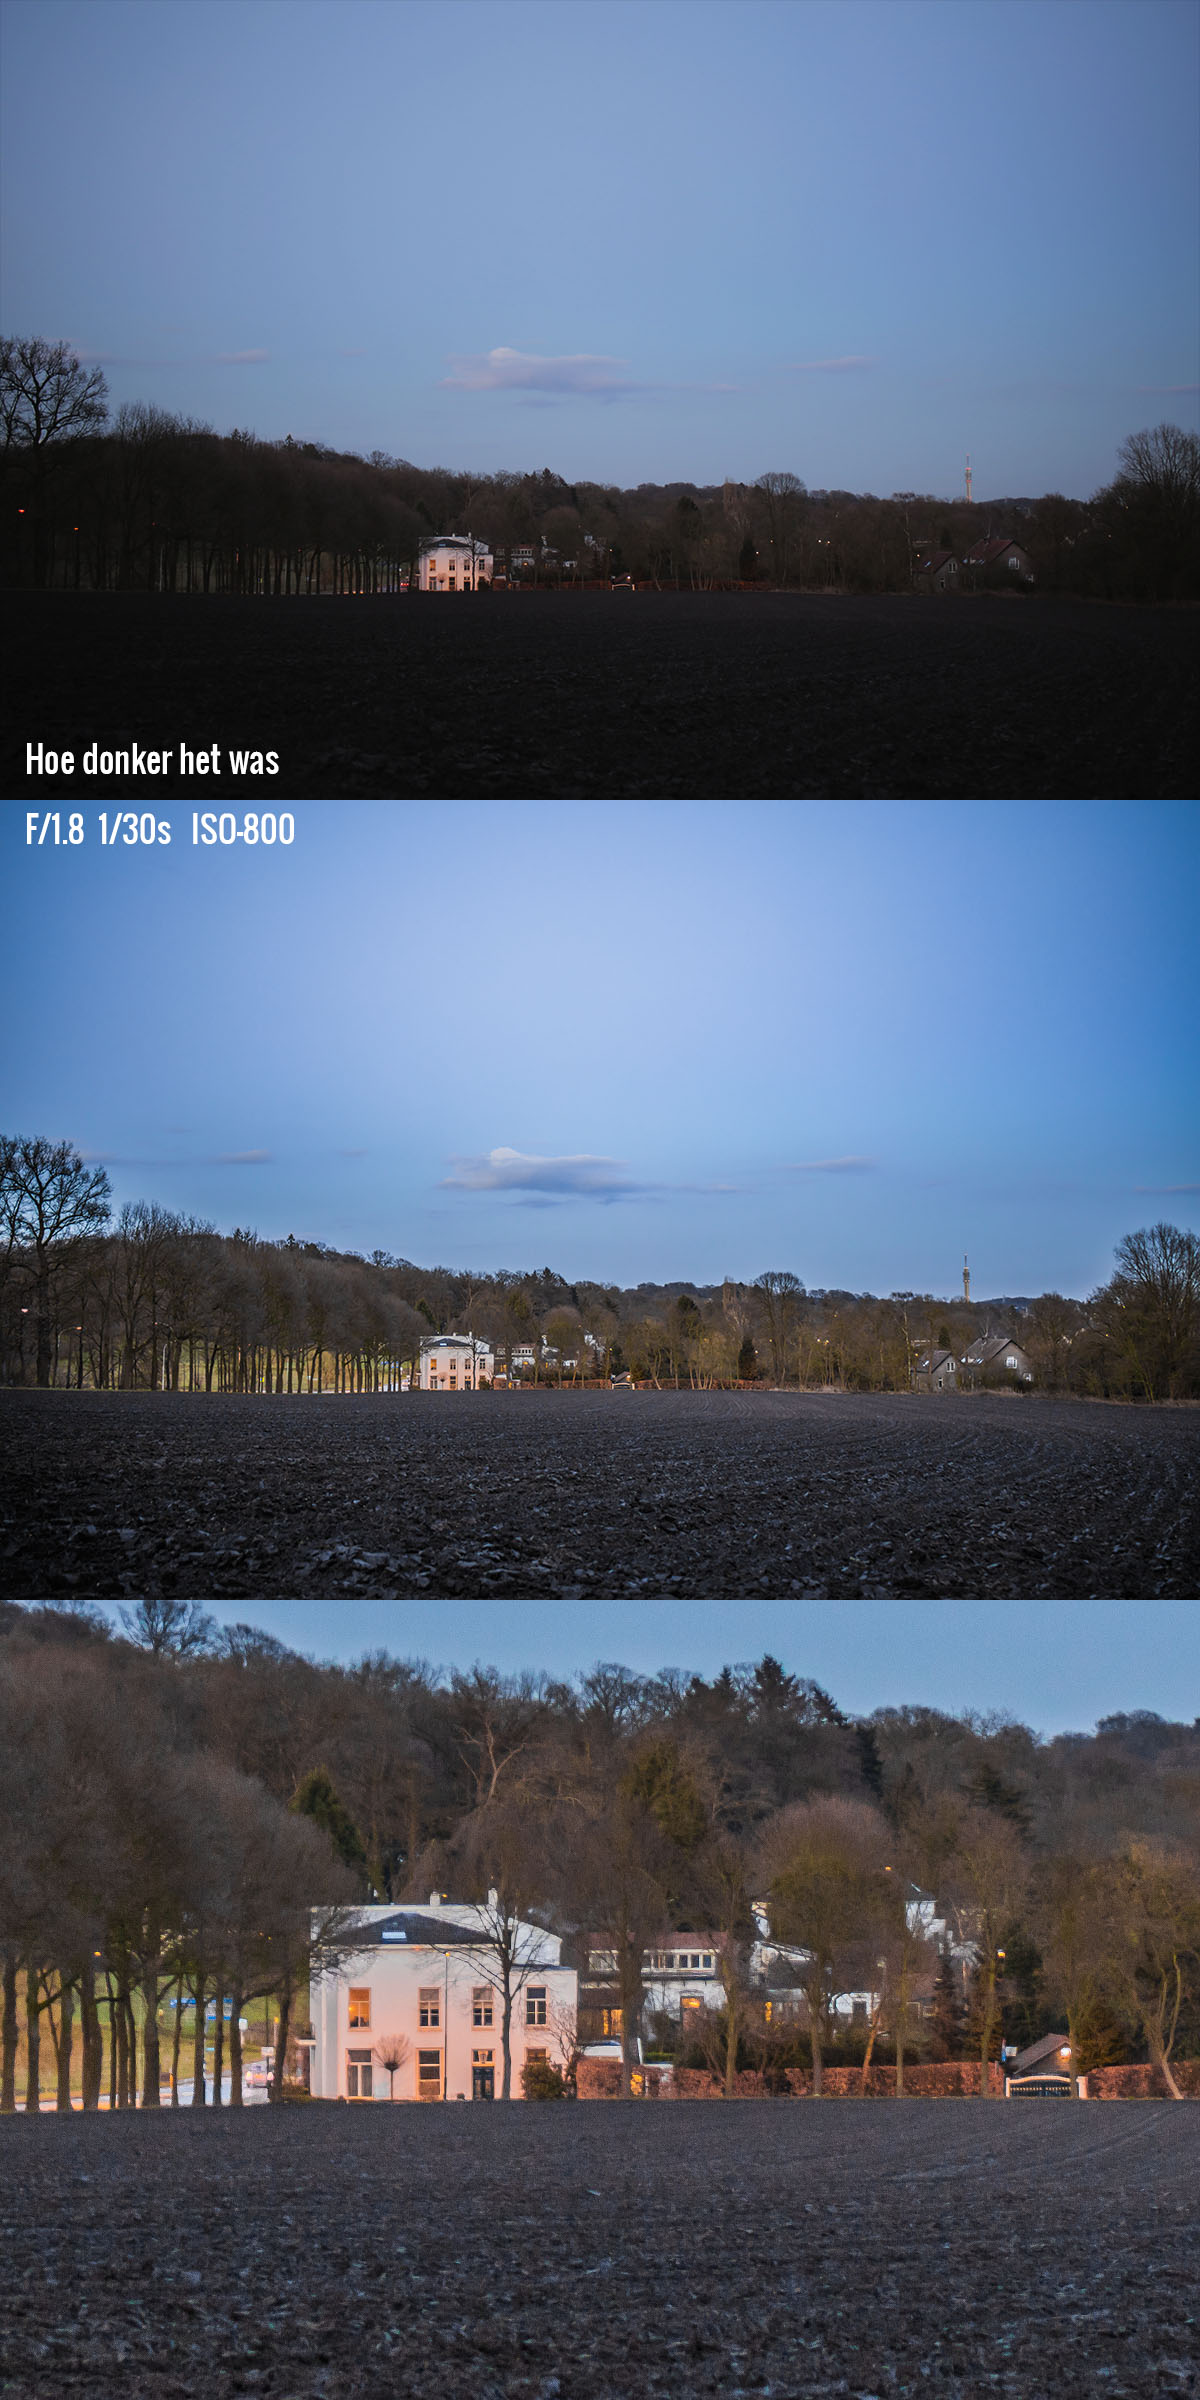
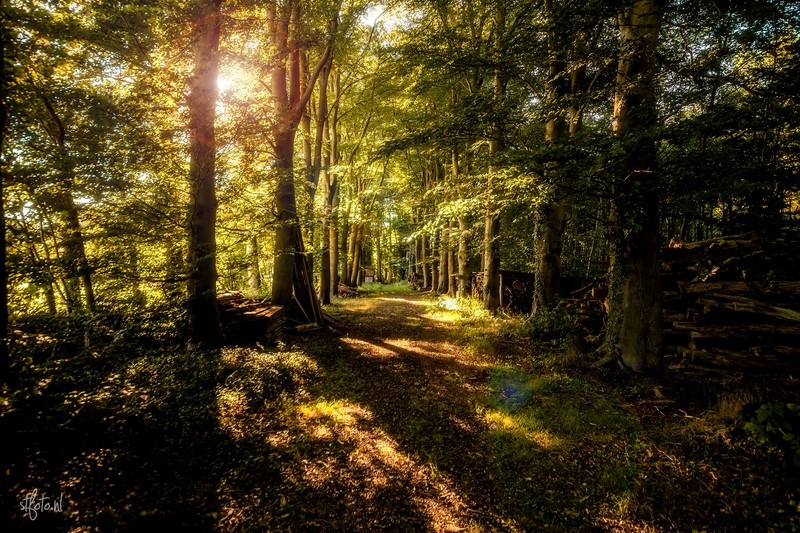
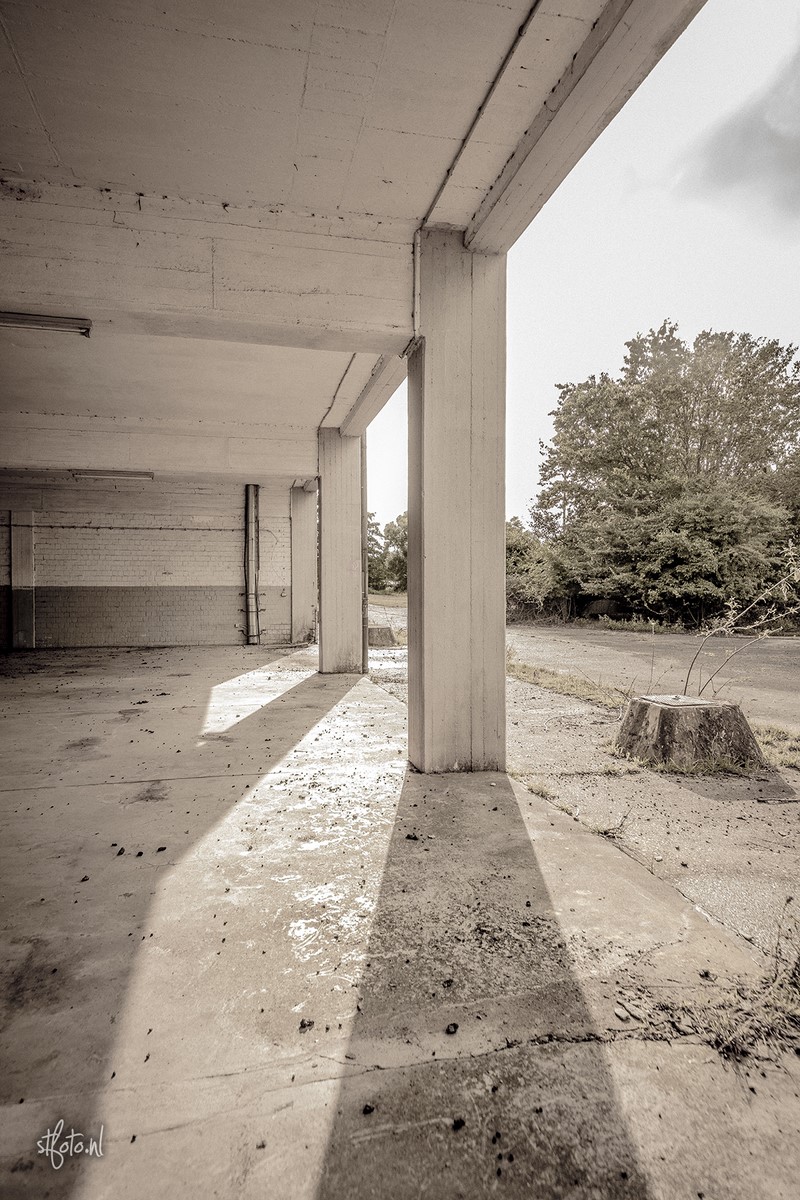
Deze foto is gemaakt met een sluitertijd van 1/6e, zonder statief. F/10 en ISO van 400.

Dezelfde foto heb ik tweemaal gemaakt, maar dan mét en zonder stabilisatie aan. De foto zegt genoeg.

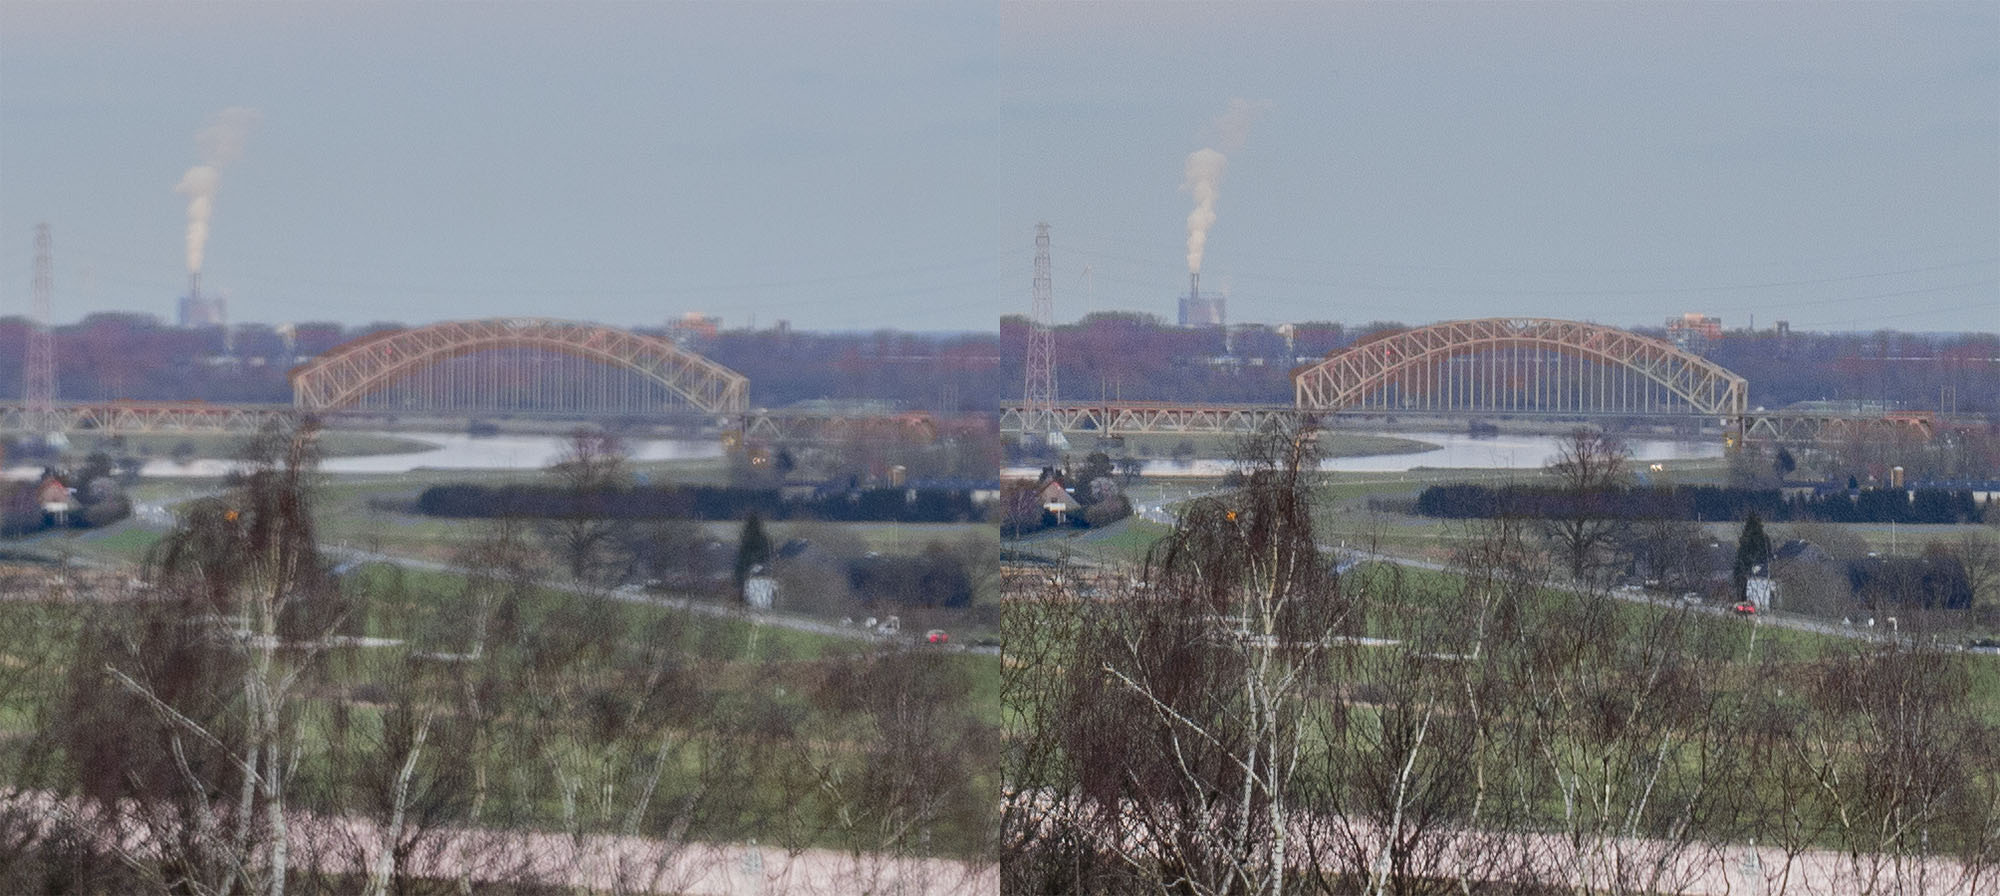
Ik ben toch echt wel heel positief verrast hoe goed de stabilisatie werkt. Het lukte me zelfs met een sluitertijd van 1/3e om hele scherpe foto’s te krijgen.

Mijn ervaringen

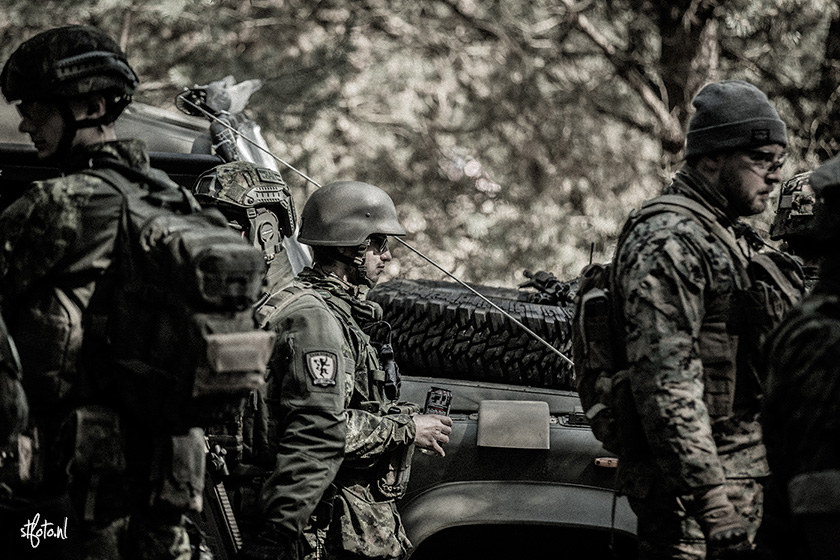
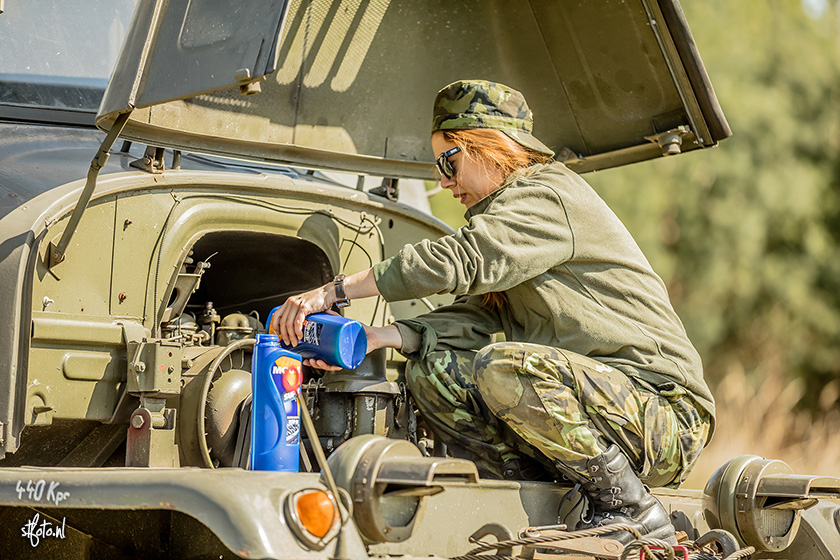
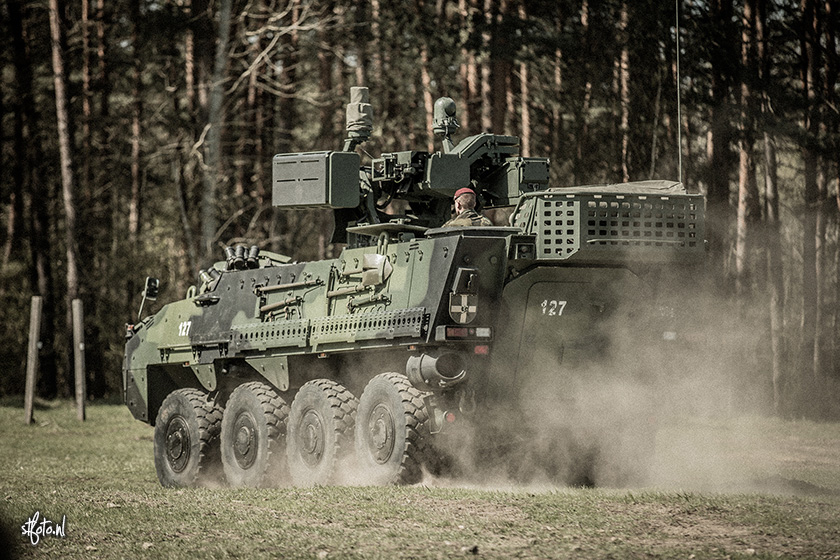
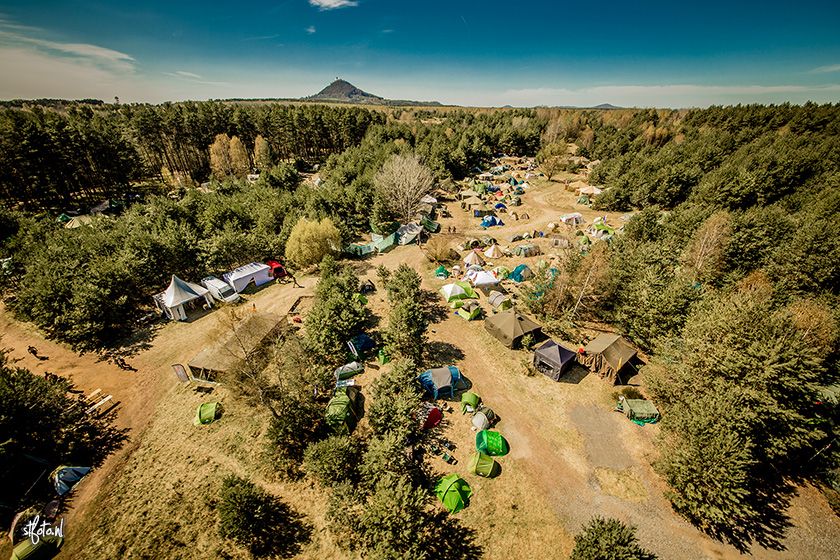
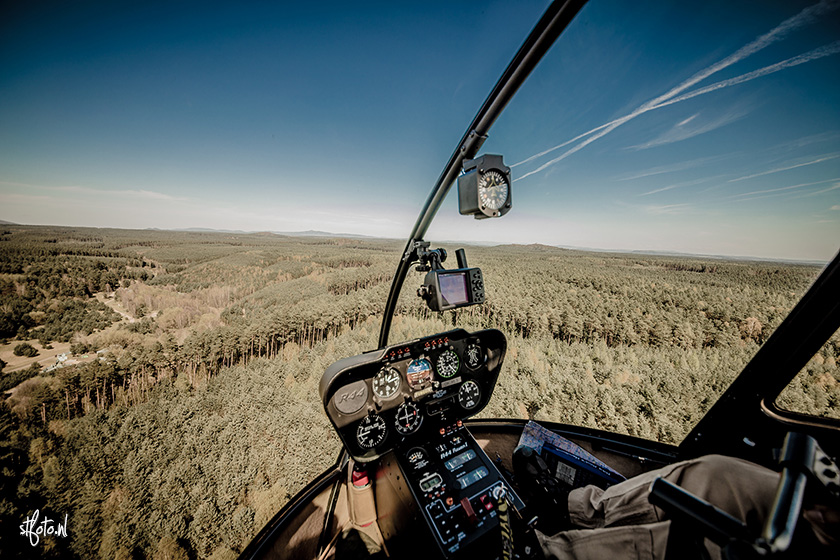
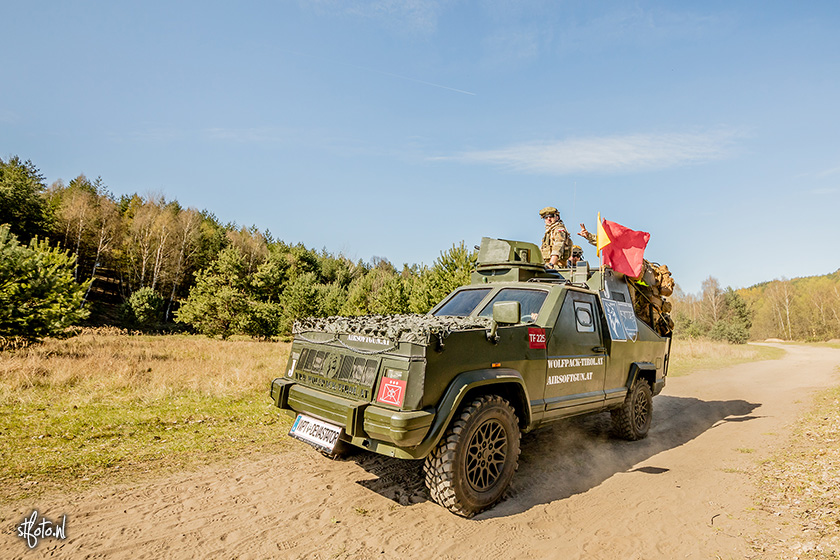
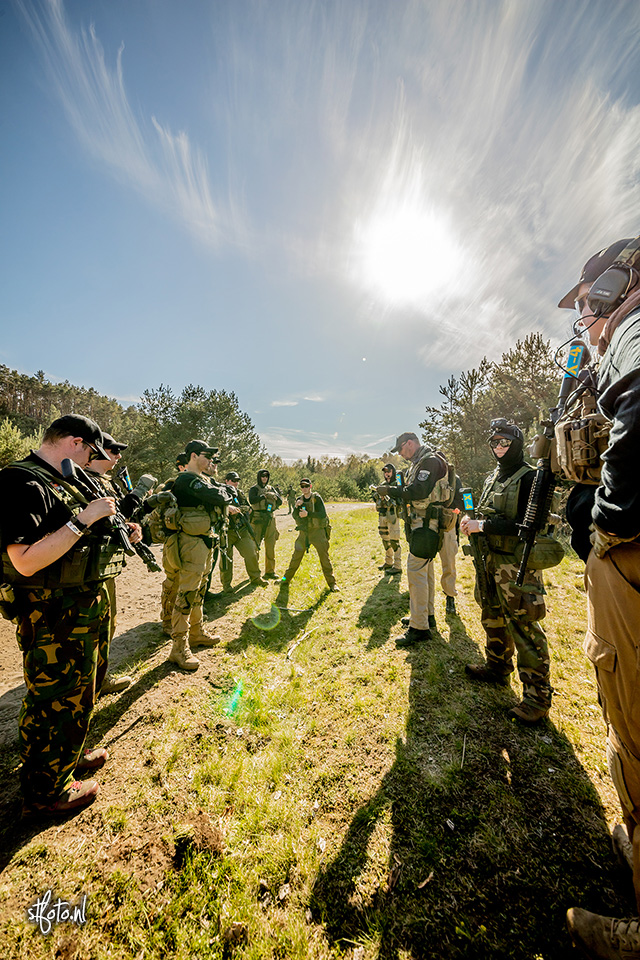
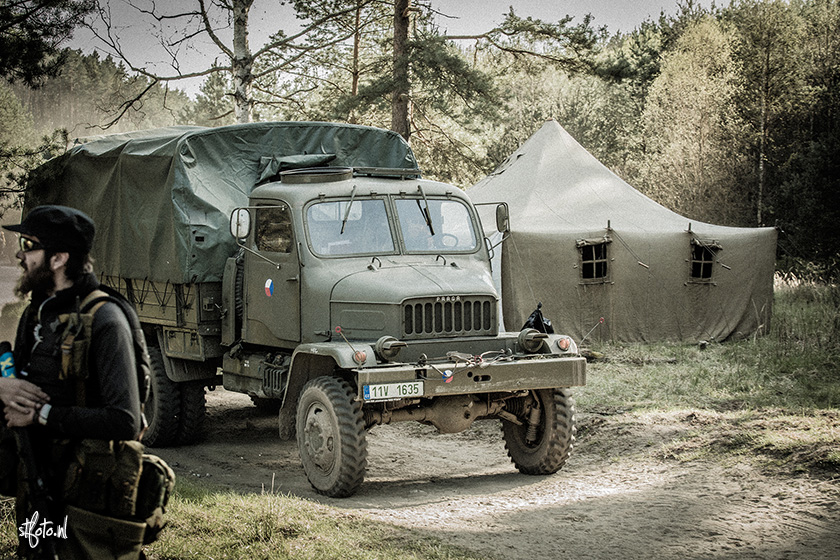
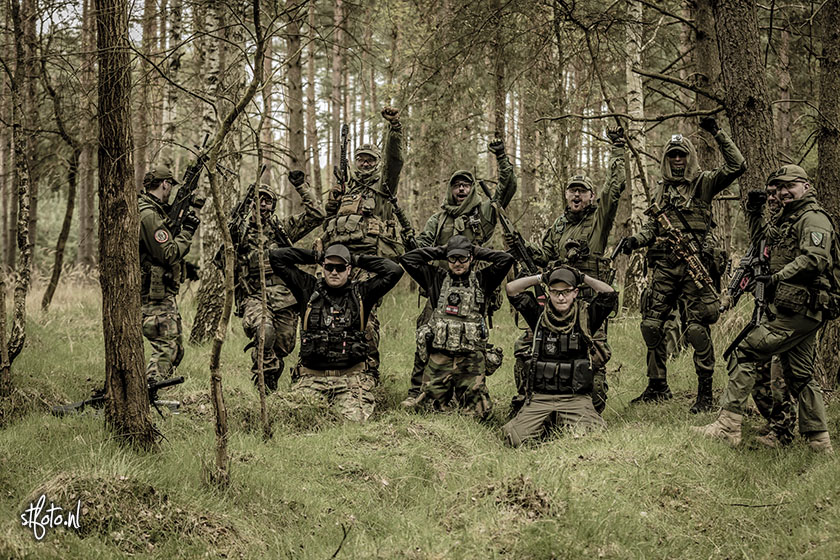
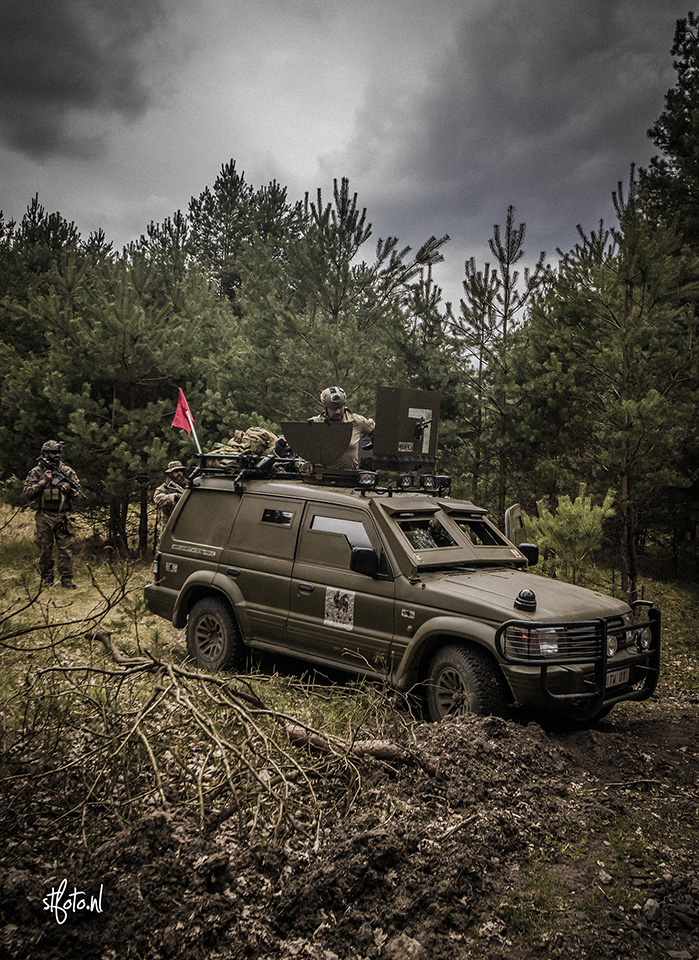
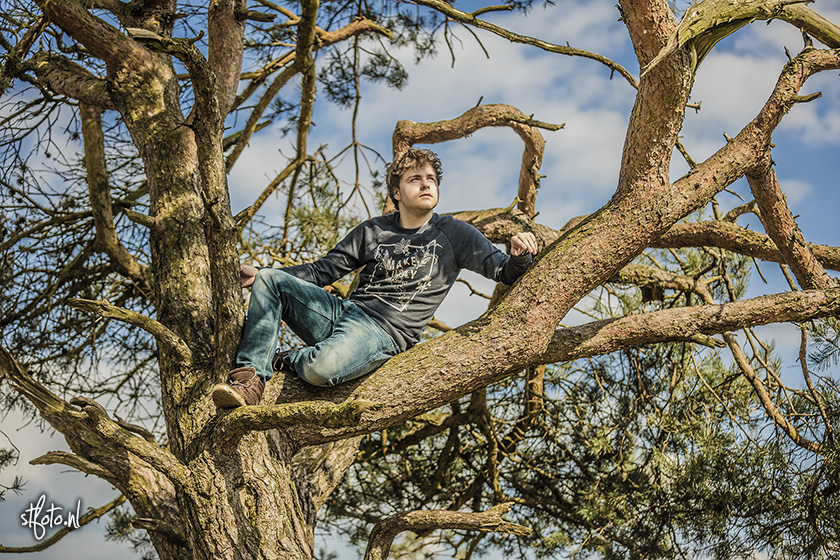
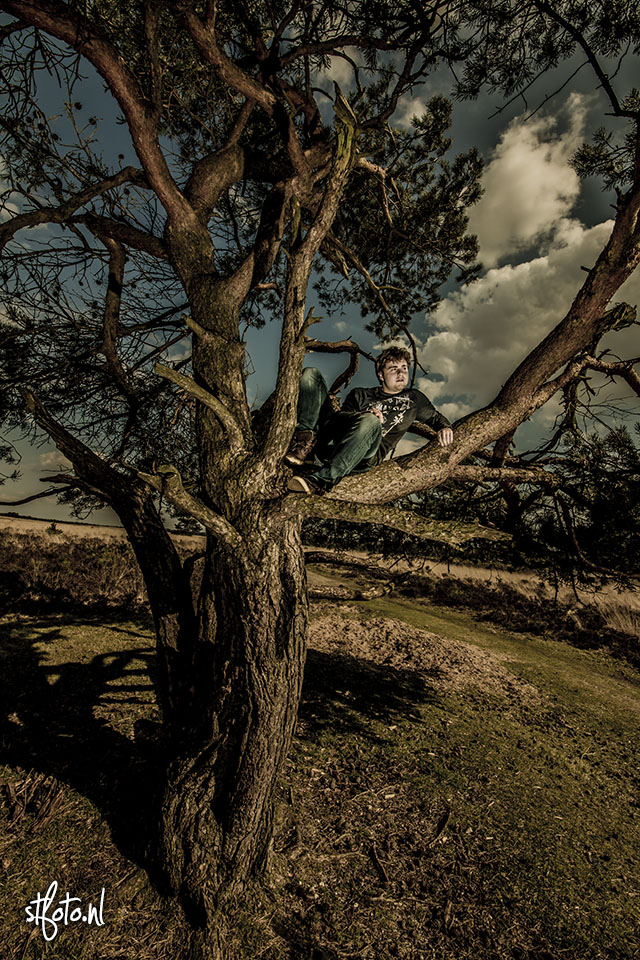
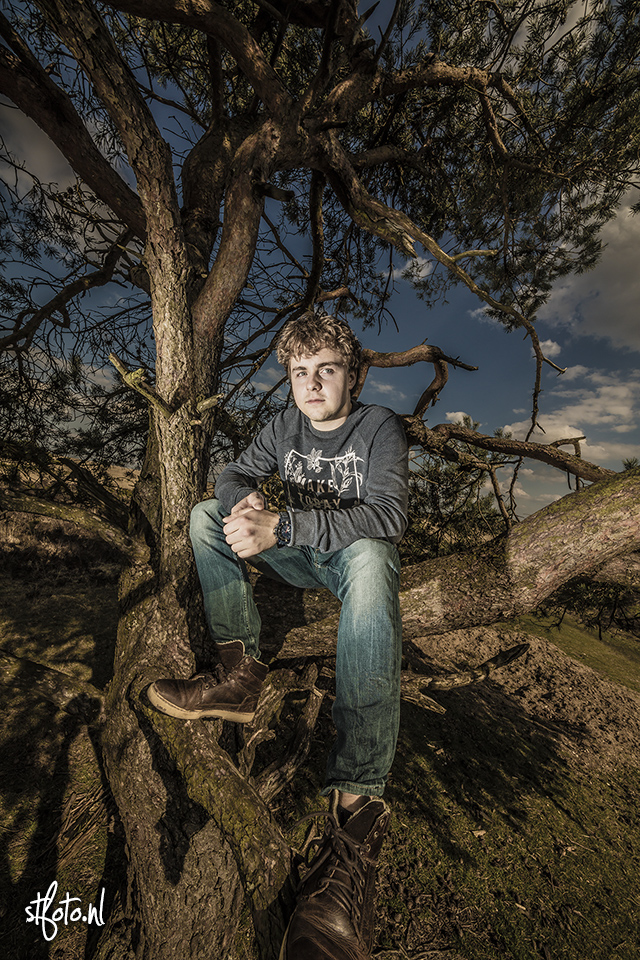
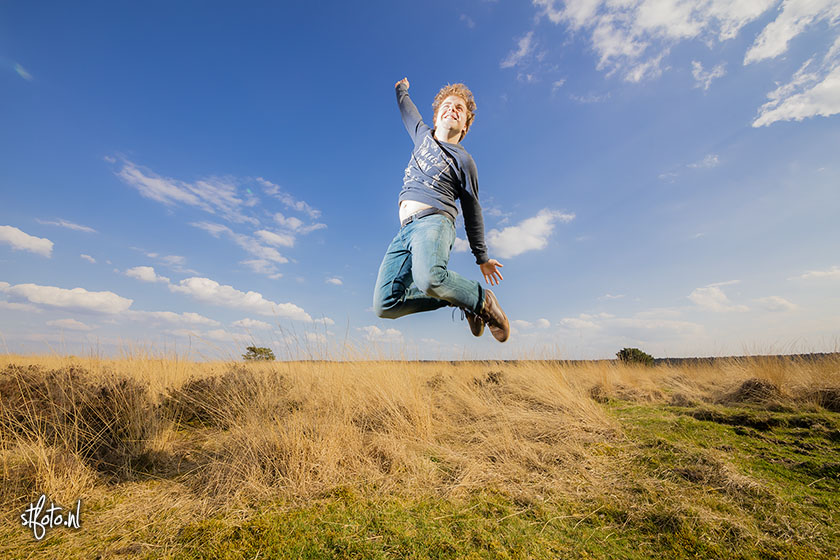
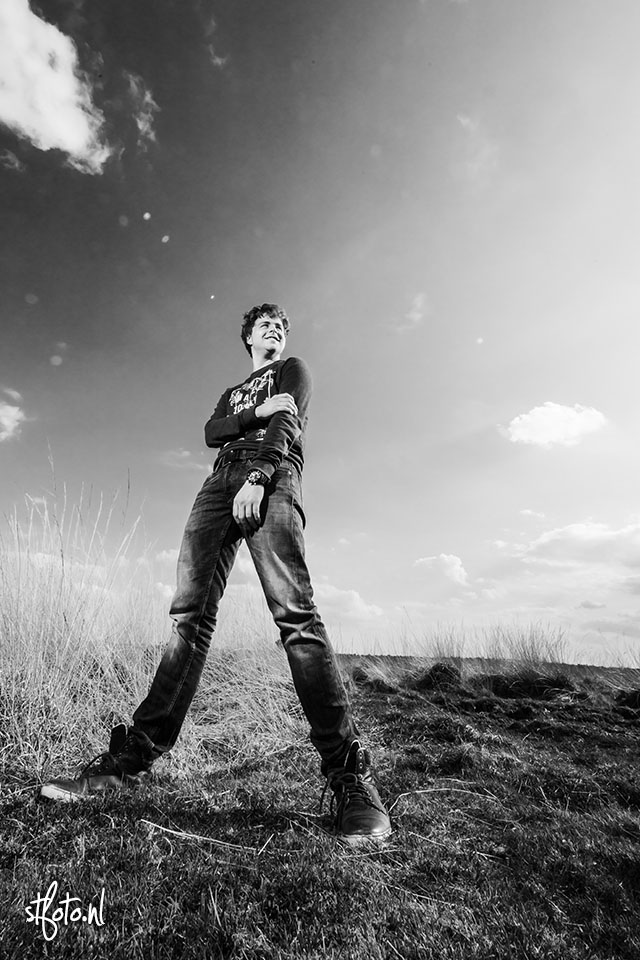
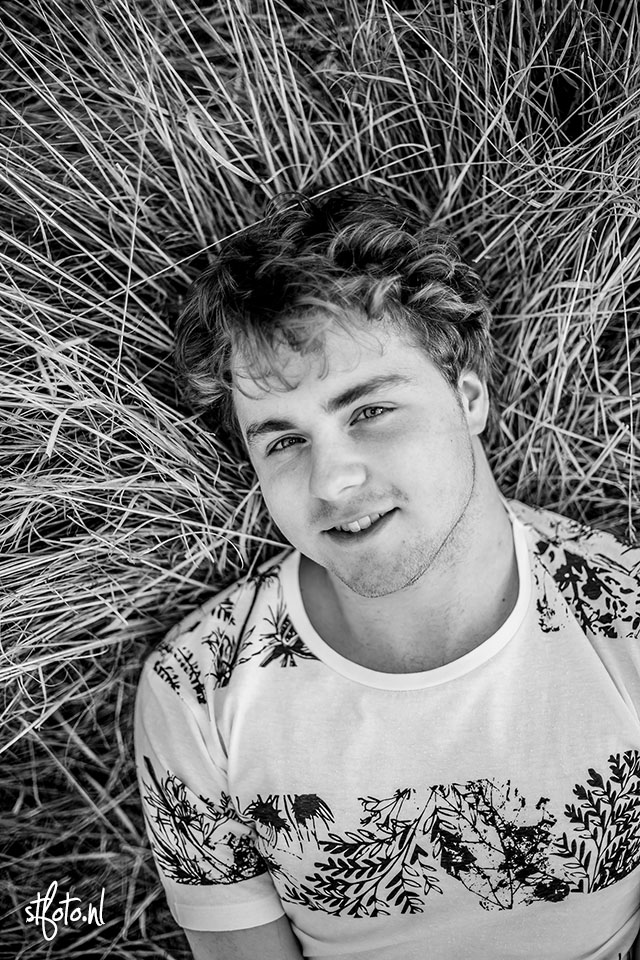
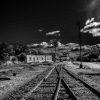
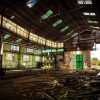
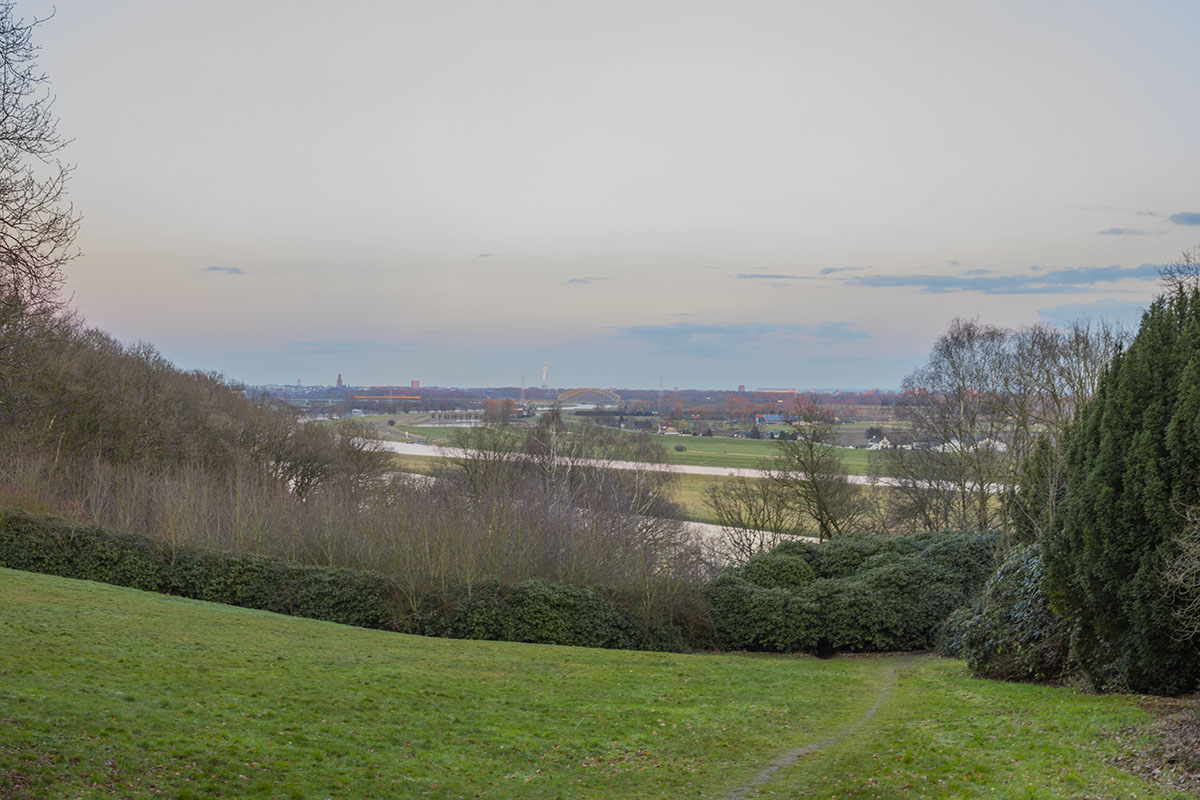
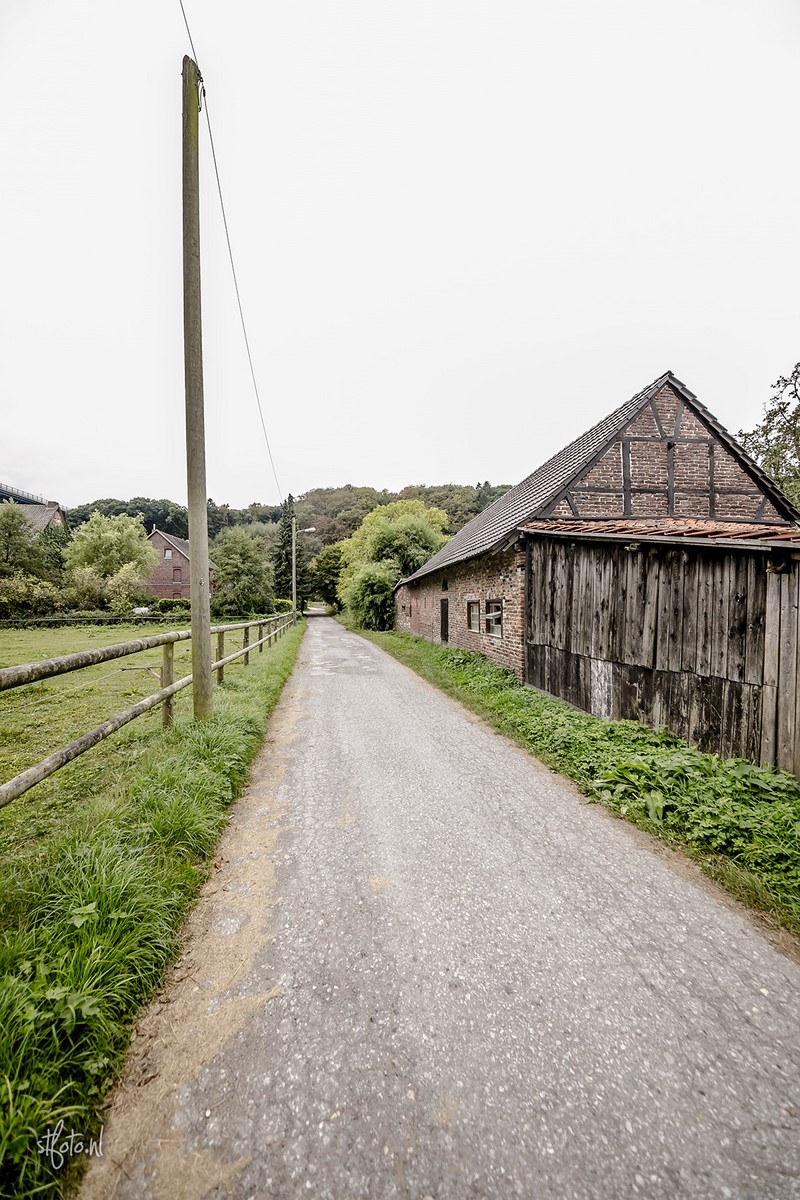
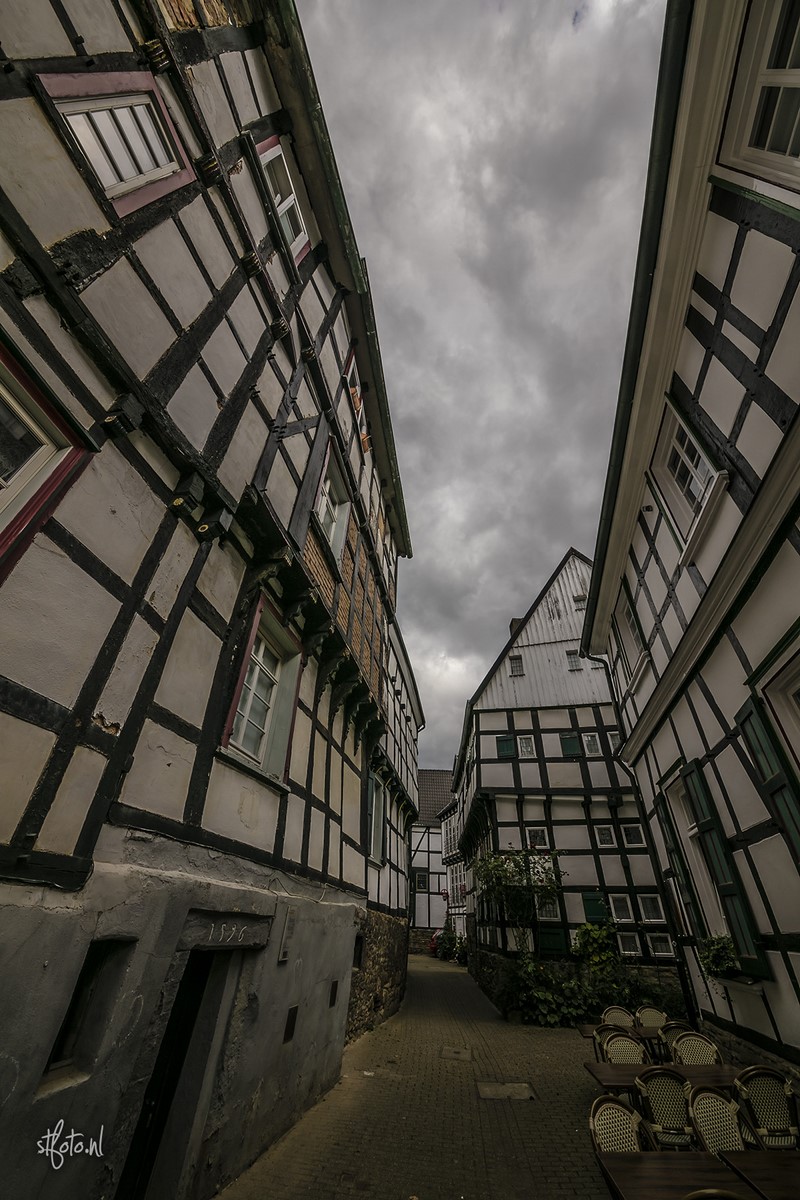
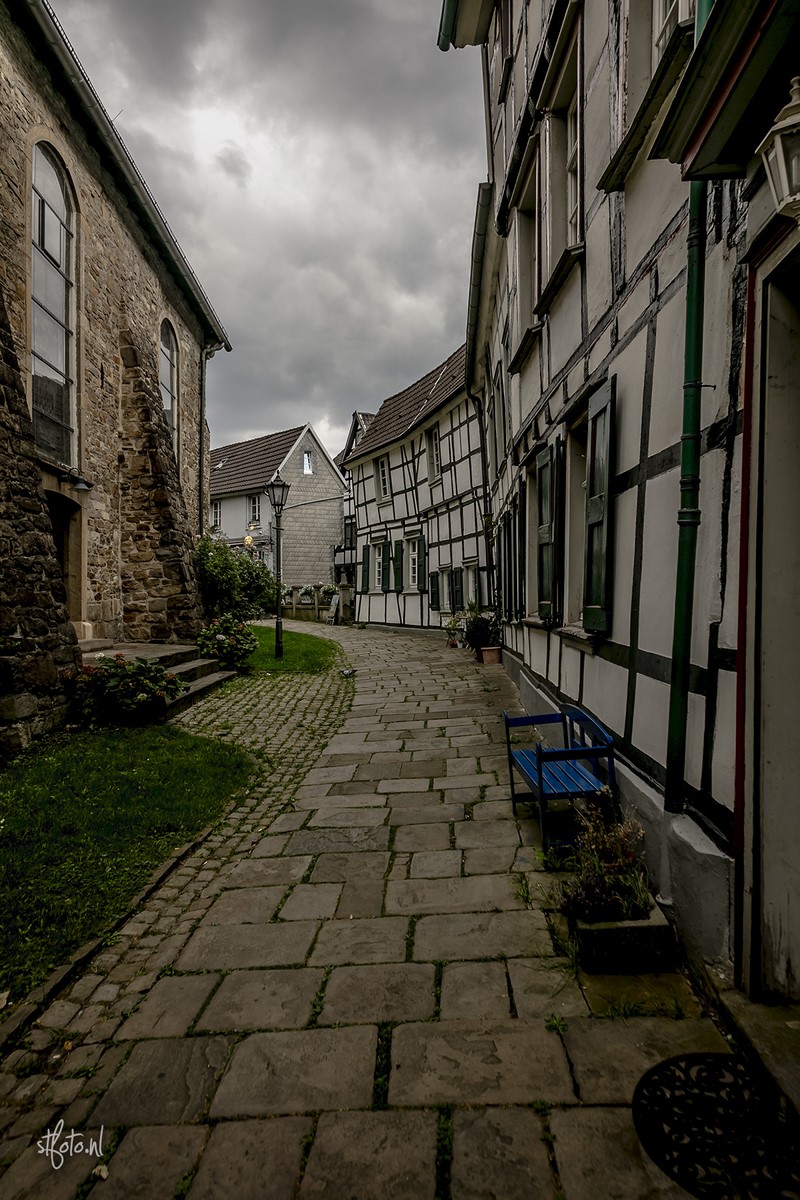
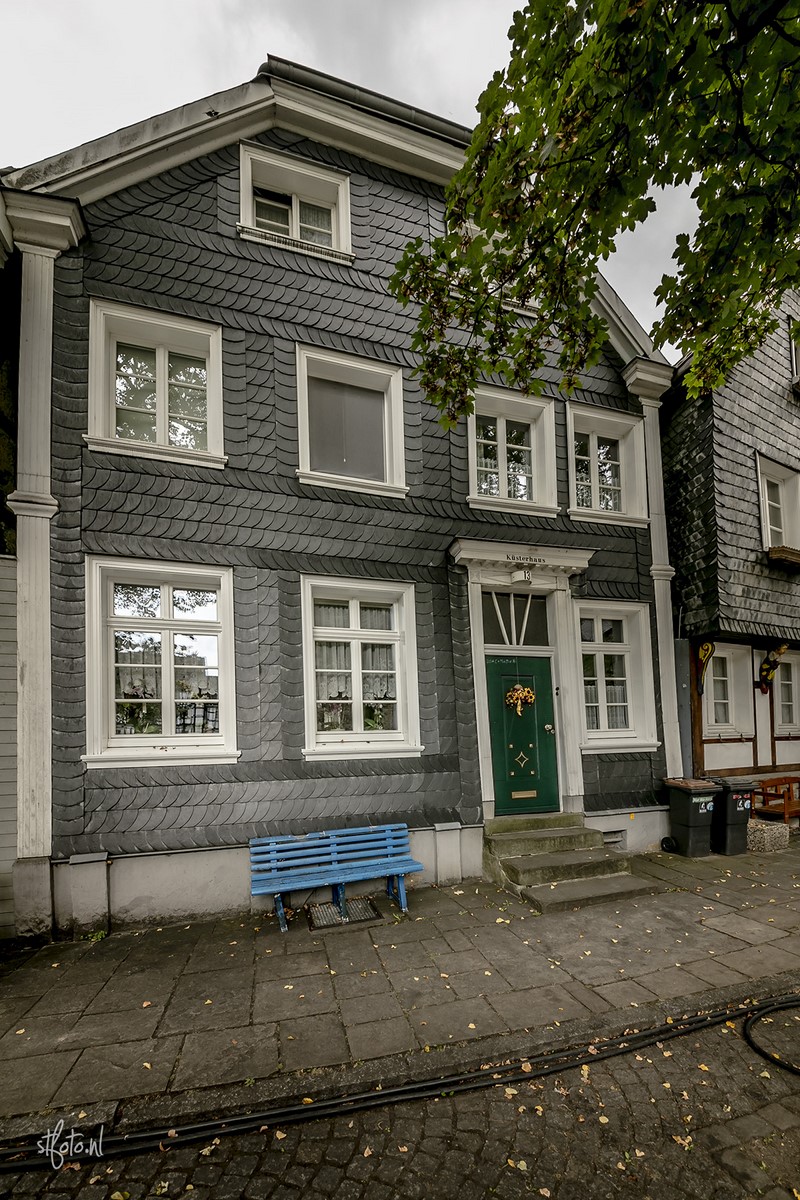
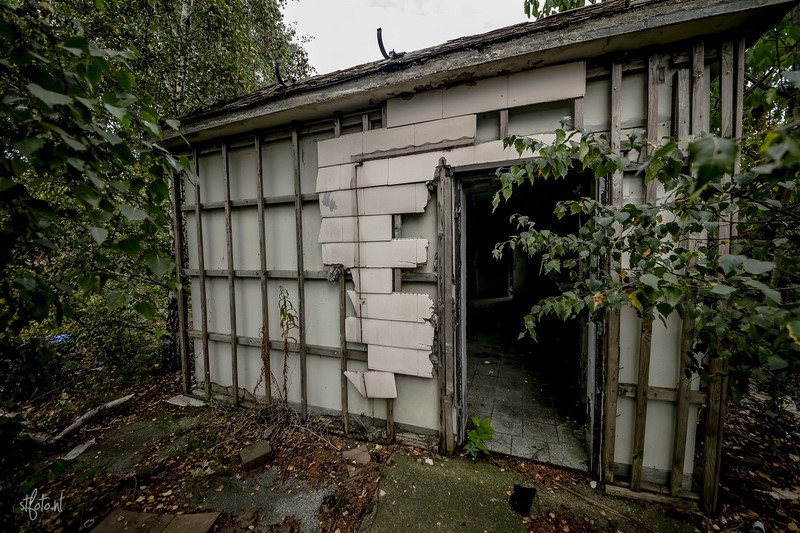
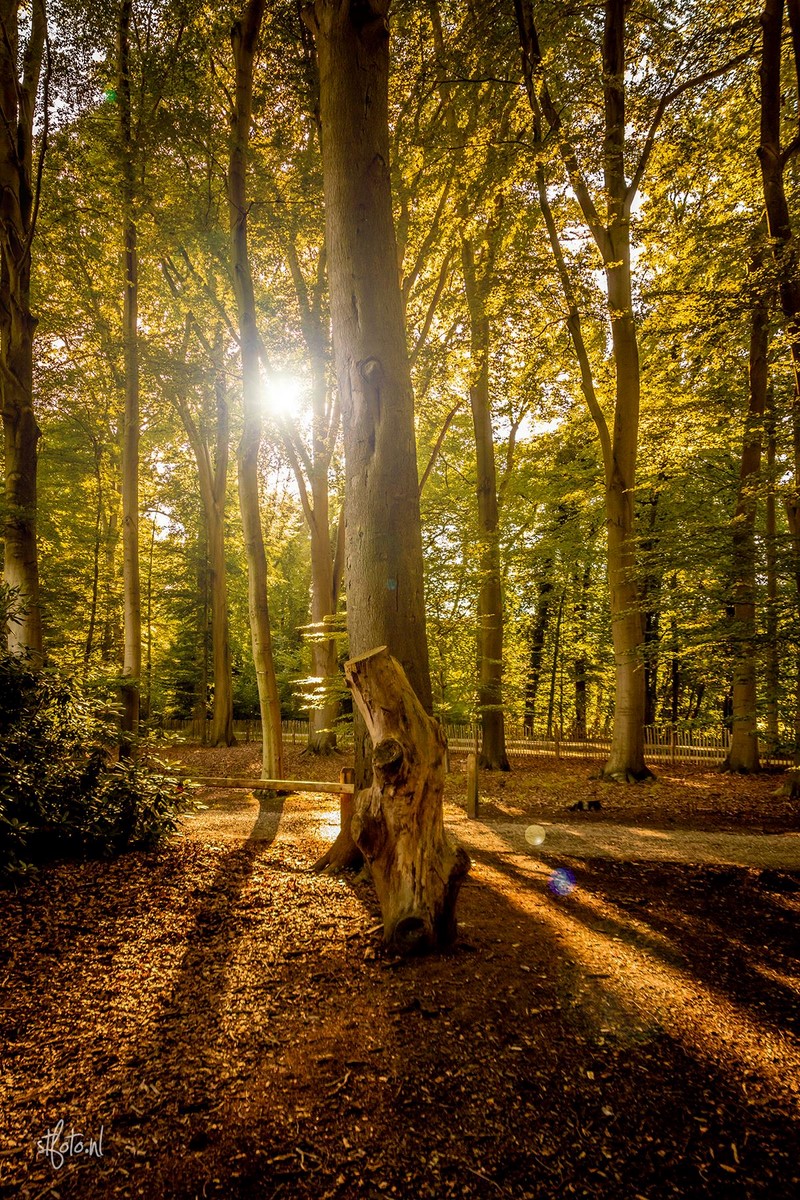
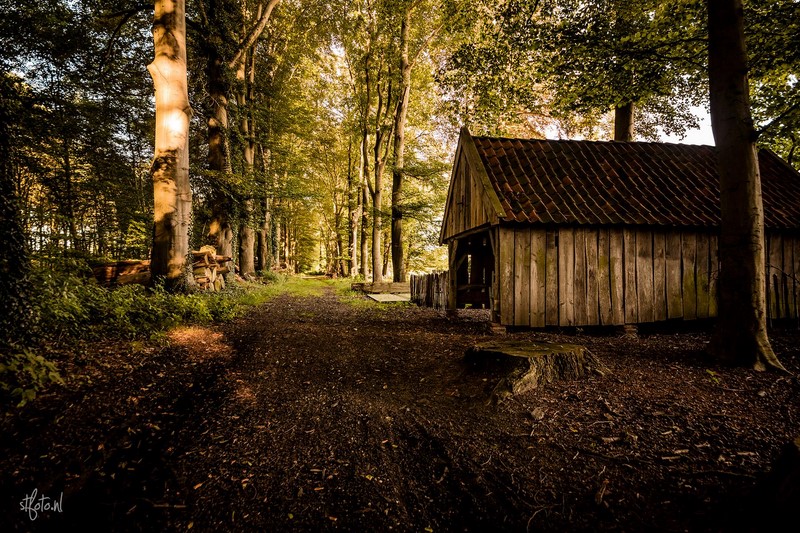
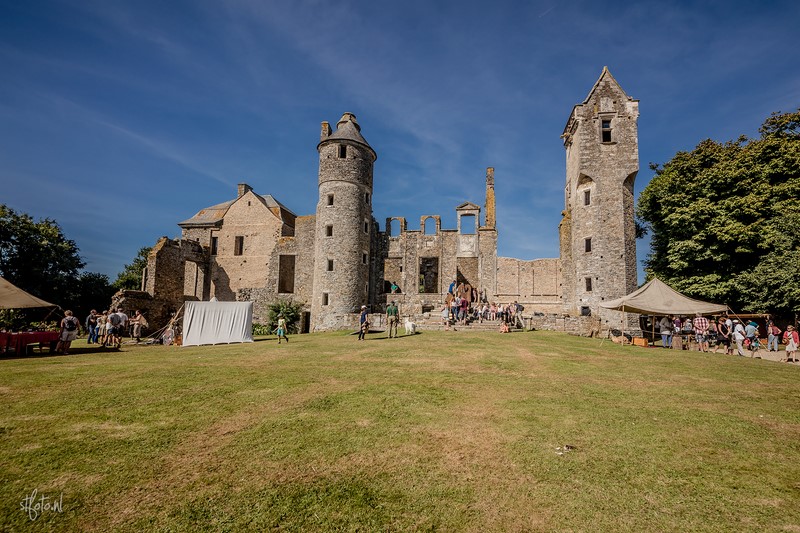
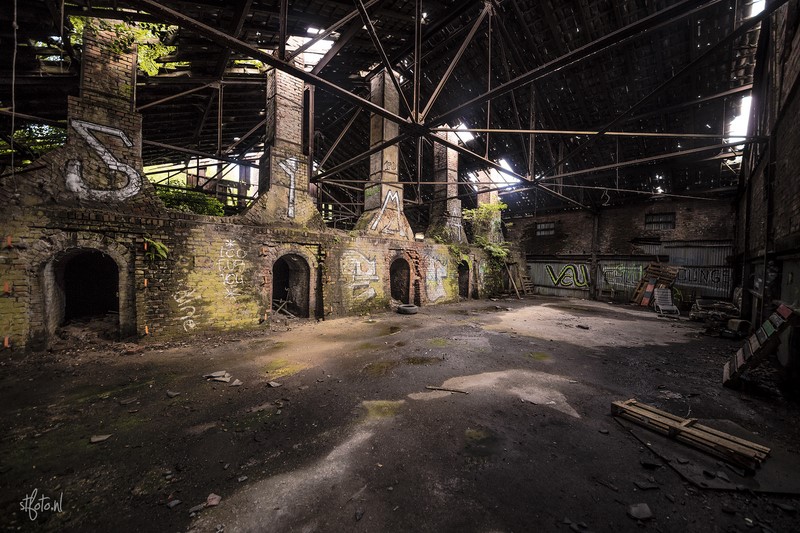
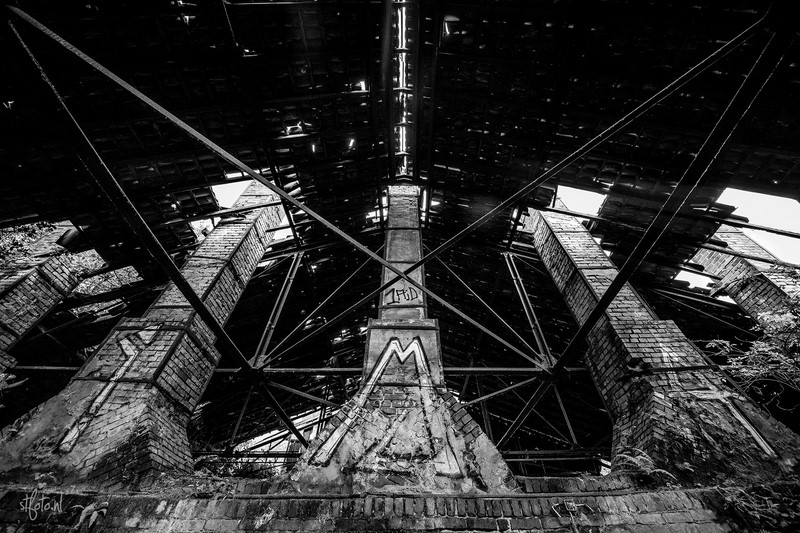
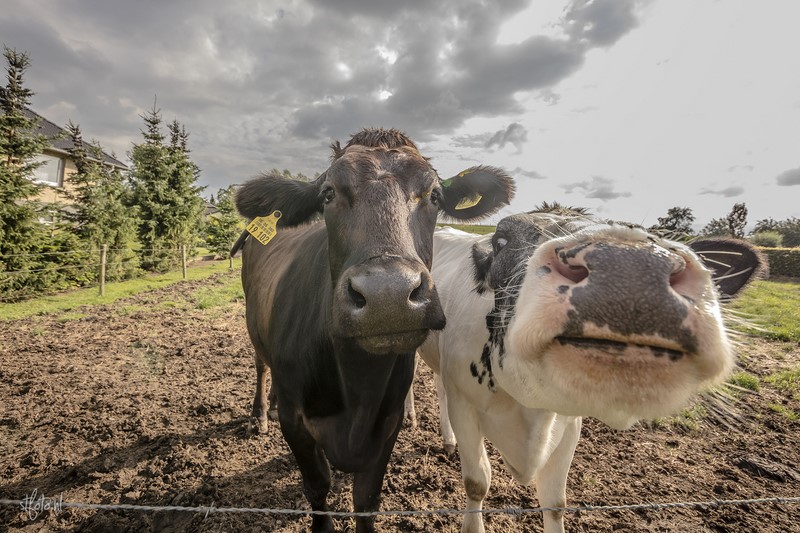
In het weekje dat ik de lens gehad heb, ben ik hem vooral gaan gebruiken. Ik heb de lens meegenomen naar een airsoft-evenement waar ik na het evenement zelf een aantal deelnemers mee het bos in heb genomen. Hier heb ik een aantal portretfoto’s geschoten welke ik in een jare 50 style wou krijgen. De lens werkte hier top mee, ondanks dat het steeds donkerder werd. Vooral in het bos was er al snel nog maar amper licht.

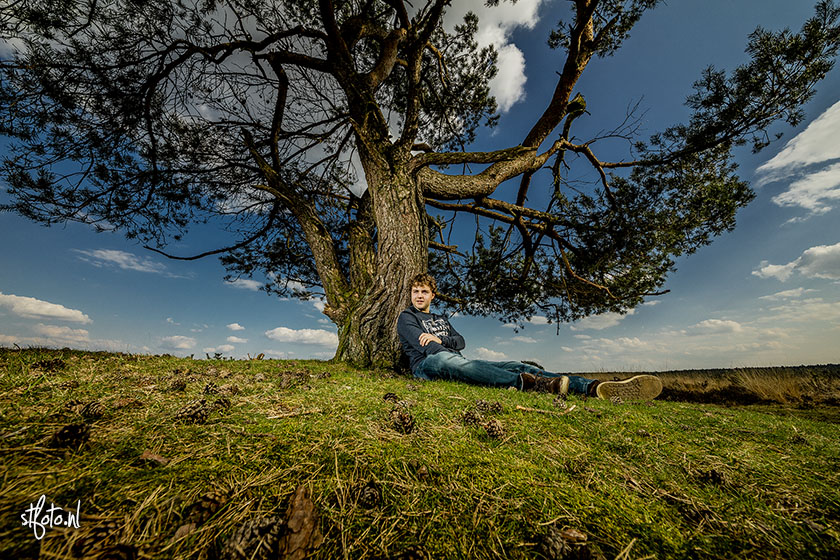
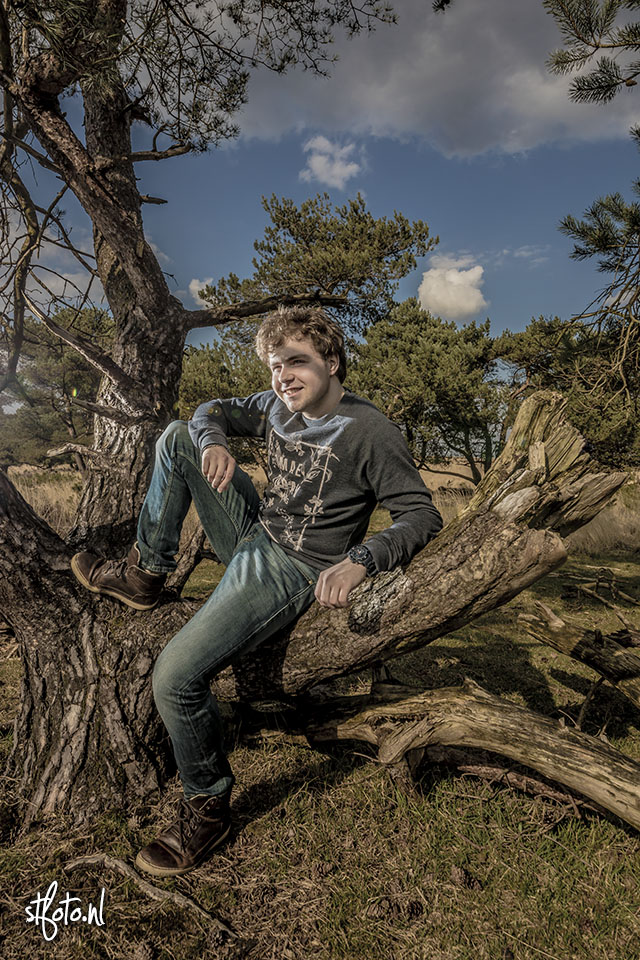
Ook op kantoor heb ik de lens getest. Samen met een collega zijn we naar buiten gegaan om een aantal portretfoto’s te maken. De zon stond er vol op, en er was overal reflectie. Toch werkte de zonnekap prima mee en zijn de foto’s scherp en helder geworden. Het viel me al snel op dat de foto’s zonder bewerking een professionele look gaven. 45mm is ook breed genoeg om iemand er van niet al te ver volledig op te krijgen.

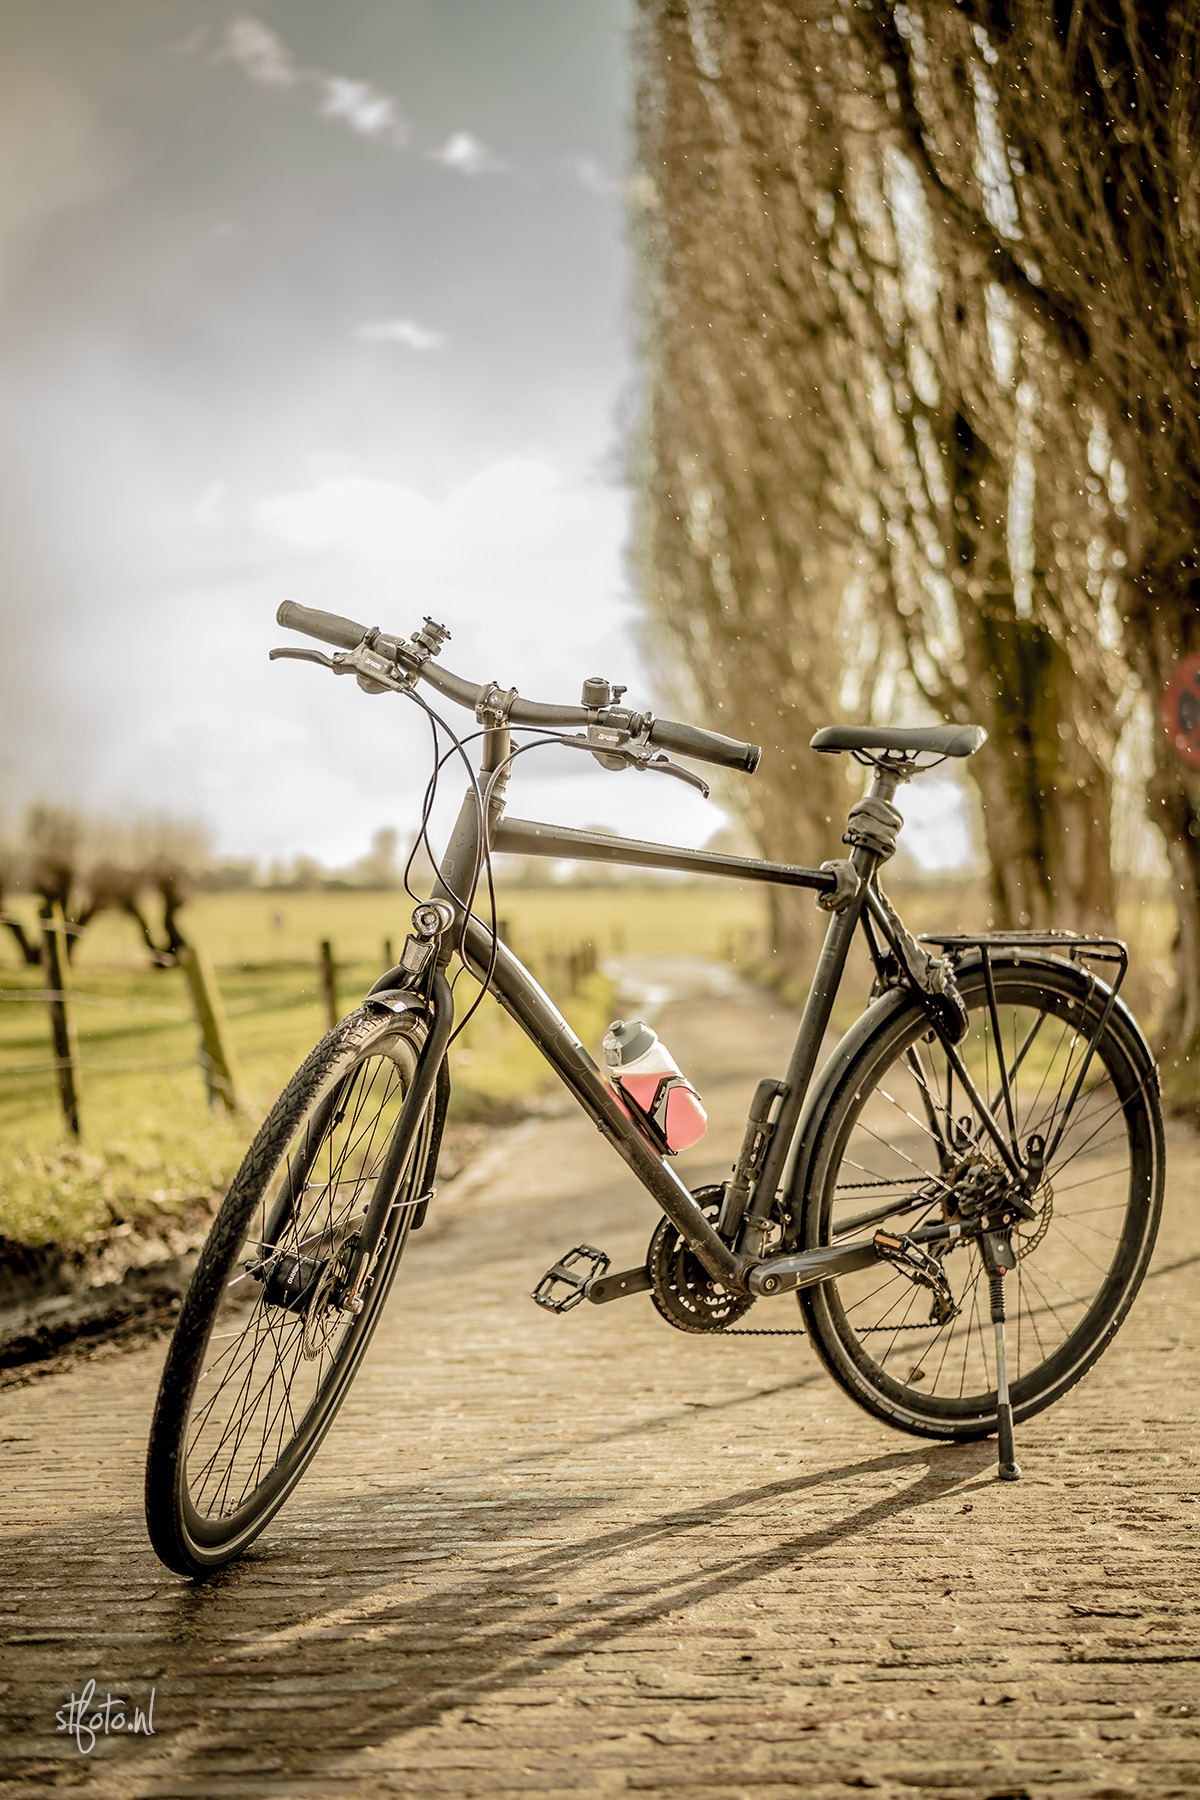
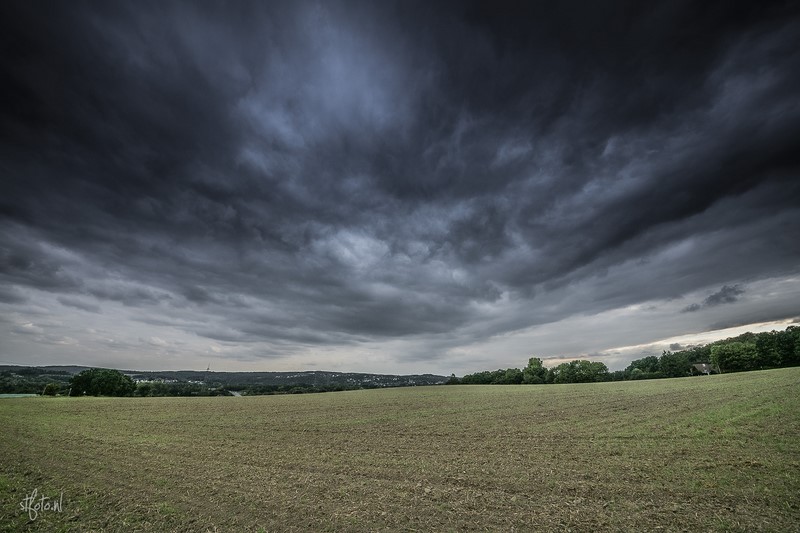
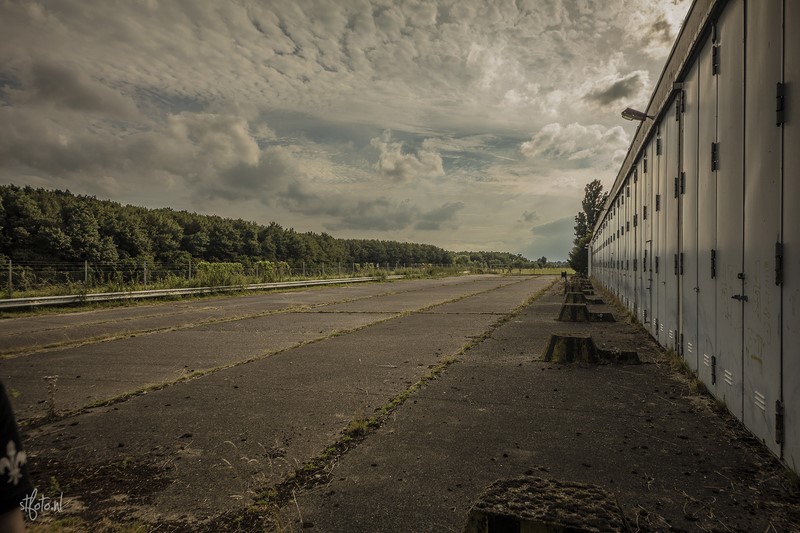
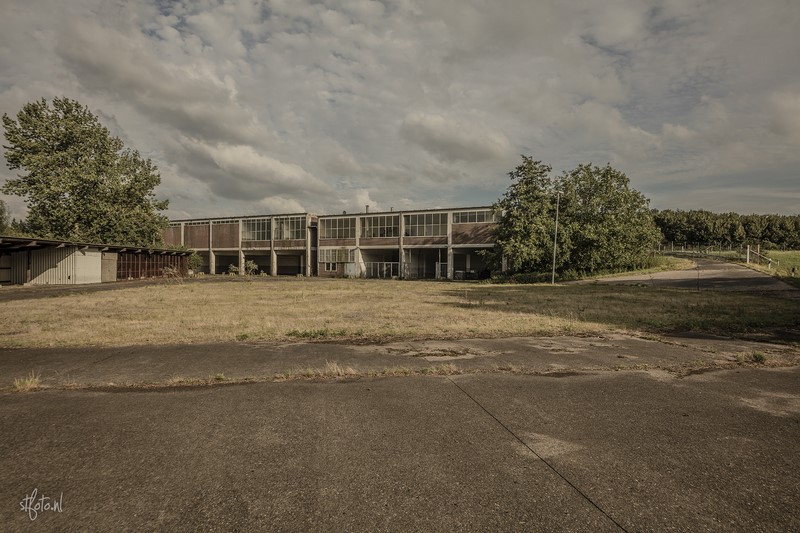
Als laatste heb ik een fietstocht van zo’n 30km gemaakt. Omdat de lens niet al te groot was kon ik hem met camera en al gewoon in een klein fietstasje doen. Zo is hij constant bij de hand. Dus ook voor fietsers absoluut een aanrader. Tijdens dit tochtje was het vrij donker, bewolkt, regenachtig en ontzettend koud. Ondanks het trillen van mijn handen (zowel van de kou evenals het zware fietsen met fixe klimmetjes) waren alle foto’s scherp. Vooral de stabilisatie heeft hier ontzettend aan bijgedragen.

Conclusie

De Tamron 45mm F/1.8 Di VC USD is een bijzondere lens. 45mm geeft een fijne beeldhoek, de lens heeft een prachtige bokeh, is scherp, heeft een top-stabilisatie, is voor macro te gebruiken én is gunstig geprijsd. Zeker als je bedenkt dat soortgelijke lenzen geen stabilisatie hebben. De chromatic abberation is goed merkbaar, maar absoluut naderhand prima te corrigeren.

Pro’s

Cons

  • 45mm geeft fijn beeld
  • F/1.8 lichtsterk
  • Prachtige bokeh
  • Stabilisatie
  • Macromodus
  • Heel scherp, zelfs op 51 megapixel
  • Gunstige prijs
  • Chromatic Abberation in eerste instantie zichtbaar aanwezig


Dankzij de lichtsterkte en stabilisatie is het lastig een shot niet scherp te krijgen. Daarnaast zien de foto’s er zelfs op het schermpje van je camera prachtig en professioneel uit. Je ziet direct het verschil met normale digitale camera’s. Dit is echt een lens die het plezier in fotografie benadrukt. Tijdens het schieten met deze lens werd ik dan ook helemaal blij toen ik steeds de resultaten op mijn schermpje zag.

Kortom, een kwalitatief goede lens, die goed presteert zelfs onder lastige omstandigheden. Heb je nog geen portretlens of standaard reislens? Kijk dan niet verder.

1 4 5 6 7 8 13
ABOUT ME

steve-o-ii

I'm a blogger who likes to travel, take photos, write stories about my adventures, do bicycle trips, model and print 3D, create websites, create video's, play airsoft, watch Formula 1 and much more.

Got any questions? Then simply contact me.

Single shots
Wink deer Scotland Highland Wildlife Park
Low grass Scottish forest
Tree branches with moss in Scotland
Sun through trees in forest Scotland
Ruthven barracks abandoned Scottish castle ruins
Scotland classic highlands and mountains view
Suspension bridge in Scotland
Princes Street Edinburgh Scotland
Medieval bridge in Scotland
Silverstone Formula 1 circuit England aerial shot
Old waterworks in Austrian forest
Burghausen Castle Germany seen from Austria
Meadow and countryside road Germany
Huelva mine Rio Tinto various buildings Spain
Mountain top Reales de Sierra Bermeja, Estepona Spain
Gibraltar mountain with Europe,Africa, Morocco and Spain in one photo
Moroccan mountains seen from Spain Gibraltar
Sail yaght near Gibraltar with Moroccan mountains in the background
Conil de la Frontera foggy misty morning city walk, Spain
Rio Tinto collapsed old bridge red river Spain
Rio Tinto red mineral chemical water Spain Huelva mines
Huelva mina train tracks, rio tinto Spain
Mars ehh Huelva Rio Tinto mines red landscape
Abandoned mines, train depot control room, Rio Tinto, Huelva Spain
Abandoned mines, train depot hangar Rio Tinto, Huelva Spain
Abandoned mine wagons and train depot, Rio Tinto, Huelva Spain
Abandoned old Spanish Rio Tinto mining lift tower
Portugal most western point Cabo Da Roca/cape Roca
Olhao graffiti painted abandoned church urbex
Spanish ultra thin wild spider